A sensor may react instantly to heat, pressure, light, movement, or position, but a microcontroller cannot work directly with a changing analog voltage. It needs that electrical signal translated into a number first. That translation is what makes sensor-based electronics possible, from simple Arduino projects to more advanced embedded systems.
When I think about how to convert sensor voltage into digital values, I look at the entire signal path rather than just the ADC itself. The sensor output may need scaling, filtering, or amplification before it ever reaches the converter.
After that, ADC resolution, reference voltage, and calibration determine how useful the final digital reading really is. Understanding each stage makes it much easier to build accurate, stable, and reliable sensor circuits.
How Does a Sensor Voltage Become a Digital Number?
A microcontroller uses an Analog-to-Digital Converter, or ADC, to convert an analog voltage into a digital code.
An analog signal can vary continuously. A digital system cannot store every possible voltage value, so the ADC divides its input range into a fixed number of steps.
For example, a common 10-bit ADC provides 1,024 possible levels. Its digital values usually range from 0 to 1023.
If the reference voltage is 5 volts, a voltage near 0 volts produces a value near 0, while a voltage near 5 volts produces a value near 1023. A 2.5-volt signal would typically produce a result close to the middle of the range.
How Should I Prepare Sensor Voltage Before ADC Conversion?
One of the biggest mistakes I see is connecting a sensor directly to an analog input without first checking whether the signal is suitable for the ADC.
Signal conditioning prepares the voltage so the converter can measure it safely and accurately.
What If the Sensor Voltage Is Too High?
If the sensor output exceeds the permitted ADC input voltage, I need to reduce it first.
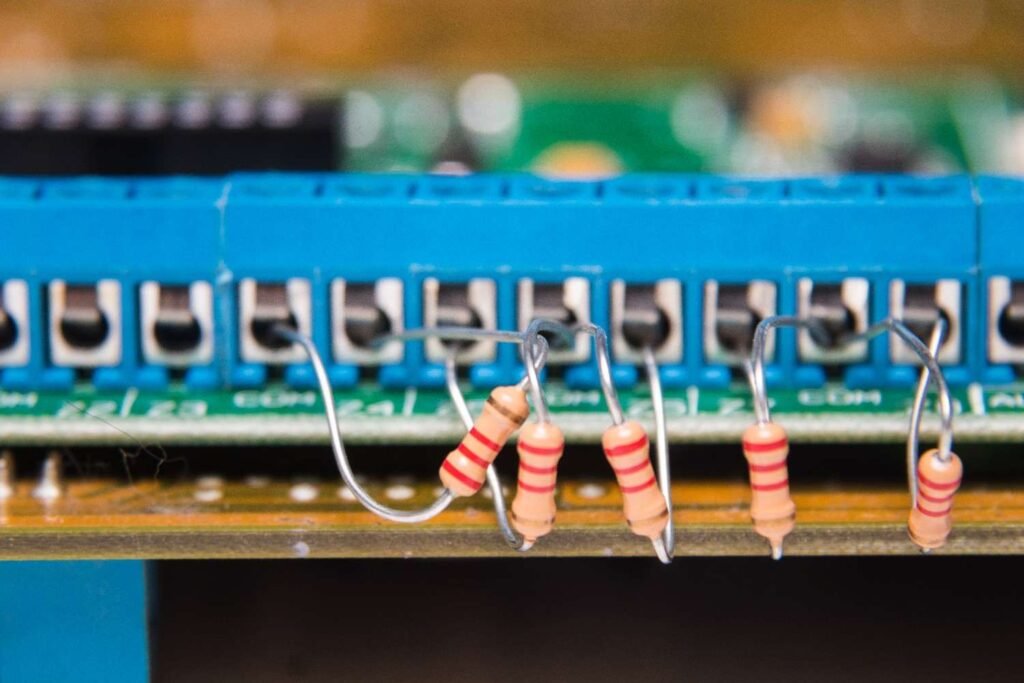
For example, a 12-volt automotive signal cannot normally be connected directly to a 3.3-volt or 5-volt microcontroller input. A voltage divider can scale the signal down to a safe range.
Two resistors form a voltage divider, and the output voltage depends on their ratio. I also check the resistor values carefully because extremely high resistance can create source-impedance problems for some ADC inputs.
The allowable analog voltage depends on the specific microcontroller and ADC configuration, so I always verify the board or chip documentation instead of assuming every 3.3-volt system accepts exactly 0 to 3.3 volts.
What If the Sensor Signal Is Too Small?
Some sensors produce very small signals.
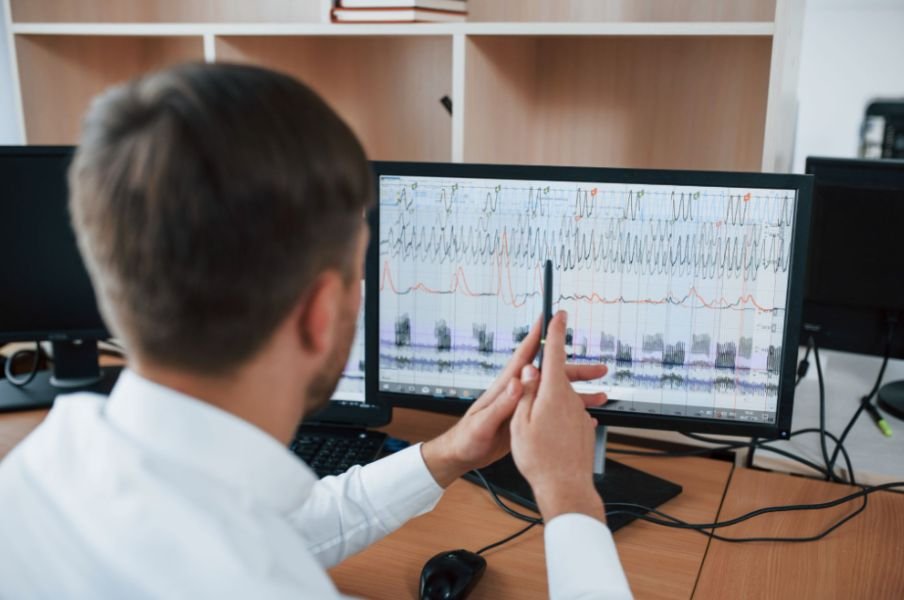
Thermocouples, load cells, strain gauges, and bridge sensors may generate signals measured in millivolts or even microvolts. Feeding such a small signal directly into an ADC may use only a tiny portion of its digital range.
An operational amplifier or instrumentation amplifier can increase the signal before conversion.
Amplification helps the ADC use more of its available resolution, which can make small changes easier to detect.
How Do I Reduce Electrical Noise Before the ADC?
Analog sensor signals often pick up electrical noise from motors, switching power supplies, long wires, USB power, and nearby circuits.
An RC low-pass filter can reduce unwanted high-frequency noise before the ADC samples the voltage. Good grounding, short signal paths, proper decoupling, and careful wiring also improve measurement stability.
I prefer to correct electrical noise before relying heavily on software averaging.
One common source of interference in sensor circuits is a brushed DC motor, which can generate electrical noise as its brushes and commutator switch current. This interference may cause unstable ADC readings, especially when motors and sensitive analog sensors share a power supply or have poorly managed wiring.
Understanding why a DC motor causes electrical noise can help you identify potential interference sources and choose suitable noise-suppression, grounding, and filtering techniques for more reliable sensor measurements.
What Formula Converts Sensor Voltage Into an ADC Value?
Once the signal is within the permitted input range, the digital value can be estimated using:
ADC value = (Sensor voltage ÷ Reference voltage) × Maximum ADC value
The maximum value depends on ADC resolution.
For a 10-bit ADC:
2^10 − 1 = 1023
Suppose my sensor produces 2.5 volts and the reference voltage is 5 volts.
ADC value = (2.5 ÷ 5) × 1023
The result is approximately 512.
This formula is the foundation of how to convert sensor voltage into digital values in many embedded electronics projects.
How Does ADC Resolution Affect Sensor Measurements?

Resolution determines how many digital steps are available across the input voltage range.
An 8-bit ADC typically provides values from 0 to 255. A 10-bit ADC provides 0 to 1023. A 12-bit ADC provides 0 to 4095.
With a 5-volt reference, a 10-bit ADC represents roughly 4.89 millivolts per count.
With a 3.3-volt reference and a 12-bit ADC, each count represents about 0.806 millivolts.
Higher resolution allows the system to detect smaller voltage changes, but resolution is not the same as accuracy. Noise, reference stability, ADC design, grounding, and calibration can still limit the quality of the final measurement.
Why Is ADC Reference Voltage So Important?
The reference voltage, often called VREF, determines the voltage range represented by the digital output.
If VREF changes, the meaning of every ADC count changes too.
For precision projects, I avoid assuming that a nominal 5-volt rail is exactly 5.000 volts. USB supplies and voltage regulators can vary slightly.
A stable reference voltage can improve repeatability, especially when I need accurate sensor measurements rather than simple threshold detection.
How Do I Read an Analog Sensor With Arduino?
Arduino makes analog conversion easy to understand.
On many classic Arduino boards, I can read an analog input using:
int sensorValue = analogRead(A0);
The returned number represents the ADC result, not the voltage itself.
If the board uses a 10-bit ADC, the value usually falls between 0 and 1023.
To estimate voltage, I can use:
Voltage = (ADC reading × Reference voltage) ÷ Maximum ADC value
If the reading is 600 and VREF is 5 volts:
Voltage = (600 × 5) ÷ 1023
The result is approximately 2.93 volts.
The same general concept applies to ESP32, Raspberry Pi Pico, STM32, and other microcontrollers, although ADC resolution, input range, and configuration may differ.
Working with microcontrollers and sensor data can also be a starting point for developing broader programming skills.
Once you understand how Arduino code reads analog inputs, you can explore more advanced applications involving data processing, automation, and embedded systems.
If you want to build on these foundations, explore these best coding bootcamps to discover learning options for strengthening your coding skills and progressing toward more complex technology projects.
How Do ADC Values Become Temperature, Pressure, or Light Data?
The ADC only measures voltage. It does not know what that voltage represents.
To convert the reading into real-world units, I use the sensor’s transfer function or calibration data.
For example, suppose a temperature sensor outputs 10 millivolts per degree Celsius.
If I calculate a sensor voltage of 0.25 volts, that equals 250 millivolts.
250 ÷ 10 = 25°C.
A pressure sensor may require a different equation, while some light sensors use nonlinear relationships.
The complete measurement chain is therefore:
Sensor condition → analog voltage → signal conditioning → ADC value → calculated voltage → physical measurement.
Once a microcontroller converts sensor voltages into digital values, those readings can become inputs for decision-making circuits and automation systems.
Understanding how digital systems interpret HIGH and LOW signals is a useful next step, especially for students exploring electronics and robotics. These basic logic gate projects for students demonstrate how Boolean logic can turn input conditions into practical outputs, from security alarms to water-level controllers.
Why Do Sensor ADC Readings Keep Changing?

Small ADC fluctuations are normal.
Noise can come from power supplies, nearby switching circuits, motors, long wires, unstable grounds, or the sensor itself.
If readings jump too much, I first check power quality, grounding, reference voltage, wiring length, sensor output stability, and input range.
Software averaging can help reduce random variation, but it should not be used to hide a poor circuit.
How Can I Improve ADC Accuracy?
When I need cleaner measurements, I focus on the entire analog signal path.
A stable power supply, reliable VREF, short wiring, proper grounding, sensible filtering, correct source impedance, and calibration usually make a bigger difference than simply choosing a higher-resolution converter.
Oversampling or averaging several readings can also reduce random noise.
The key is remembering that a digital result is only as reliable as the analog signal entering the ADC.
Frequently Asked Questions
1. What device converts sensor voltage into a digital value?
An Analog-to-Digital Converter converts an analog sensor voltage into a digital number that a microcontroller can process.
2. Why does Arduino return values from 0 to 1023?
Many classic Arduino boards use a 10-bit ADC. Ten bits provide 1,024 possible digital levels, represented from 0 through 1023.
3. Can I connect a 12-volt sensor output directly to an Arduino?
Usually not. The signal must first be reduced to a safe analog input range, often with a voltage divider or other signal-conditioning circuit.
4. Do very small sensor voltages need amplification?
They often do. Millivolt-level or microvolt-level signals may require an op-amp or instrumentation amplifier so the ADC can measure them more effectively.
5. Is a 12-bit ADC always more accurate than a 10-bit ADC?
No. A 12-bit ADC has finer resolution, but real accuracy also depends on noise, reference voltage, circuit design, calibration, and ADC specifications.
6. Why should I learn how to convert sensor voltage into digital values?
It allows me to turn analog signals into useful digital measurements that software can analyze, display, compare, log, or use to control other devices.
Final Thoughts
Once I understand the full signal chain, sensor measurements become much easier to design and troubleshoot.
A good system does more than send a voltage into an ADC. It first makes sure the signal is safe, properly scaled, and reasonably clean. The ADC then converts that voltage into a numerical value based on its resolution and reference voltage.
From there, software can translate the raw digital reading into volts and then into meaningful physical units.
Whether I am working with Arduino, ESP32, Raspberry Pi Pico, automotive sensors, temperature sensors, or other analog devices, the same principles apply. Reliable sensor data comes from combining correct signal conditioning, proper ADC calculations, stable reference voltage, good wiring, filtering, and calibration.