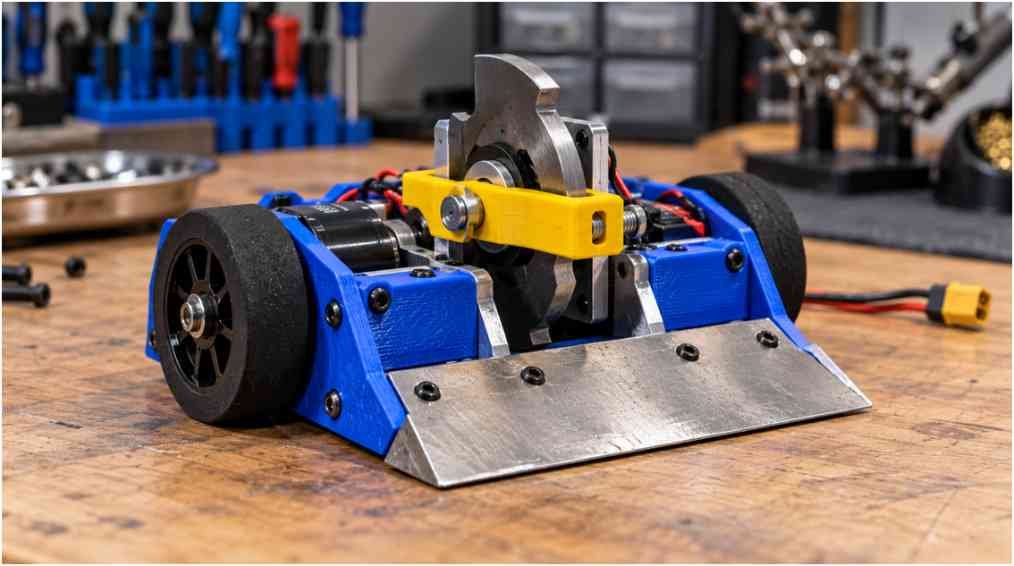
When I set my first DIY mini combat robot down inside the polycarbonate arena, my hands trembled on the transmitter sticks. Five seconds into the match, an opponent’s spinning drum caught my robot’s front corner and threw all 454 grams of my hard work three feet into the ceiling. That sudden loss taught me a crucial lesson: building a winning insect-class machine requires strict weight accounting, smart electrical design, and impact management.
Anatomy of a 1-Pound Combat Robot Build
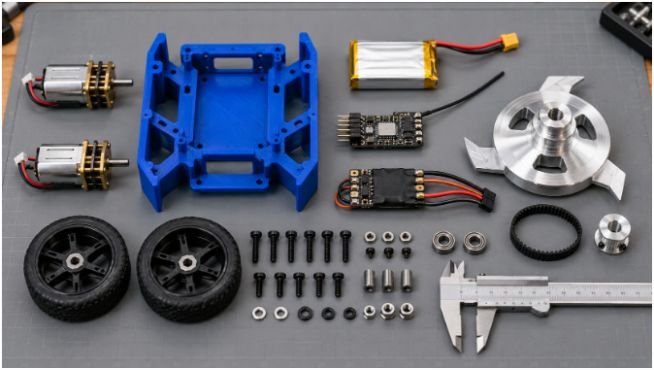
Every ounce matters when you design inside the US 1-pound Antweight limit. I partition the entire machine into three distinct systems: drive, chassis, and electronics.
+————————————————————–+
| TOTAL ANTWEIGHT BUDGET: 454 GRAMS |
+——————————+——————————-+
| Drive & Power (~33% / 150g) | Chassis & Armor (~34% / 154g) |
| – Motors, Wheels, Battery | – TPU/UHMW Unibody, Screws |
+——————————+——————————-+
| Active Weapon System (~33% / 150g) |
| – Brushless Motor, Disc, Pulley, ESC |
+————————————————————–+
Drivetrain and Micro Gearmotors
A robot that cannot move cannot win. For reliable drive power, I avoid unbranded toy motors and standardize on brushed micro gearmotors.
The baseline standard is the classic N20 brushed micro gearmotor, running at roughly 50:1 to 30:1 reduction. When I need higher torque and shock-resistant shafts, I upgrade to FingerTech Robotics Silver Spark gearmotors. I pair these motors with high-traction, compliant tires. Molded silicone rubber or soft foam wheels absorb glancing kinetic hits without shearing motor output shafts.
To control drive motors, I rely on integrated micro-controllers like the Malenki-Nano. This tiny dual-ESC and receiver combo weighs just 5.5 grams. It eliminates messy bundles of servo wires and saves significant chassis volume.
Power Management and Wiring Architecture
Combat electronics endure intense acceleration and sudden decelerations. I use small 2S (7.4V) or 3S (11.1V) lithium-polymer (LiPo) battery packs rated between 180mAh and 300mAh. A discharge rate of 45C to 75C delivers the instant current spikes your motors demand.
Direct solder connections between your ESC and motor leads eliminate loose connections during hard hits. I secure internal wiring looms with Kapton tape and neutral-cure silicone adhesive to prevent connector walk-out.
Designing the Weapon System and Selecting Brushless Motors
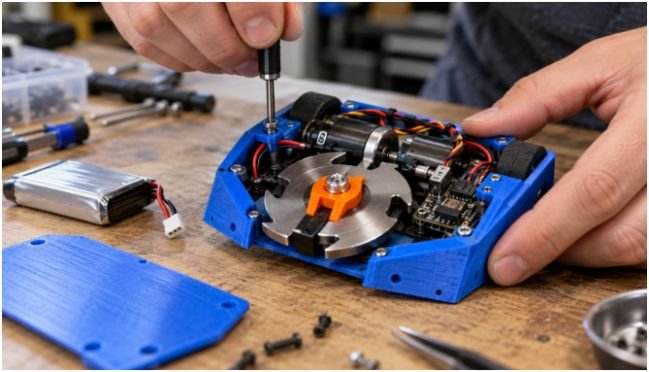
Building an active spinner weapon requires balancing kinetic energy against motor torque. I prefer outrunner brushless motors because their rotating outer cans naturally function as driven hubs.
Calculating KV Ratings and Operating RPM
A common novice mistake is chasing maximum unloaded speed. Running a weapon above 20,000 RPM creates air drag and causes weapon teeth to bounce off opposing armor without biting. For optimal energy transfer, I target a loaded weapon tip speed between 11,000 and 15,000 RPM.
RPMtargetKVVnominal0.75
On a 3S LiPo pack (11.1V nominal), I choose a motor between 1,400 KV and 1,800 KV for direct-drive discs. If I design a belt-driven system using a 1.4:1 pulley step-down, I step up to a 2,200 KV or 2,400 KV motor in a 2205 or 2207 stator size. Stator volume directly translates to torque: taller stators get heavy steel bars up to speed in under one second.
+—————+—————+——————–+————————+
| Battery Pack | Motor KV | Target Loaded RPM | Ideal Weapon Type |
+—————+—————+——————–+————————+
| 3S (11.1V) | 1,400-1,800KV | 11,500 – 15,000 | Direct-drive discs |
| 3S (11.1V) | 2,200-2,600KV | 12,000 – 16,000* | Belt-driven beater bars|
| 4S (14.8V) | 1,100-1,400KV | 12,000 – 15,500 | Direct-drive bars |
+—————+—————+——————–+————————+
*Values calculated after a 1.3:1 – 1.5:1 pulley reduction.
Sizing the Weapon ESC for Hard Stall Current
When a spinning weapon hits an opponent or catches a pit wall, the motor instantly halts. This stall generates massive back-EMF and draws extreme current spikes through the electronic speed controller.
Normal Spin: [ 10A Draw ] -> Safe for all ESCs
Full-Stop Impact: [========= 42A Surge =========] -> Melts under-rated 20A ESCs!
During bench testing with a 95-gram AR400 steel horizontal blade, my 2205 outrunner spiked from a 7.2A idle draw to a 42A surge during an abrupt stall. A generic 20A micro quadcopter ESC burnt its MOSFET bridge within three test cycles.
To protect your system, install an ESC rated for at least 30A to 40A continuous current. Flash your speed controller with BLHeli_32 or BLHeli_S firmware, and disable active motor braking. Disabling active braking prevents lethal voltage spikes from feeding back into your battery bus when throttle drops to zero.
Chassis Engineering and Impact Material Selection
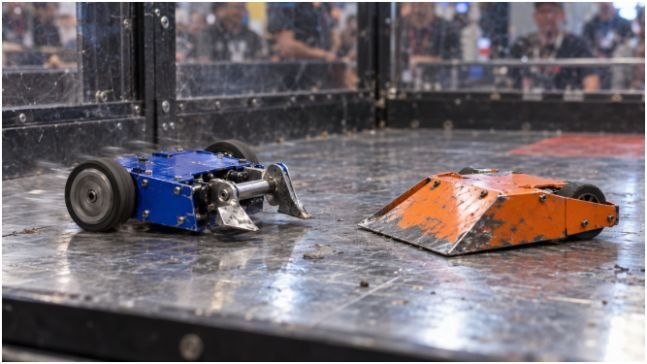
Chassis geometry must withstand weapon impacts and internal battery shifts. I draft complete assemblies inside Autodesk Fusion to calculate precise centers of mass and ensure clearance for spinning components.
IMPACT RESISTANCE PROFILE
Brittle Failure <——————————> High Deflection
+—————+—————+—————+—————+
| PLA / ABS | PA6-CF | UHMW | TPU 95A |
| (Shatters) | (Very Stiff) | (Energy Absorber) (Rubber Deflection)|
+—————+—————+—————+—————+
3D-Printed Thermoplastics vs Machined HDPE
Standard PLA and ABS plastics shatter upon weapon impact. I rely on two primary materials when manufacturing Antweight frames:
- Thermoplastic Polyurethane (TPU 95A/98A): TPU acts like dense rubber armor. When printed with four perimeters and 40% gyroid infill, a TPU chassis deforms elastically, absorbs kinetic energy, and snaps back to its original shape. It is the premier choice for exterior armor and wedge mounts.
- UHMW / HDPE Sheet: Machined ultra-high-molecular-weight polyethylene resists gouging and abrasion. It absorbs hits without cracking, making it ideal for baseplates and weapon bulkheads.
- Carbon-Fiber Nylon (PA6-CF): Use this rigid filament only for internal component bays. It protects battery mounts from flexing into spinning motor cans.
Weight Budget Breakdown: The Rule of Thirds
A competitive combat machine follows the classic Rule of Thirds: one-third drivetrain, one-third chassis armor, and one-third active weapon.
- Drive and Power (148g): Two Silver Spark motors (56g), micro wheels (24g), 3S 250mAh battery (28g), Malenki-Nano ESC/receiver (6g), power wiring, and switch (34g).
- Chassis Structure (152g): Monolithic 95A TPU frame (105g), titanium wear plates (32g), fasteners, and thread inserts (15g).
- Weapon Assembly (154g): 2205 2300KV motor (29g), 30A BLHeli ESC (11g), FingerTech 3M timing belt and pulleys (18g), hardened S7 tool steel tooth (96g).
Safety Verification and SPARC Compliance Checks
Robot combat features strict safety rules. Most competitive events in the United States operate under standardized SPARC Construction Rules. Inspectors will fail your robot if you overlook core protocols.
- Failsafe Verification: Turn your transmitter off while the robot rests on elevated test blocks with weapon armed. The drive wheels and weapon must immediately drop to an unpowered stop.
- Removable Power Link: You must install a mechanical disconnect switch or removeable link accessible within 15 seconds. Relays or software power switches are not permitted as primary cutoffs.
- External Power Indicator: Wire a high-brightness LED directly downstream of your main switch. If your battery circuit is live, the LED must glow visibly from outside the chassis.
- Mechanical Weapon Lock: Always keep a high-visibility locking pin inserted through your spinner bar during pit handling and bench testing.
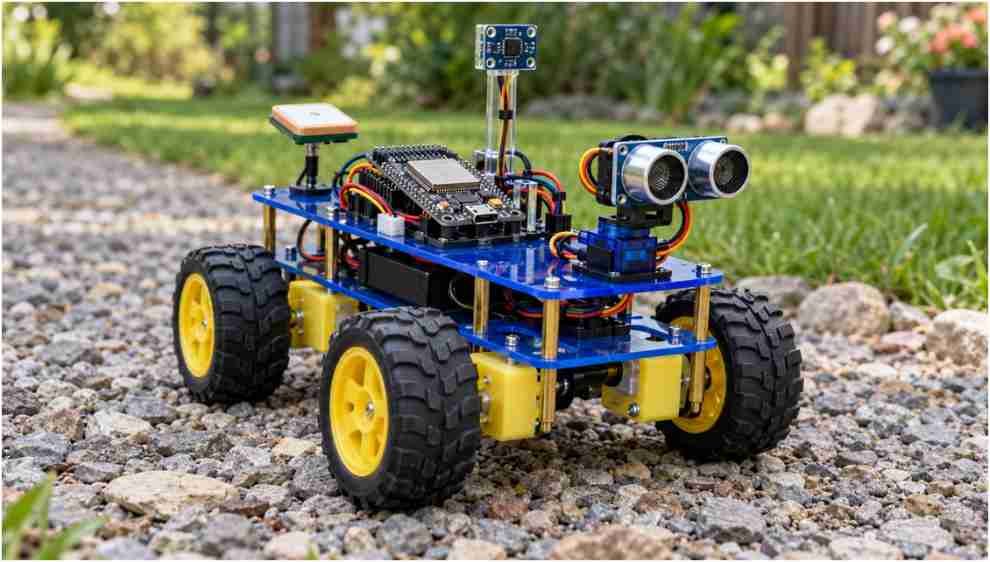
If you have experimented with building a hexapod spider robot or programming an Autonomous rover, combat robotics demands a different mindset. While autonomous projects prioritize balance and sensing, combat robotics centers on mechanical shock survival, energy transfer, and rapid throttle response.
Frequently Asked Questions About Mini Combat Robots
1. What is the most durable chassis material for a 1lb combat robot?
TPU 95A filament offers superior durability for 3D-printed chassis by absorbing impact energy without cracking or layer separation.
2. How do I stop my weapon motor from burning out during hits?
Disable active regenerative braking in your ESC firmware and select an ESC with at least double the motor’s nominal continuous amp rating.
3. Can I build an Antweight without an expensive active spinner?
Yes, well-engineered wedge pushers often dominate local tournaments through reliability, control, and heavy front armor.
4. How long does a combat robot battery last in the arena?
A 250mAh to 300mAh LiPo battery easily powers a 1-pound combat robot through a standard two-minute match with reserve capacity.
Enter the Box: Your Path to the Pit Area
Stop overthinking your initial designs on paper. Fire up your 3D printer, order two micro gearmotors, and start putting together a simple wedge pusher chassis.
Once you learn how to handle driving under match conditions, you can engineer high-energy spinners with confidence. Calibrate your scale, balance your weapon disc, and secure your place in the arena.