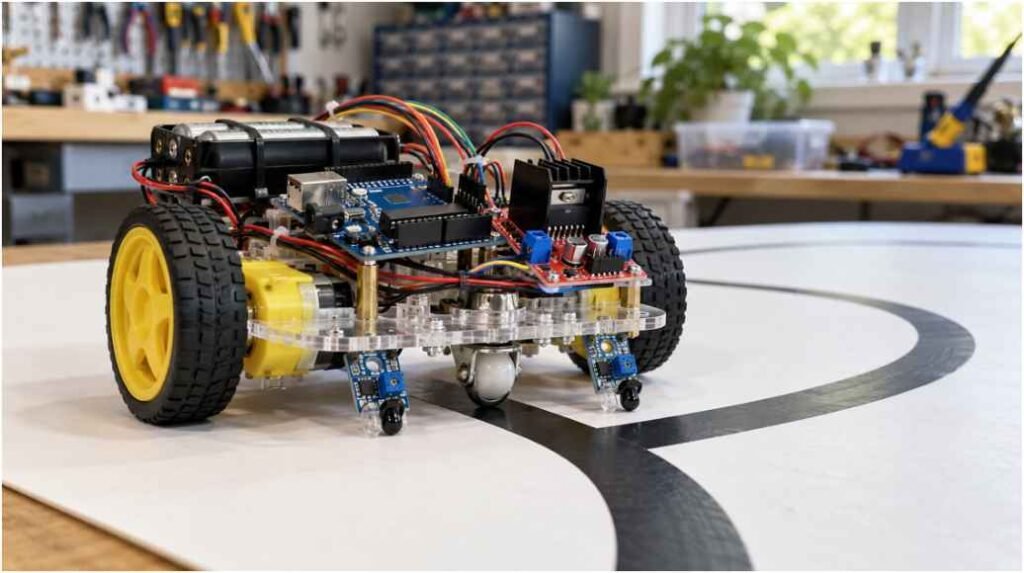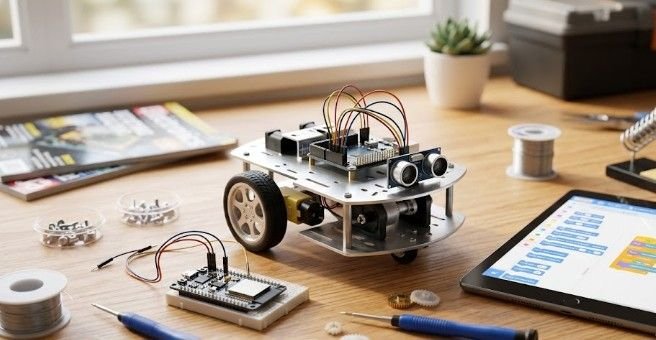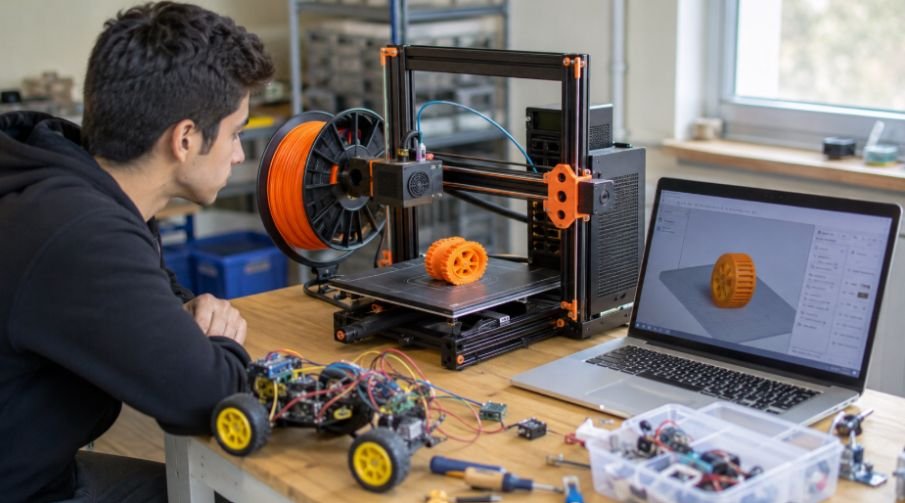
That first 3D printer can feel like a tiny robot building another robot. My beginner rule for learning how to use a 3d printer is simple: prepare the model, load the filament, level the bed, and watch the first layer.
You will learn a safe, repeatable workflow for creating robotics parts, prototypes, and useful everyday objects.
Why This Skill Is Worth Learning
Learning how to use a 3d printer turns digital ideas into physical objects you can test, improve, and use. A loose robot sensor, messy cable, or missing bracket can become a fun design challenge instead of a project-ending problem.
Printing also teaches measurement, material behavior, motion, and practical problem-solving.
Know Your Printer
Understanding the main parts makes every setup instruction easier to follow. Learning the main components of a robot also makes it easier to understand how 3D-printed brackets, housings, and mounts support sensors, motors, controllers, and power systems.
Learn The Main Parts
The extruder pushes filament toward the hot end, where the nozzle melts it. The print bed supports the model, while motors move the nozzle or bed along the X, Y, and Z axes.
A controller reads G-code and manages movement, speed, and temperature. Your machine may also include automatic bed leveling, a filament sensor, Wi-Fi, or a flexible build plate.
Choose PLA Filament
PLA is a beginner-friendly filament because it usually prints easily on a prepared surface. Check the required diameter and temperature range on the spool instead of relying on one universal setting.
Store filament in a sealed bag or dry box with desiccant. Damp material may pop, string, form rough walls, or create weak layers.
How To Use A 3D Printer Step By Step
Using a 3D printer comes down to four basic stages. The following how to use a 3d printer workflow keeps them in the safest, most reliable order.
1. Prepare Your 3D Model

Download a small STL, OBJ, or 3MF file from a trusted model library, or create one in beginner CAD software. A calibration cube, cable clip, robot wheel spacer, or sensor holder makes a sensible first project.
Open the design in slicing software such as UltiMaker Cura or PrusaSlicer, then select the exact printer, nozzle size, and PLA profile.
Try a 0.20 mm layer height, moderate speed, and 10 to 20 percent infill for a basic model. Add supports only where parts would print in mid-air. Preview every layer before exporting the G-code.
2. Load The Filament
Turn on the printer and select its PLA preheat option. Standard PLA often prints around 195°C to 210°C, but follow the filament maker’s range and your printer profile.
Cut the filament tip at about a 45-degree angle. Release the extruder lever, feed the filament through the guide path, and continue until melted plastic exits the nozzle smoothly.
Never touch the heated nozzle. Stop and inspect the filament path if the material bends, grinds, or refuses to move. Forcing it can create a jam.
3. Level The Print Bed

Bed leveling creates a consistent gap between the nozzle and build surface. Run automatic leveling if available, then check the Z-offset because automatic sensors do not always set the final nozzle gap.
For manual leveling, position the nozzle above each corner and slide ordinary paper underneath. Adjust the bed until the paper moves with slight resistance. Repeat every corner twice.
A high nozzle leaves round lines that do not stick. A low nozzle may scrape the plate or block extrusion. Correct first-layer lines look slightly flattened, smooth, and connected.
4. Print And Remove
Transfer the G-code through an SD card, USB cable, Wi-Fi, or your printer’s supported method. Clean the build plate as the manufacturer recommends, select the file, and start printing.
Watch the complete first layer. Stop if plastic curls around the nozzle, leaves gaps, creates heavy ridges, or lifts from the bed. Clean, relevel, or adjust the Z-offset before restarting.
Let the model and build plate cool completely. Remove the part gently with a flexible plate or approved scraper, pushing away from your hands. Trim supports and test the part before installing it on a robot.
Use Prints In Real Life
Practical projects make learning faster because every model has a clear purpose.
Build Robotics Parts
Useful beginner prints include motor brackets, battery holders, sensor mounts, cable guides, wheel hubs, switch guards, and electronics cases. Print one test piece before making several copies.
Measure screws, shafts, bearings, motors, and wires with digital calipers. Leave a small clearance between touching parts because printed dimensions can vary slightly.
Design For Strength
Print orientation affects durability because parts may split along layer lines. Rotate brackets and robot arms so important forces travel across stronger paths whenever possible.
Wall count, infill, shape, material, and temperature also affect strength. Do not use an untested print for safety-critical, high-heat, electrical, or heavy-load applications.
Fix Common Problems
Most early failures come from dirty surfaces, poor calibration, damp filament, or an incorrect slicer profile.
Improve Bed Adhesion
Clean the plate, repeat leveling, and fine-tune the Z-offset. Confirm that nozzle and bed temperatures suit your PLA. A brim can support a narrow base, but it cannot replace correct calibration.
Avoid touching the cleaned print area because skin oil can reduce adhesion. Use only cleaning products approved for that build surface.
Reduce Strings And Shifts
Stringing may improve with dry filament, a suitable nozzle temperature, and a tested retraction profile. Begin with the manufacturer’s material preset before changing individual values.
Layer shifts may signal loose belts, blocked movement, high speed, or a nozzle collision. Stop the machine, let hot parts cool, and inspect the motion system.
Frequently Asked Questions
1. How To Use A 3D Printer Step By Step?
To learn how to use a 3d printer, prepare and slice a model, load filament, level the bed, transfer G-code, watch the first layer, cool the part, and remove it safely.
2. Can A Beginner Use A 3D Printer?
Yes. A beginner can use a modern FDM printer by choosing PLA, a small model, and a ready-made slicer profile while following the manufacturer’s setup and safety guidance.
3. What Is Needed To Use A 3D Printer?
You need a compatible printer, filament, digital model, slicing software, file-transfer method, clean build surface, basic removal tools, and enough time to monitor the setup and first layer.
4. How To 3D Print For Beginners?
Begin with a small, flat PLA model and default settings for your exact machine. Focus on safe setup, bed leveling, Z-offset, steady extrusion, and one careful adjustment at a time.
Print, Learn, And Build Something Brilliant
Learning how to use a 3d printer becomes easier when every project follows the same reliable sequence. Prepare a clean model, load suitable filament, level the bed, and study the first layer before walking away.
Keep notes about successful temperatures, materials, and slicer profiles. Each finished print will strengthen your robotics skills and turn a small digital idea into a useful part you can test, refine, and proudly install.