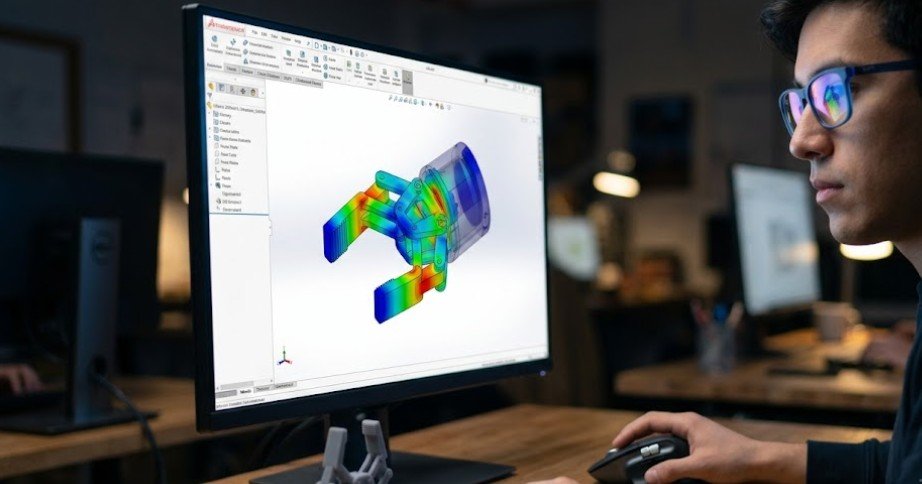
Staring at a plain plastic spool and imagining it as a custom robotic arm feels like absolute magic. Finding out how does 3d printing work is our ultimate superpower as makers because it turns wild ideas into physical reality. We get to bypass traditional factory manufacturing and build complex parts right from our desks.
Instead of carving blocks of wood or metal, which wastes tons of raw material, our desktop machines construct objects layer by layer. This brilliant process is known as additive manufacturing, where we stack materials like plastic or resin to form complete shapes.
Why You Need to Learn This Right Now
We love building robots, but buying custom brackets online will quickly empty our wallets. Mastering how does 3d printing work saves our budgets and unleashes our creativity. We can prototype custom gears and joints in hours rather than waiting weeks for shipping, giving us the ultimate edge in our engineering journey.
Mastering The 3D Printing Process
Learning how does 3d printing work is easiest when we divide the manufacturing process into three simple phases.
Designing Your Digital Blueprint
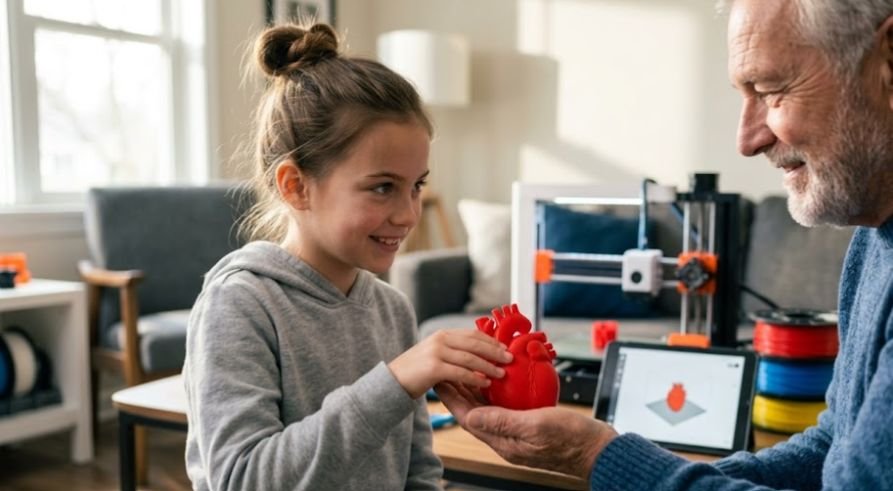
Every awesome physical object starts its life as a virtual concept on a computer screen. We begin our manufacturing journey by constructing a virtual three-dimensional model using accessible computer-aided design software.
Programs like Tinkercad or Fusion 360 are perfect for modeling customized sensor holders, motor mounts, and simple brackets.
Learning how to design 3D print models helps us create parts that match our robot’s exact dimensions before sending them to the printer. If we are short on time, online hubs like MakerWorld or Thingiverse host millions of free, pre-made designs ready for download.
If we are short on time, online hubs like MakerWorld or Thingiverse host millions of free, pre-made designs ready for download.
Once the virtual model is completely finished, we must export it as a file our machines can eventually understand. While the classic STL file format remains highly popular, modern developers are rapidly switching to the 3MF format.
This updated format is vastly superior because it naturally stores valuable data like color profiles, physical materials, and structural properties in a much lighter package.
Slicing the Model Into Instructions
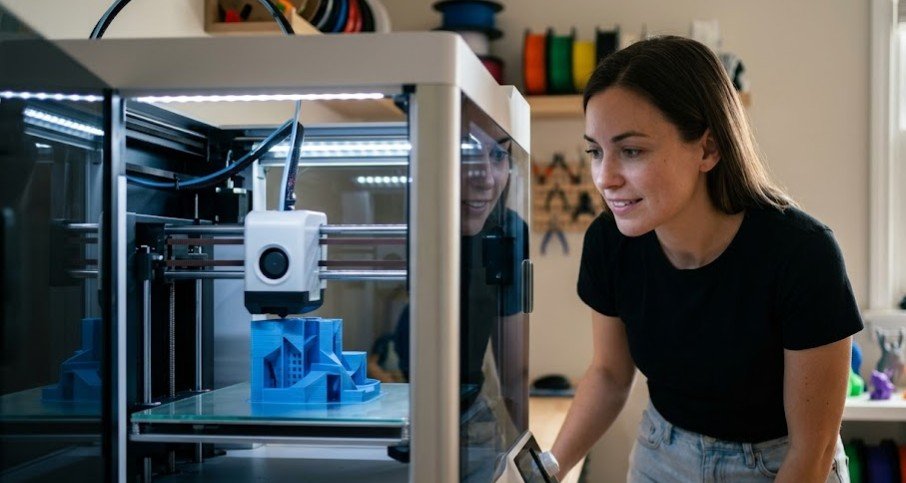
Before our physical printer can start moving, we must translate our visual design into digital code.
Our physical machines cannot directly read a raw design file, so we rely on specialized programs called slicers. This software acts as a brilliant translator by slicing our virtual model into thousands of microscopic, flat horizontal layers. The software calculates exact tool paths and determines how fast our machine needs to move to build each section.
The slicer then outputs a dedicated text file containing instructions known as G-code. This code is the universal robotic language that commands our printer where to go along the spatial grid. It dictates precise nozzle temperatures, extrusion speeds, and fan cooling rates so our object prints flawlessly without manual intervention.
Printing Layer by Layer to Reality
Our machine receives the G-code file and begins warming up its internal heating elements. Once the target temperatures are reached, the printing mechanism moves dynamically along three physical axes known as X, Y, and Z. By systematically stacking material from the bottom up, our printer slowly brings the digital file into physical existence.
This step-by-step additive process means our final robot part is built as one continuous, solid structure. Unlike traditional machining which cuts away material and creates immense waste, our printer only uses the exact amount of plastic needed. After the printing finishes, we simply pop the part off the bed and prepare it for assembly.
Discovering Different Printing Technologies
We can choose from several unique manufacturing methods depending on our budget and project needs.
Fused Deposition Modeling (FDM)
FDM is widely compared to a highly precise, computer-controlled hot glue gun. The system pulls a thin thermoplastic thread called filament from a spool and feeds it into a heated brass nozzle. The melted plastic is pushed onto a build surface where it cools and solidifies almost instantly to form a strong layer.
Once a single layer is fully drawn, the print head rises up or the build plate drops down a fraction of a millimeter.
The machine immediately starts extruding the next layer directly on top of the previous one. Choosing the best 3D printer for robotics projects can make this process more reliable when producing durable brackets, chassis parts, gears, and motor mounts.
The machine immediately starts extruding the next layer directly on top of the previous one. This method is exceptionally cheap and works beautifully for printing tough, structural robot parts.
Stereolithography (SLA)
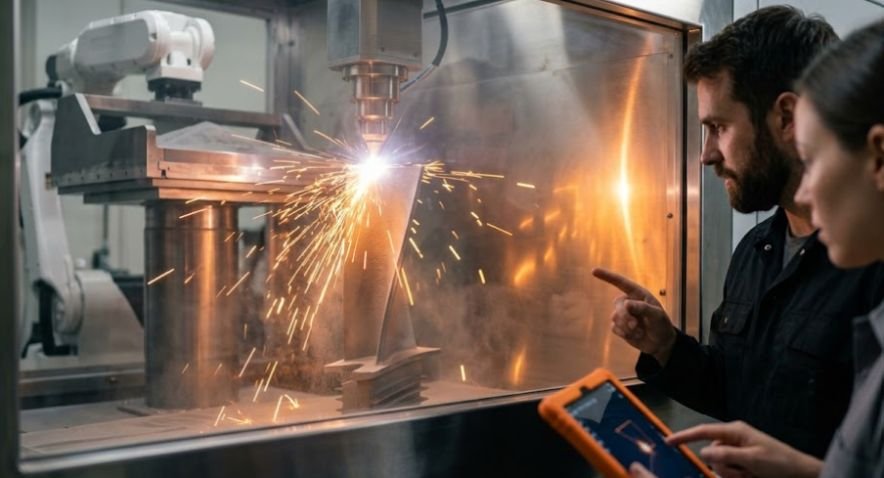
SLA technology trades plastic spools for liquid chemistry to achieve stunning, high-definition details.
This advanced printing process utilizes a shallow vat filled with liquid photopolymer resin instead of melting plastic. A highly focused ultraviolet laser or high-resolution projector traces the exact shape of a single layer onto the liquid surface. The ultraviolet light instantly cures and hardens the liquid resin into solid plastic.
After curing a layer, the build plate slowly lifts up to allow fresh liquid resin to flow underneath. The machine then cures the next layer, gradually pulling the finished model out of the vat. SLA is perfect when our robots require incredibly smooth surfaces or microscopic, highly intricate gears.
Selective Laser Sintering (SLS)
SLS is a highly robust manufacturing method that operates inside a specialized powder bed. A high-powered laser sweeps across a layer of fine plastic or metal powder, selectively heating and fusing the particles together. Because the model is fully suspended in loose powder during the build, it requires absolutely no temporary support structures.
Once the laser completes a layer, a roller spreads a fresh, micro-thin layer of powder over the build surface. The laser repeats the sintering process until the entire metal or nylon component is fully formed. This technology is incredibly expensive but produces the strongest, flight-ready robotic parts imaginable.
Frequently Asked Questions
1. Is anything illegal to 3D print?
Yes, printing functional firearms, restricted military gear, or patented commercial products for sale is highly illegal under global laws. We must always print safely and respect copyright regulations.
2. How does 3D printing actually work?
The process takes a digital model, slices it into thin layers, and builds it from the ground up by systematically depositing material. This additive approach avoids wasting raw resources.
3. Is 3D printing difficult for beginners?
No, modern desktop machines feature automatic bed leveling and intuitive software. Beginners can easily set up their printer and start successfully creating custom parts within an hour of unboxing.
4. How much does it cost to run a 3D printer for 1 hour?
It generally costs between ten and thirty cents per hour. This estimate combines the low electricity consumption of the machine with the weight of plastic filament used during printing.
High-Five Your New Robotic Fabrication Power!
Now that you understand exactly how does 3d printing work, the sky is the limit for your custom robotics builds. Transforming your digital concepts into physical tools is an absolute game-changer for makers. Grab some colorful filament, fire up your slicing software, and start manufacturing your custom robot dreams today! We cannot wait to see what incredible creations you build next.