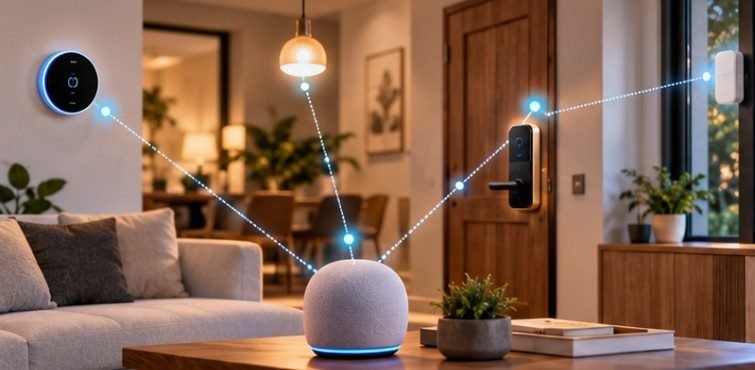
A smart sensor can be only a few feet from the “right” location and still produce misleading readings, missed motion, or irritating false alerts. The problem is rarely the sensor itself. More often, it is seeing the wrong part of the room, measuring air from an HVAC vent, or trying to communicate through appliances and dense walls.
Learning how to place smart home sensors for best coverage means thinking about three things at once: what the sensor needs to detect, what can distort that detection, and how reliably the device can communicate with the rest of the smart home. That approach produces better automations without simply buying more hardware.
Start With Coverage Zones, Not Individual Devices
Before mounting anything, walk through the house and identify the events you actually need to detect. Entry doors and accessible windows form one zone. Hallways and room transitions form another. Bedrooms, living rooms and home offices may need occupancy or climate monitoring, while kitchens, laundry rooms and mechanical spaces need environmental protection.
This matters because sensors measure conditions immediately around them. One centrally located device does not necessarily represent an entire floor.
The U.S. Environmental Protection Agency makes this point in its guidance for indoor air monitoring. For representative measurements, the EPA recommends considering where occupants spend time and avoiding locations where windows, doors, HVAC ducts or individual pollution sources distort readings.
Think of the goal as representative coverage rather than maximum theoretical range.
Position Motion Sensors Where People Cross Their View
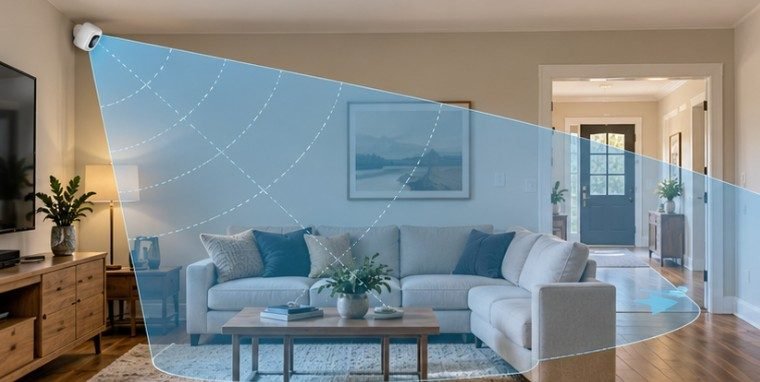
Traditional passive infrared, or PIR, sensors work best when a person moves across their detection zones rather than directly toward the device.
A high corner is therefore often an effective location. In a typical room, mounting approximately 6 to 8 feet above the floor gives a PIR sensor a broad view while reducing interference from furniture and pets.
Give Hallways Special Attention
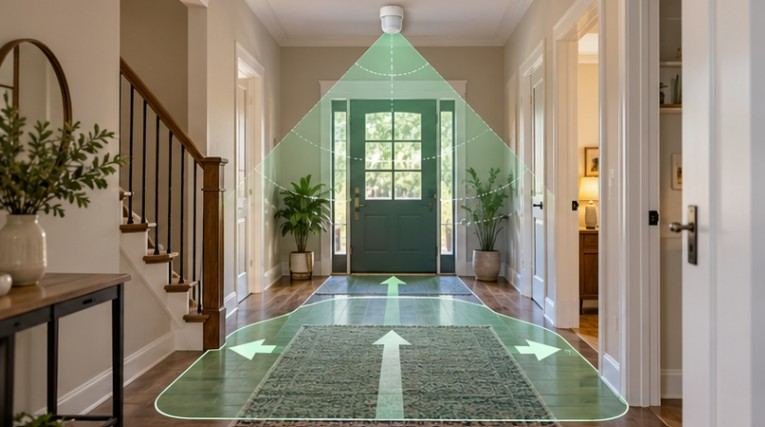
Hallways, stairs and transitions between rooms are valuable locations because nearly everyone moving through a home passes through them.
Instead of pointing a detector directly down a narrow doorway, angle it so occupants cross the sensor’s field of view. In a large living room, place the detector where sofas, bookcases and open doors do not block the detection area.
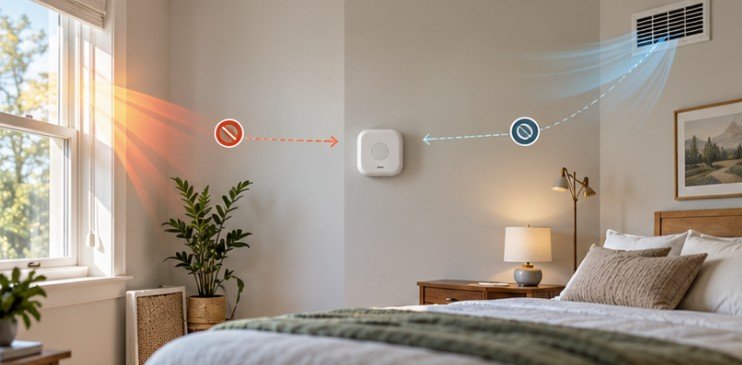
Avoid aiming PIR sensors toward fireplaces, heating vents or strongly sunlit windows. Rapid temperature changes can resemble the infrared changes these sensors are designed to detect.
Presence Sensors Need a Different Strategy
Millimeter-wave and other presence sensors can detect smaller movements than conventional PIR devices. That makes them useful above desks, seating areas, bedrooms and open-plan rooms where someone may remain nearly motionless.
Ceiling mounting can work especially well in these situations because furniture creates fewer obstructions.
But sensitivity creates another problem: a powerful presence sensor may detect somebody through a thin wall or outside the room you intended to automate. Start with conservative sensitivity settings and expand the detection zone only after testing.
Put Climate Sensors Where People Actually Experience the Room
A temperature sensor beside an HVAC register may be accurate about the air leaving the vent while being completely wrong about the comfort of someone sitting ten feet away.
A better position is generally around chest or breathing-zone height on an interior wall with free air circulation.
EPA guidance suggests roughly 3 to 6 feet as a useful breathing-zone range for indoor air sensing. Sensors should not be hidden behind furniture or placed directly beside windows, doors and HVAC ducts because these locations can create unrepresentative measurements.
The U.S. Department of Energy’s building science education guidance similarly recommends locating temperature controls on representative interior walls, away from sunlight, appliances and drafts. Avoid exterior walls when possible, particularly in older U.S. homes with uneven insulation.
Treat Door and Window Sensors as Precision Devices
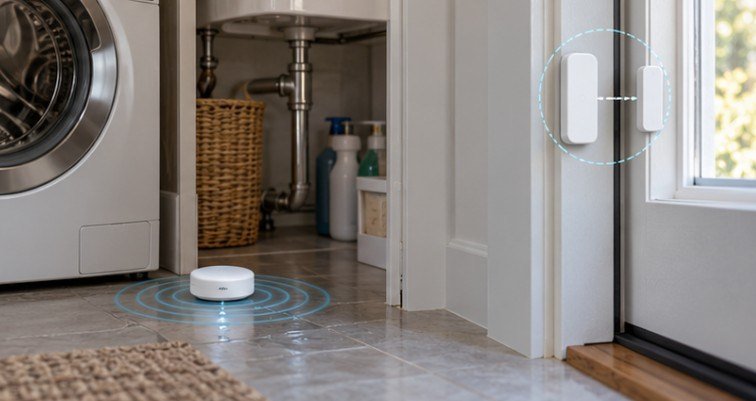
Magnetic contact sensors appear simple, but alignment determines whether they remain reliable. One component mounts to the moving door or window and the other to the stationary frame. When closed, the two pieces must fall within the manufacturer’s permitted separation distance. Do not assume every sensor allows the same gap.
Prioritize exterior doors first, followed by easily accessible ground-floor windows, basement entry points and other openings someone could realistically use. Before using permanent adhesive, temporarily position both halves and repeatedly open and close the door. Verify that the smart-home platform reports every transition correctly. Small alignment problems often become worse after seasonal expansion, door settling or repeated impacts.
Place Leak Sensors Where Water Will Reach Them First
A leak sensor across the room from a washing machine may technically be in the laundry room but still provide poor protection.
Water sensors belong at the lowest likely collection point beside or beneath equipment that can leak. High-priority locations include water heaters, washing machines, dishwashers, refrigerator supply lines, toilets, under-sink plumbing and sump pumps.
Look at the floor before deciding where to place the detector. A slightly sloped basement floor may direct water several feet away from the appliance.
For larger mechanical rooms, multiple inexpensive sensors may provide better protection than one device placed in the center.
Wireless Coverage Matters as Much as Detection Coverage
Correct physical placement means little if the sensor cannot reliably reach its hub. Zigbee and many other low-power wireless systems share the 2.4 GHz spectrum with Wi-Fi, Bluetooth and other devices. NIST researchers have documented how interference in the 2.4 GHz ISM band can affect IEEE 802.15.4 wireless sensor-network reliability inside buildings. Keep the primary hub reasonably central rather than placing it at one extreme end of the house.
Large metal appliances, electrical panels, concrete walls, masonry fireplaces and utility rooms can weaken signals. Moving a hub or sensor several feet can sometimes solve a reliability problem that appears to require another repeater.
Security deserves attention as well. CISA recommends securing connected IoT devices, changing factory credentials and properly protecting the network used by internet-connected equipment.
Safety Sensors Are Not Ordinary Automation Sensors
Smoke and carbon-monoxide alarms should never be relocated merely because a location looks better or improves smart-home connectivity.
NFPA recommends smoke alarms inside every sleeping room, outside separate sleeping areas and on every level of the home. It also advises ceiling or high-wall installation while keeping alarms sufficiently separated from cooking areas to reduce nuisance alarms.
The American Red Cross likewise emphasizes installing smoke alarms on every level and inside and outside sleeping areas.
For life-safety equipment, manufacturer instructions and applicable local codes always take priority over general smart-home placement advice.
FAQ
1. Where should smart home motion sensors be placed?
High room corners, hallways and locations where occupants move across the sensor’s detection field usually provide strong PIR coverage. Avoid blocked views, HVAC vents, fireplaces and intense direct sunlight.
2. How high should a smart temperature sensor be mounted?
About 3 to 6 feet above the floor is useful for many room sensors. Choose an interior location representing occupied space rather than placing it beside windows, vents or heat-producing electronics.
3. Can smart sensors be placed beside a Wi-Fi router?
They may work, but extra separation can reduce potential interference, particularly for 2.4 GHz Zigbee devices. Test reliability and avoid unnecessarily clustering wireless equipment together.
4. Do I need a sensor in every room?
Not necessarily. Install sensors where independent information changes an automation or provides protection. Bedrooms, high-traffic areas, entrances and leak-prone locations usually deserve higher priority than rarely used spaces.
Build Coverage Around Behavior, Not Symmetry
The best sensor layout rarely looks perfectly symmetrical on a floor plan. A hallway may deserve two devices while an unused guest room needs none. A climate sensor may need to move several feet simply because afternoon sunlight reaches its original wall.
That is the key to understanding how to place smart home sensors for best coverage: install them according to how people, air, water and wireless signals actually move through the house. Temporarily mount each device, test normal routines, correct blind spots and only then make the installation permanent. Good coverage comes from observation, not from adding the largest possible number of sensors.