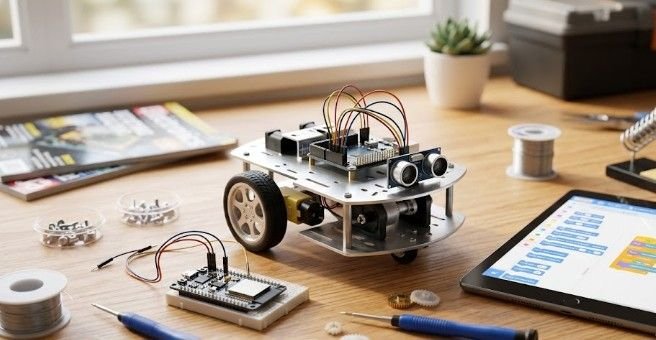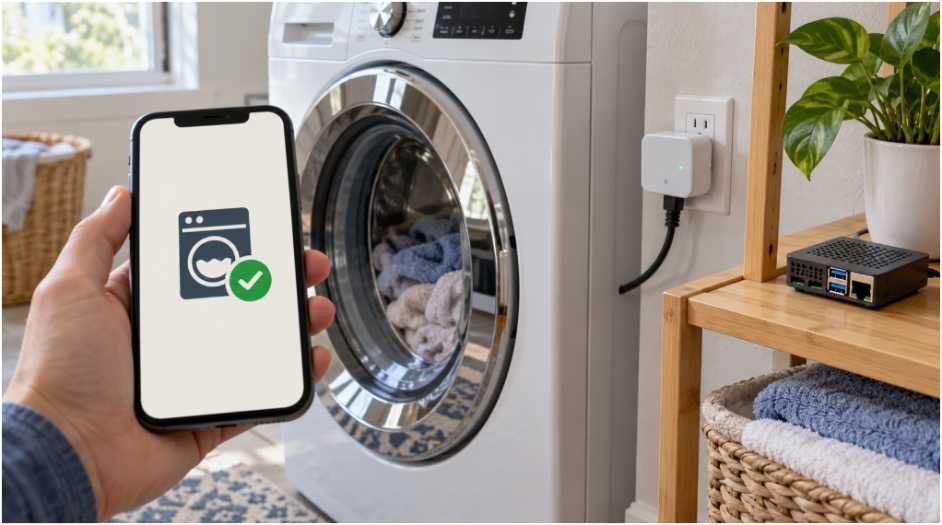
A washer that tells you when it finishes is useful. A washer that announces “done” during every pause needs better logic.
My approach to home automation projects with raspberry pi and home assistant starts with everyday problems: missed laundry, scattered controls, noisy camera alerts, and hidden maintenance tasks. These four builds address those problems while keeping compatible devices under local control.
I’d start with one reliable automation, then expand. A small system that behaves predictably beats a dashboard full of unfinished experiments.
Set Up Your Raspberry Pi Home Assistant Server
Use a Raspberry Pi 4 or 5, a suitable power supply, Ethernet, and reliable storage. A microSD card gets you started; consider an SSD as recording and database activity grows.
In Raspberry Pi Imager, select the Home Assistant OS image matching your board. Write it to your storage, insert it, connect Ethernet, and power up. This follows the official Home Assistant Raspberry Pi installation guide.
Open http://homeassistant.local:8123 from another device on your network. If discovery fails, use the Pi’s IP address.
Create your account, set your location and time zone, and add one compatible device. Reserve the Pi’s address in your router and configure backups before experimenting.
Local control depends on each integration. Installing Home Assistant does not remove an accessory’s cloud dependency. Test essential functions with your internet connection disconnected while leaving the router running.
Build a Touchscreen Smart Home Control Panel
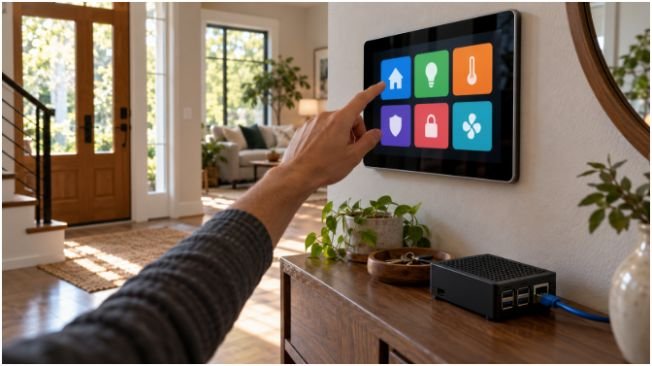
A wall panel makes shared controls accessible without passing around a phone.
Use a separate Raspberry Pi with Raspberry Pi OS, Chromium, and a compatible touchscreen. Your Home Assistant OS server remains the hub; the second Pi displays its dashboard.
Follow Raspberry Pi’s kiosk-mode tutorial, substituting your Home Assistant dashboard address. Chromium can launch full-screen when the display Pi starts. Kiosk mode simplifies the interface; it does not replace account security.
Keep the Dashboard Simple and Accessible
I’d give the panel large buttons for lights, room temperature, laundry status, and a bedtime scene. Keep detailed charts on a separate view.
Create a dedicated non-administrator account for the display. Check touchscreen compatibility before buying, including video, touch input, power, and mounting requirements.
Test a full restart before mounting anything. The panel should reconnect without needing a keyboard.
Create Reliable Laundry Alerts With Energy Monitoring
An energy-monitoring smart plug can detect a washing machine’s changing power draw. First, confirm that the exact plug supports power measurement and your chosen integration.
For American homes, match voltage, current, motor-load ratings, and manufacturer instructions. A typical plug-in smart outlet is unsuitable for a 240-volt electric dryer. Never assume a washing machine, coffee maker, and dryer share compatible requirements.
Observe several complete cycles before choosing thresholds. A temporary low-power phase can otherwise look identical to a finished load.
Worked Example: Prevent False “Cycle Complete” Alerts
Here is an illustrative design, rather than a tested appliance profile.
Suppose the washer draws 2 watts while idle and exceeds 20 watts during active washing. I’d mark it “running” after consumption stays above 20 watts for one minute.
Only after that state is set would power below 5 watts for two minutes trigger completion. The automation sends one notification, then clears the running state.
That extra condition prevents idle appliances from generating repeated alerts. If the washer pauses longer during normal cycles, increase the completion delay.
Use a Home Assistant helper to store the running state. Review restart behavior too: duration-based triggers may lose their elapsed time after a restart.
Add Local Camera Detection With Frigate NVR
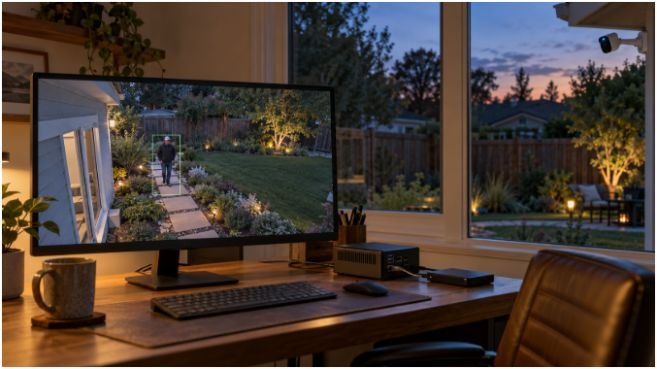
Frigate can connect local object detection with Home Assistant automations. However, video decoding and AI inference create separate hardware demands.
Check Frigate’s recommended hardware before planning cameras or accelerators. A Pi model alone does not guarantee smooth detection, particularly with multiple streams.
I’d begin with one compatible network camera and a modest detection stream. Keep continuous recordings on suitable storage, rather than filling the server’s boot card.
A USB webcam or Camera Module 3 may require additional capture and streaming configuration. Do not assume either connects directly to Frigate without preparation.
For a coding-focused alternative, explore a raspberry pi home security camera with opencv.
Turn Backyard Detection Into Useful Actions
Define a backyard zone that excludes sidewalks and neighboring properties. Trigger an automation when a person enters that zone after sunset.
Send a snapshot notification and turn on an outdoor light. If wanted, add an indoor indicator or pause media, provided those devices support the required actions.
Include a cooldown so one visitor does not trigger repeated interruptions. Local recording also needs sensible network security; keeping footage onsite does not make the system immune to compromise.
Build DIY Smart Home Sensors With ESPHome
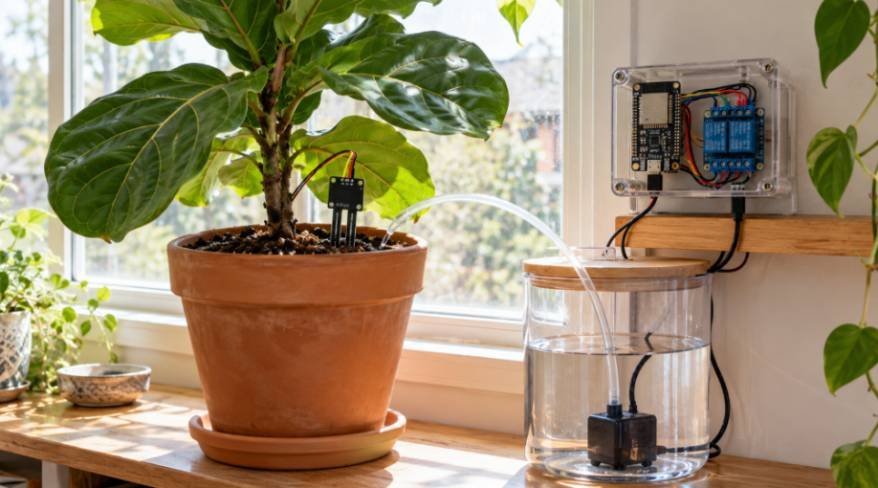
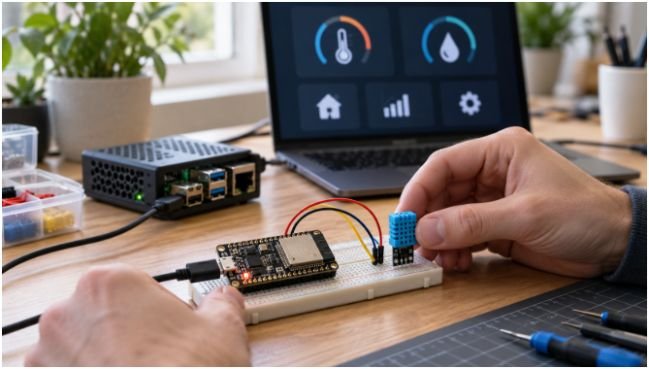
ESPHome lets inexpensive ESP32 boards report measurements to Home Assistant. The Pi manages the system while the smaller boards collect data around your home.
Install ESPHome Device Builder using the official ESPHome installation instructions. Create a device configuration, add your network details, and perform its first firmware installation over USB.
A DHT11 can demonstrate temperature and humidity sensing, although I’d choose a better-specified sensor for decisions requiring greater accuracy.
Check sensor voltage requirements before wiring. ESP32 GPIO uses 3.3-volt logic; some ultrasonic modules require level shifting on their echo output.
Measure Water-Softener Salt Without Guesswork
Mount a suitable distance sensor above the salt surface, away from the refill path.
Measure the sensor-to-salt distance at your chosen full level and again at the refill point. Convert readings into an approximate percentage between those references.
For example, full at 10 centimeters and refill at 40 centimeters makes a 25-centimeter reading approximately halfway between them.
This estimates fill level, not salt weight. Uneven piles, condensation, and salt bridges can distort results. Average multiple readings and require a sustained low level before sending an alert.
Make Every Automation Pass Three Checks
I evaluate each project through three questions: What triggers it? What proves the event is real? What happens after failure?
For laundry, low power triggers evaluation, a previous running state provides proof, and restart handling supports recovery.
For cameras, zone entry triggers evaluation, person classification provides evidence, and a cooldown limits repeated actions.
For sensors, a low reading starts evaluation, sustained measurements confirm it, and an unavailable-device alert reveals missing data.
This approach makes home automation projects with raspberry pi and home assistant easier to troubleshoot because each decision has a clear purpose.
Make Your House Helpful, Not Dramatic
I’d build the laundry alert first, check several cycles, and keep a manual fallback. Then I’d add a panel, sensor, or camera based on the next recurring annoyance.
Give every project a clear success condition. Your house earns its “smart” label when it saves attention without demanding more.
Frequently Asked Questions
1. Which home automation projects with raspberry pi and home assistant are easiest for beginners?
A light schedule, door alert, or energy-based laundry notification offers a manageable starting point.
2. Can Home Assistant work without internet access?
Compatible local integrations can, while cloud services and some notification delivery still require internet.
3. Can one Raspberry Pi run Home Assistant and a touchscreen?
Home Assistant OS does not provide a normal desktop browser; a separate display device simplifies this setup.
4. Do I need a Zigbee adapter for these projects?
Only if you choose Zigbee devices; compatible Wi-Fi devices and ESPHome sensors do not require one.