DIY 3D Printed Robot Projects That Really Work Today
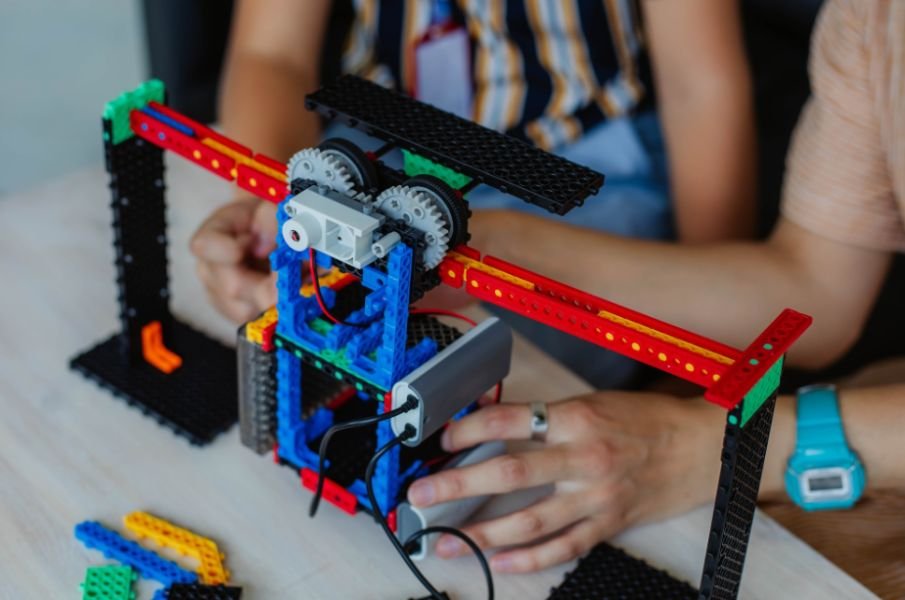
I prefer robot builds that move beyond an impressive render and become something I can print, wire, program, and improve at home. The best diy 3d printed robot projects provide accessible files, realistic parts lists, clear assembly steps, and room to learn.
This guide moves from wheeled robots to arms, quadrupeds, and humanoid mechanisms, helping you choose a build suited to your printer, budget, and coding experience.
What You Need Before Printing a Robot
Check the documentation, electronics, printer capacity, power requirements, and source-code availability before printing.
Select the Right Material and Settings
PLA is easiest for rigid frames, brackets, and shells. PETG suits stronger or warmer parts, while TPU works for tires, feet, and flexible joints.
Moderate infill is enough for many bodies. Load-bearing joints benefit more from additional walls. Print orientation matters because a joint may split when layer lines run across the force.
Plan the Electronics and Power
Beginner robots often use an Arduino or ESP32 with motors, servos, sensors, and a motor driver. Advanced builds may need a Raspberry Pi, camera, encoder, or inertial sensor.
Do not power several motors directly from a controller. Current spikes can cause resets, jitter, or damage. Use a suitable external supply, connect grounds correctly, and secure moving cables.
Beginner Robot Projects Worth Printing
Otto-Style Dancing Robot
An Otto-style biped introduces walking motion with four micro servos, a controller, buzzer, and distance sensor. It teaches servo angles, timing, obstacle detection, sounds, dance routines, and a distance adaptive method that adjusts movement according to nearby obstacles without requiring too many parts.
Calibrate each servo before attaching the legs. Incorrect center positions often make the robot lean or fall.
A well-documented robotics kit for beginners can simplify the first build by combining compatible motors, sensors, controllers, wiring, and step-by-step guidance in one package.
SMARS Modular Rover
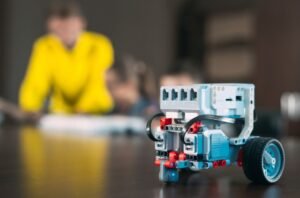
A SMARS-style rover uses a tracked chassis and common electronics for Bluetooth control, obstacle avoidance, line following, or distance sensing.
Its modular body encourages customization. You can redesign the sensor holder, add a camera, or enlarge the battery compartment while learning how traction, speed, weight distribution, and alignment affect movement.
Drawing Robot
A drawing robot converts motor movement into patterns. Simple versions use two wheels and a pen holder, while plotters use belts or threaded rods.
The build teaches coordinate movement, calibration, repeatability, and geometry. It also exposes wheel slip, loose belts, uneven surfaces, and inaccurate motor steps.
Intermediate Builds for Growing Skills
Arduino Robotic Arm
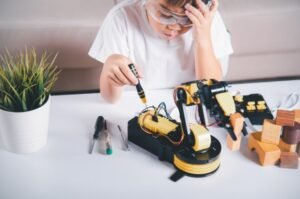
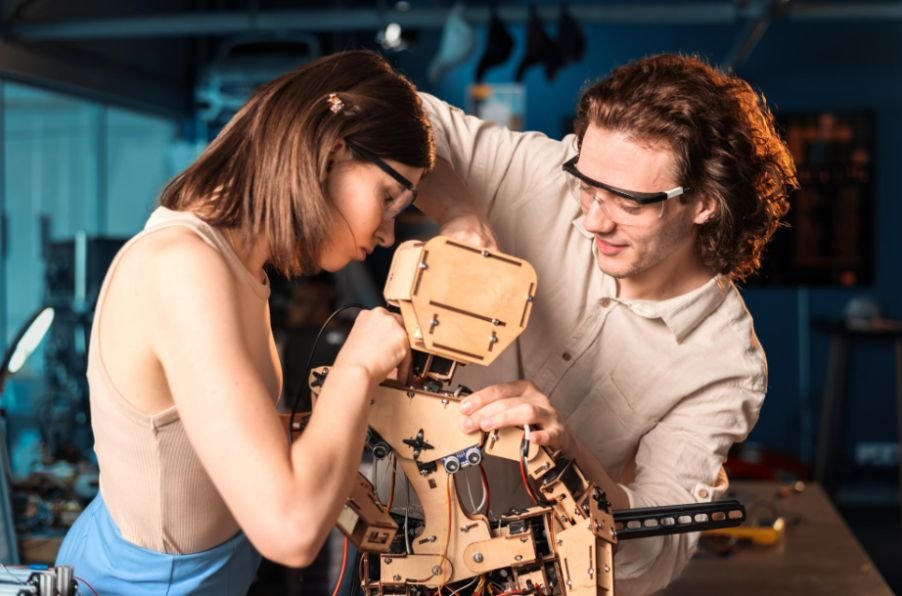
A printed robotic arm introduces joint design, motion range, servo control, and basic kinematics. A desktop model with four to six servos is manageable for developing builders.
For builders ready to move beyond basic rovers, learning how to build a programmable robot kit provides a practical foundation for combining printed parts, electronics, sensors, and reusable code.
Choose replaceable joints and accessible fasteners. Captive nuts or heat-set inserts reduce wear in printed holes. Start with joystick control, then progress to stored movement sequences.
Smartphone-Powered Robot
OpenBot-style builds use a smartphone as the camera, sensor package, processor, and wireless interface. A microcontroller manages the motors.
Begin with manual driving before exploring object following, lane tracking, or machine-learning functions. This connects printing with mobile computing and computer vision.
Mini Quadruped Robot
A quadruped is harder than a rover because balance depends on coordinated joints. Small versions usually use eight or twelve servos, printed legs, and an Arduino or ESP32.
Test one leg before printing the full machine. Align servo horns, maintain consistent friction, and leave cable slack. Make standing and walking reliable before adding extra functions.
Advanced Open-Source Robot Challenges
Tendon-Driven Humanoid Hand
A printed hand uses finger segments, flexible joints, cords, springs, and servos to reproduce gripping motion while teaching force transfer and the mechanical anatomy of carpus, fingers, and wrist-like structures.
Excess cord tension can stall the servos, while loose cords produce weak movement. Build one finger first, record the cord lengths, and standardize the assembly process.
Full Humanoid Robot
A humanoid combines structural printing, electronics, balance control, and extensive programming. It demands significant filament, powerful servos, workspace, and maintenance.
Complete a hand, forearm, head, or leg module first. This staged approach reduces waste and confirms that the files, code, and hardware remain supported.
How to Choose the Right Project
Compare printer volume, filament use, print time, cost, controller, motor count, coding language, and documentation. A first build should challenge one or two skills, not everything at once.
Prioritize diy 3d printed robot projects with active repositories, recent photos, downloadable code, wiring diagrams, calibration instructions, and builder feedback. Avoid designs showing only a finished model without a complete parts list or construction guidance.
Frequently Asked Questions
1. What Is the Easiest Printed Robot for a Beginner?
A two-wheel rover or Otto-style biped is usually easiest because it uses affordable parts, simple code, and few moving components.
2. Do I Need an Expensive 3D Printer?
No. Many compact robots fit entry-level printers that can produce accurate holes, joints, and motor mounts.
3. Which Controller Should I Use?
Arduino suits basic motors and sensors, ESP32 adds wireless features, and Raspberry Pi handles cameras and computer vision.
4. Where Can I Find Reliable DIY 3D Printed Robot Projects?
Search active GitHub repositories, established model platforms, and detailed maker tutorials with complete files, code, and parts lists.
My Recommended Starting Path
I would begin with a compact rover, continue with a robotic arm, and attempt a quadruped after gaining confidence. This sequence develops printing, wiring, motor control, calibration, and mechanical design without introducing every challenge at once.
A small robot I understand and modify is more valuable to me than an ambitious machine I cannot troubleshoot.