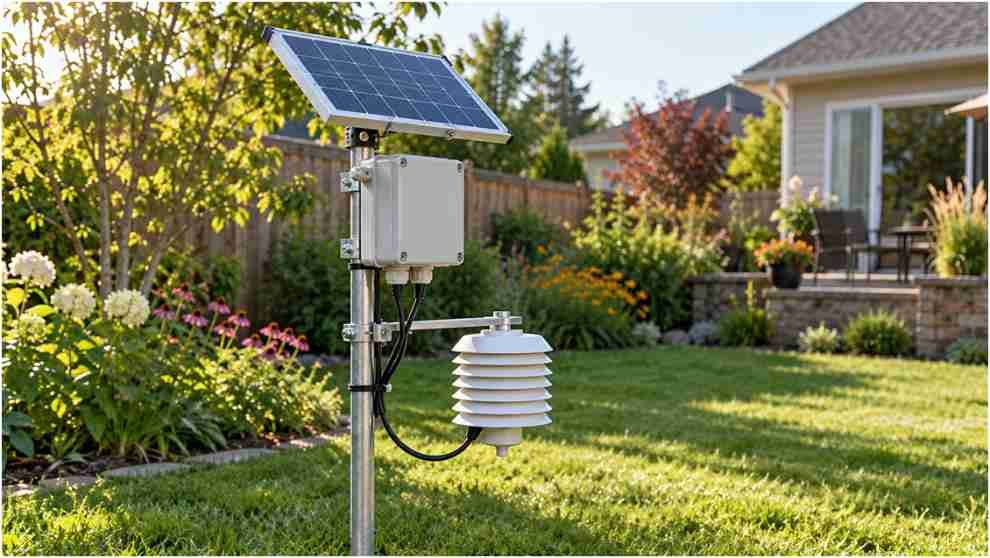
A weather station should report the weather without sending you outside to recharge it. My approach to a diy solar powered weather station esp32 deep sleep build starts with one question: what drains the battery between readings?
I would build a ten-minute temperature, humidity, and pressure logger first. Then I would choose its radio connection and solar panel from its measured power use. That sequence avoids oversizing the panel to hide an inefficient circuit.
Choose Low-Power ESP32 Weather Station Hardware
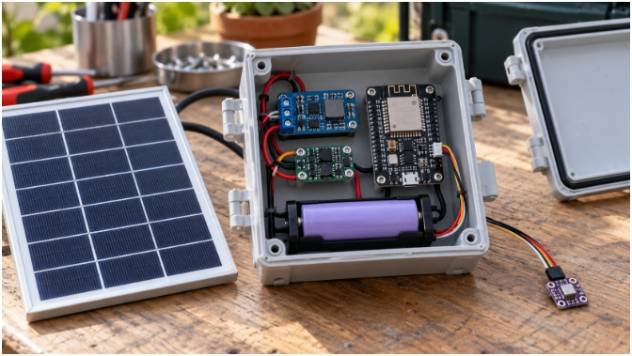
Use an ESP32 board with documented whole-board sleep consumption, a BME280 breakout, and a protected single-cell lithium-ion battery. Add a compatible solar charger, regulated supply, panel, cable glands, and separate electronics and sensor housings.
A generic DevKit works for prototyping. Its USB interface, power LED, and regulator can undermine outdoor battery life. A newer ESP32 chip alone does not guarantee a lower-power board.
I prefer the BME280 because it measures all three weather variables. A DHT22 provides temperature and humidity but requires a separate pressure sensor. Check that you received a BME280; a BMP280 lacks humidity measurement.
Start with a reputable 2,600–3,400 mAh cell. Choose its capacity for several sunless days, cold-weather losses, and aging.
Wire the Solar Battery System and BME280
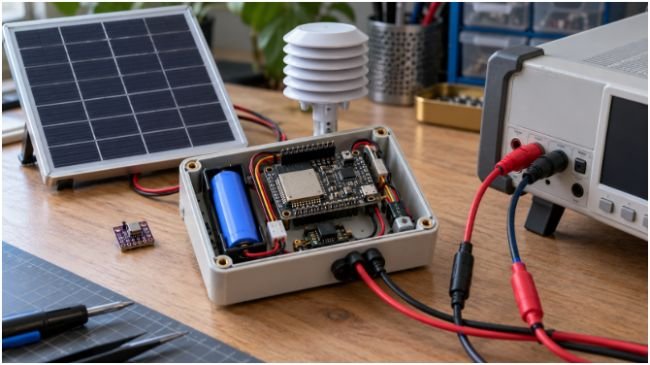
The power path is straightforward: panel into charger input, battery into battery terminals, and the charger’s system output into regulation. Feed the ESP32 through its documented power input.
Choose a charger designed for variable solar input, with appropriate load sharing and battery protection. Texas Instruments’ BQ24074 documentation explains power-path management, which separates system supply from battery charging.
A basic TP4056 module is not automatically a complete solar power system. Verify input limits, charge current, termination behavior under load, and temperature protection. Likewise, match a CN3791 module’s configured solar operating point to its panel.
Never connect a fully charged 4.2 V cell directly to the ESP32’s 3V3 pin. Use a regulator with low idle current and enough transient capacity for radio bursts. Check dropout voltage: a 3.3 V LDO cannot maintain regulation throughout a single cell’s discharge.
For a classic ESP32, connect BME280 SDA to GPIO21 and SCL to GPIO22. Connect VCC to 3.3 V and share ground. Other ESP32 boards may require different pins. Try I²C address 0x76, then 0x77.
The same energy-budget discipline applies to a Solar powered crawling robot build, although motors create much larger peak loads.
Program the ESP32 Deep Sleep Cycle
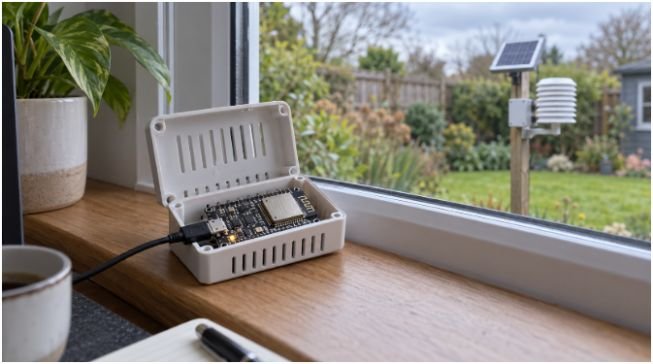
Each wake should initialize the sensor, take one reading, transmit, and return to sleep. Put a deadline on every network operation.
Use BME280 forced mode. The Bosch BME280 datasheet describes how one measurement completes before the sensor returns to sleep. For Arduino firmware, the timer portion is:
#include <esp_sleep.h>
void sleepForTenMinutes() {
esp_sleep_enable_timer_wakeup(600ULL * 1000000ULL);
esp_deep_sleep_start();
}
Call this helper after transmission and on failure paths. It provides 600 seconds asleep; wake-to-wake spacing also includes active time.
Install the ESP32 Arduino core and appropriate BME280 library. Initialize I²C with your selected pins, configure forced sampling, trigger a measurement, and reject invalid readings before uploading.
For cloud uploads, use the service’s documented API endpoint and HTTPS certificate validation. Check the response before recording success. A successful socket connection alone proves nothing about storage.
RTC memory can preserve counters or cached connection parameters. Keeping only a boot counter does not accelerate Wi-Fi association.
If you also control a stepper motor with esp32, keep its driver off this weather node’s supply unless you recalculate the budget.
ESP-NOW vs. Wi-Fi for Outdoor Sensors
I would choose direct Wi-Fi for a standalone station that uploads straight to a cloud service. I would consider ESP-NOW when a powered indoor ESP receiver can forward readings to MQTT or Home Assistant.
ESP-NOW avoids access-point association and IP setup on the outdoor node. It still uses the Wi-Fi radio. Booting, sensor conversion, acknowledgments, and retries all contribute to wake energy.
Follow Espressif’s ESP-NOW documentation for peer setup, matching channels, and delivery callbacks. MAC-layer success does not guarantee application processing; add an application acknowledgment if required.
A gateway connected to home Wi-Fi generally operates on the router’s channel. Plan for channel changes. Limit retries and include sequence numbers so the gateway can discard duplicates.
ESP-NOW supports bidirectional messages. However, a deeply sleeping node cannot receive commands until it wakes. Range depends on antennas, placement, interference, and radio settings.
Calculate Battery Life Before Sizing the Solar Panel
A Worked Ten-Minute Energy Budget
Assume battery-side current averages 130 mA during three active seconds, then 0.015 mA for 597 sleeping seconds.
Average current = [(130 × 3) + (0.015 × 597)] ÷ 600 = 0.665 mA.
Daily use is about 15.96 mAh. A nominal 2,600 mAh battery gives roughly 163 theoretical days without charging. This excludes capacity losses, cutoff limits, self-discharge, and weather effects.
Now assume an ESP-NOW implementation completes its entire wake in 0.12 seconds at the same current. Average draw becomes about 0.041 mA, or 0.98 mAh daily. That timing is a hypothetical input, not a performance guarantee.
Here is the revealing comparison: raise sleep current to 1 mA, and the ESP-NOW example consumes about 24.62 mAh daily. That exceeds the efficient Wi-Fi example.
My design priority follows directly: fix sleep leakage before chasing shorter packets.
Size for Winter, Not Summer
At 3.7 V nominal, the Wi-Fi example consumes about 0.059 Wh daily. A hypothetical 1 W panel receiving one equivalent full-sun hour, at 50% net charging efficiency, supplies 0.5 Wh.
That suggests headroom under those assumptions. It does not guarantee operation beneath snow, shade, or prolonged cloud.
Choose panel voltage within charger limits, including cold-weather open-circuit voltage. Match charging current to the battery specification. Prevent charging outside the cell manufacturer’s temperature range, especially during freezing conditions.
Weatherproof the Electronics, Ventilate the Sensor
Put electronics in a weather-resistant enclosure with sealed cable entries and drip loops. Keep the battery shaded and account for condensation.
Mount the BME280 separately inside a ventilated radiation shield. A sealed box measures its own trapped air; direct sunlight creates false heat.
The National Weather Service’s siting guidance places temperature sensors around five feet above representative ground. Avoid pavement, dryer vents, walls, and other heat sources.
Make the Sunshine Earn Its Keep
I would deploy only after checking sleep current with USB disconnected and testing failed connections. A power profiler or suitable shunt measurement helps capture brief radio bursts.
Log battery voltage through several cloudy days. If it steadily falls, investigate leakage, shade, and retries before buying a larger battery.
Frequently Asked Questions
1. Which board suits a diy solar powered weather station esp32 deep sleep project?
Choose by documented whole-board sleep current, regulator performance, and battery-input compatibility.
2. Can a 5 V solar panel charge an 18650 battery directly?
No; use a compatible single-cell charger with suitable protection and charging controls.
3. Does ESP-NOW need an internet connection?
The sensor link does not; cloud forwarding requires a connected gateway.
4. Can the station collect wind and rainfall while asleep?
Yes, with suitable pulse counting, retained counters, or wake circuitry; timer-only sampling can miss events.