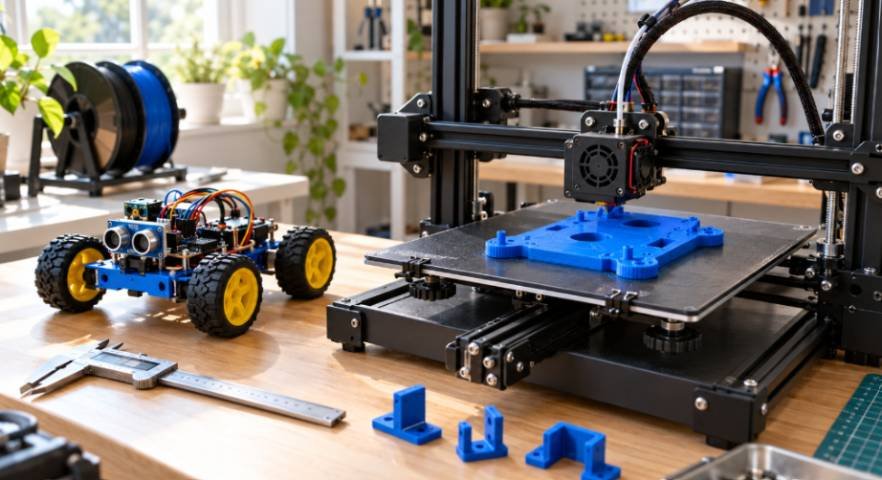
A robot build can stall over one badly fitting servo mount. I’d choose the best 3d printer for beginner robotics projects by how easily it produces useful parts, including brackets, chassis plates, and serviceable enclosures.
Among these four options, my overall pick is the Bambu Lab A1. Its larger build area and automatic calibration suit beginner prototyping. However, I’d consider the A1 Mini for smaller assemblies and the P1S when material requirements justify an enclosure.
The deciding question is simple: what must your robot’s parts survive?
Which Beginner Robotics Printer Would I Choose?
Bambu Lab A1: My Overall Pick
The A1 offers a 256 × 256 × 256 mm build area, automatic calibration, and active flow compensation. Its supported materials include PLA, PETG, and TPU. Those capabilities cover many beginner rover and gripper projects.
I’d favor the standalone printer unless multicolor printing serves a specific purpose. Different colors can identify parts, but they rarely improve structural performance.
There is a crucial limitation: AMS Lite does not support standard TPU. Print flexible tires through the external spool path, then assemble them onto rigid wheels. Buying the Combo does not enable automatic PLA-and-TPU printing.
Check the manufacturer’s A1 specifications before ordering accessories.
Bambu Lab A1 Mini: For Smaller Robot Parts
The A1 Mini has a 180 × 180 × 180 mm build area. That makes it suitable for compact enclosures, sensor mounts, servo brackets, and small mechanical links.
I’d choose it when my planned parts fit comfortably inside that space. A smaller bed becomes restrictive when a chassis needs several sections and extra fasteners.
Before buying, open your largest CAD model in the slicer. Include room for brims and supports, rather than checking the model dimensions alone.
Creality Ender-3 V3 SE: The Budget Contender
The Ender-3 V3 SE combines a 220 × 220 × 250 mm build volume with direct extrusion. Its CR Touch system handles bed leveling, while a strain sensor assists automatic Z-offset adjustment. It supports PLA, PETG, and flexible TPU.
I’d consider it when its delivered price leaves meaningful room for motors, electronics, and tools. Compare the complete package, including support and replacement-part availability.
The official Creality product page lists its features. Automatic leveling helps, but clean build surfaces and sound filament settings still matter.
Bambu Lab P1S: For More Demanding Materials
The P1S adds an enclosed CoreXY design and a 256 × 256 × 256 mm build volume. Bambu lists ABS and ASA among its ideal materials.
I’d select it for projects requiring better heat resistance or outdoor durability. Its enclosure helps control the printing environment; it does not guarantee stronger parts or eliminate ventilation needs.
A beginner making indoor PLA brackets may gain more from good calipers and spare components than this upgrade.
Build Volume for Robot Chassis: A Worked Example
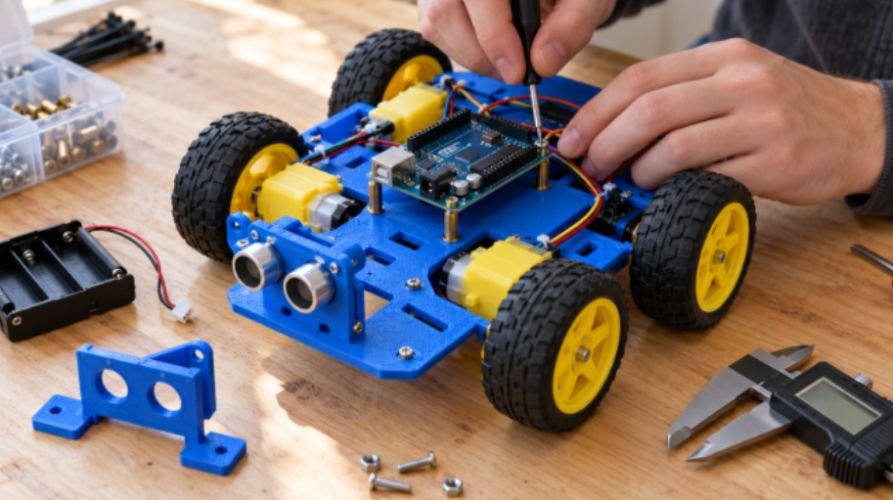
Suppose your rover needs a flat chassis measuring 210 × 150 mm.
On an A1, a centered layout leaves 46 mm along the longer bed dimension. On the Ender, it leaves only 10 mm. A 5 mm brim on each end would consume that entire allowance.
The plate exceeds the A1 Mini’s 180 mm axis length. Diagonal placement requires checking the complete footprint; rotating a broad rectangle does not automatically make it fit.
This example explains why I’d size the chassis before choosing a printer.
When you plan to 3d print a robot chassis with arduino, include motor clearances, battery access, mounting holes, and cable routes. Those details can enlarge the footprint beyond your first sketch.
Splitting the chassis remains practical. Put joints away from highly stressed motor mounts and reinforce them with overlapping features.
PLA, PETG, and TPU for Functional Robotics Parts
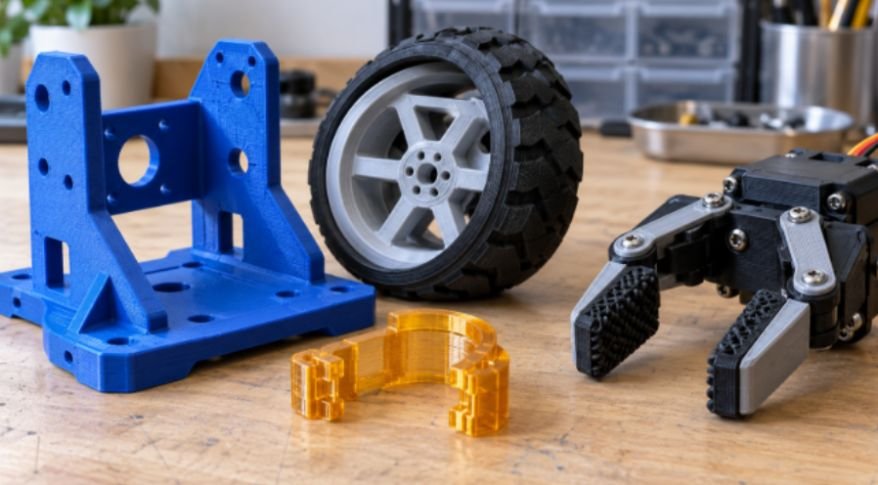
PLA is my starting material for checking dimensions. It prints easily and produces stiff prototypes, but heat and impact can expose its weaknesses.
PETG suits many clips, housings, and brackets that need more toughness. Its flexibility can help a snap-fit, yet hurt a linkage that must stay rigid.
TPU works well for tires, bumpers, and compliant gripper surfaces. Use a profile suited to its hardness and keep the filament dry. Direct extrusion helps, but does not remove the need for tuning.
Neither PETG nor PLA automatically makes a durable gear. Load, tooth geometry, friction, temperature, and print orientation all affect performance.
For a bipedal walking robot, I’d also watch part mass. Heavy feet and links increase the work each servo must perform.
CAD Design for Heat-Set Inserts and Snap-Fits
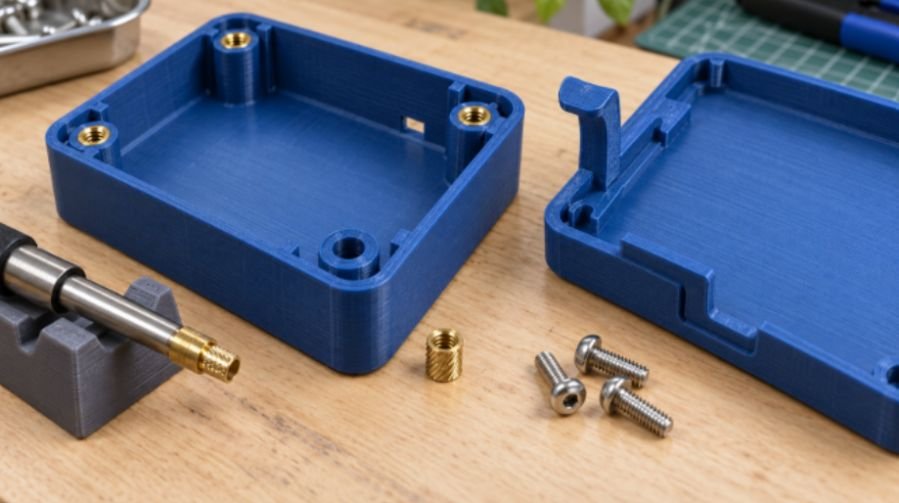
Robotics projects often benefit from combining mechanically sound 3D-printed structures with intelligent monitoring capabilities.
For makers interested in extending their hardware builds beyond physical assembly, this guide to building a Raspberry Pi home security camera with OpenCV demonstrates how computer vision, motion detection, and local processing can support practical embedded systems applications.
Heat-Set Inserts for Parts You Reopen
Metal inserts make repeated disassembly easier without repeatedly cutting threads into plastic.
Start with the insert supplier’s specified hole dimensions. “M3” describes the internal thread; it does not define the insert’s outside diameter. Prusa’s insert documentation provides product-specific hole guidance.
For an initial test, allow extra depth beneath the insert to receive displaced plastic. Add a small entry chamfer and leave screw clearance below it.
Print a boss coupon before committing to the chassis. Four or five perimeter walls can help create solid material around the hole, depending on boss size.
Check the loading direction carefully. An insert pulled upward can separate layers; vertical installation does not automatically prevent delamination.
Snap-Fits for Battery Doors and Sensor Covers
I’d use a long, gently tapered cantilever with a rounded root. A sharp corner concentrates stress exactly where the latch bends.
Begin with roughly 0.25–0.40 mm clearance as a trial range, then test it. Material, orientation, and printer settings change the required fit.
Orient the beam so bending tension follows continuous material paths where practical. Formlabs’ snap-fit design guidance explains why FDM orientation affects joint strength.
PETG is a useful starting option. Design the latch to relax after engagement, since sustained deflection encourages creep. A steep retaining face can still allow removal if a release tab provides access.
Budget for the Whole Workbench
I’d compare delivered American prices, including sales tax and shipping, rather than overseas listings.
Reserve money for filament, digital calipers, M3 hardware, inserts, and a temperature-controlled insertion tool. Dry storage also helps keep filament behavior consistent.
Keep the standard 0.4 mm nozzle initially. Learn how wall count, orientation, and clearances affect your parts before buying specialized upgrades.
My first print would be a small test plate containing mounting holes, an insert boss, and a snap latch. That reveals assembly problems before a long chassis print.
Let Your Robot Steal the Spotlight
My choice for the best 3d printer for beginner robotics projects is the A1 when I need room for general-purpose prototypes. I’d choose the Mini for compact parts, the Ender for a favorable budget deal, and the P1S for justified material needs.
Before checkout, slice your largest planned component. Then print a joint coupon before the full assembly. Your robot deserves the attention more than another failed mounting hole.
Frequently Asked Questions
1. What is the best 3d printer for beginner robotics projects on a small desk?
I’d consider the A1 Mini, provided the printer’s operating footprint and your largest parts fit the available space.
2. Do beginner robotics projects need an enclosed 3D printer?
Usually not for PLA and PETG; ABS and ASA benefit from an enclosure and appropriate ventilation.
3. Can AMS Lite print flexible TPU robot tires?
Standard TPU is unsupported by AMS Lite; use the printer’s supported external spool setup.
4. Are heat-set inserts better than snap-fits for robot frames?
Inserts suit serviceable structural joints, while snap-fits suit covers and other lighter-duty closures.