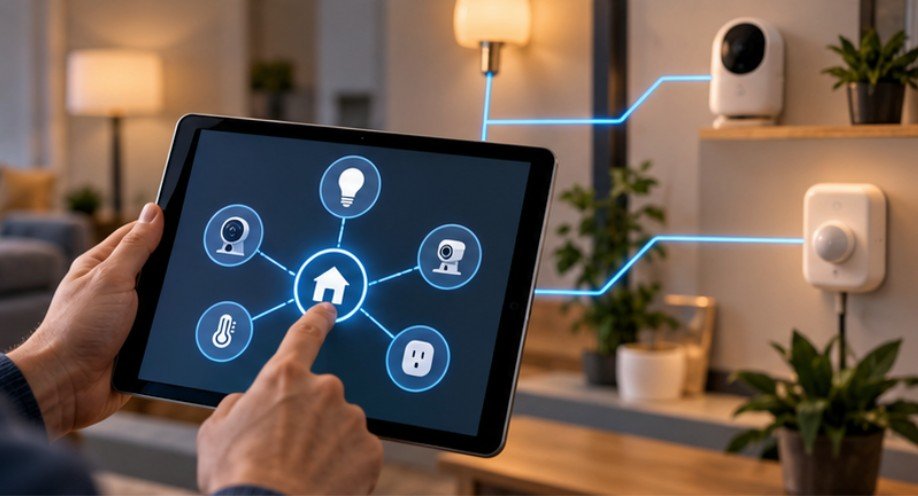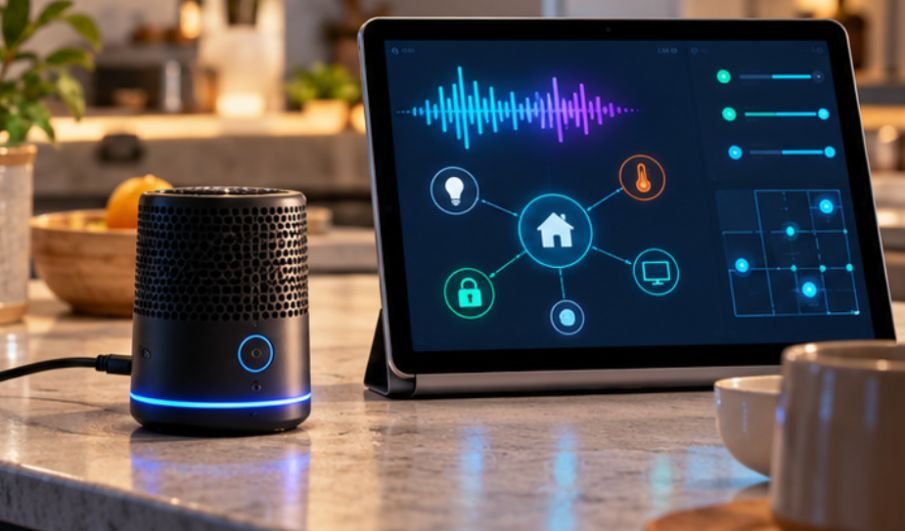
A voice assistant does not have to ship every spoken command to a distant server. With the right hardware and software stack, wake-word detection, speech recognition, AI reasoning, device control, and spoken responses can all happen inside your home network.
That is the appeal behind learning how to run local AI voice assistant smart home systems: greater privacy, fewer cloud dependencies, and an assistant that may continue controlling lights or switches even when an internet service is unavailable.
The technology has also become far more practical. Home Assistant now provides a local voice pipeline built around open tools such as Whisper, Speech-to-Phrase, Piper, and Wyoming.
Why Running Voice AI Locally Is Worth the Extra Setup
Privacy is one of the strongest arguments. A 2025 National Institute of Standards and Technology survey examined 401 U.S. smart-home users across voice assistants, thermostats, lighting, sensors, and security products. Participants regarded voice assistants as the most problematic device category for security and privacy.
That concern is understandable because microphones occupy unusually sensitive places: kitchens, bedrooms, living rooms, and offices.
For additional background, NIST’s smart-home privacy and security research examines how U.S. consumers perceive those risks.
Local processing does not magically make a system secure, but it reduces one obvious dependency: routine voice audio does not need to leave your network merely to interpret “turn off the kitchen lights.”
Research from Stanford also shows why local AI is increasingly practical. Its 2026 work on local-first AI reported that some local models with no more than 20 billion active parameters could correctly handle 88.7% of the single-turn chat and reasoning queries evaluated across its model pool. The broader trend is clear: useful AI inference no longer automatically requires a data center.
Step 1: Make Home Assistant the Control Center
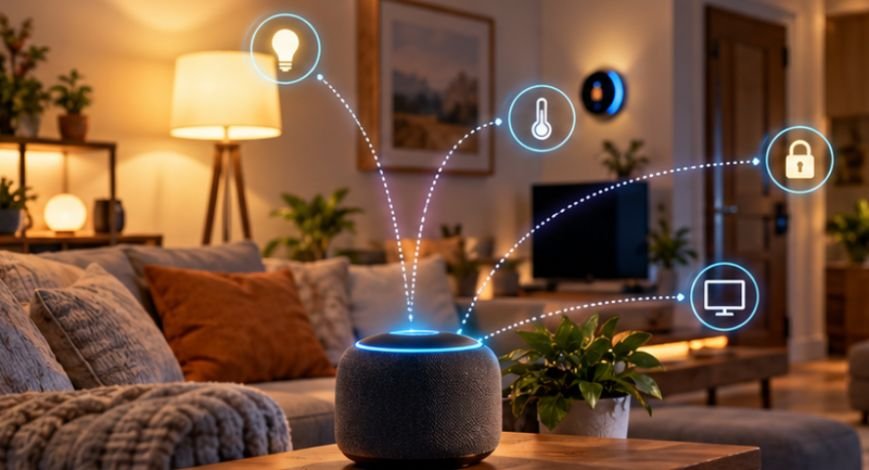
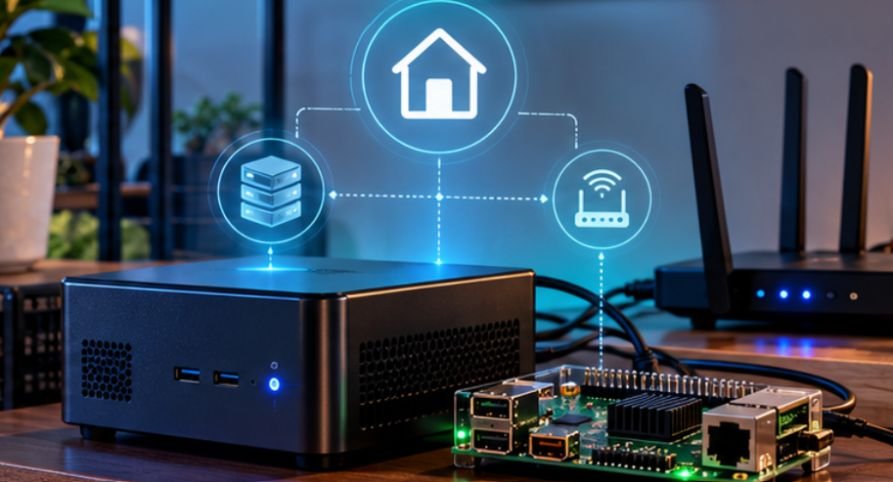
Start with a working Home Assistant installation. Dedicated hardware is usually preferable to piling everything onto an underpowered single-board computer. A Raspberry Pi can handle basic automation and lighter speech workloads, while a mini PC gives you more room for speech recognition, databases, integrations, and future expansion.
Your local LLM can also live on a separate computer.
Before adding AI, clean up your entities. Give devices understandable names such as “office lamp,” “kitchen ceiling,” and “bedroom fan.”
Then decide exactly what the voice assistant should access.
A dependable local voice assistant also benefits from carefully selected sensors that provide accurate information about conditions throughout the home.
Motion, presence, temperature, humidity, and contact sensors can supply the data needed to trigger context-aware automations, from adjusting lighting when a room is occupied to responding to changing environmental conditions.
Before expanding your setup, explore how to choose smart sensors for home automation to identify suitable sensor types, connectivity options, and compatibility requirements.
Home Assistant can also extend local automation beyond voice commands by tracking electricity consumption through compatible smart plugs.
With energy-monitoring devices integrated into the platform, you can observe appliance power usage and build automations around consumption data without relying on a separate cloud-based service, provided the devices and integrations support local operation.
Learn more about smart plug energy monitoring with Home Assistant to explore how energy tracking can complement a privacy-focused smart-home setup.
This matters because an AI model should not receive unrestricted control simply because an entity exists in Home Assistant.
Step 2: Build the Local Speech Pipeline
Home Assistant’s current local setup supports either Speech-to-Phrase or Whisper for speech recognition and Piper for spoken responses. Once running, compatible services can be discovered through Wyoming.
A reliable local voice pipeline also depends on choosing communication protocols that allow smart-home devices and controllers to work together effectively. Understanding how Wi-Fi, Zigbee, Z-Wave, Thread, and Matter differ can help you select compatible devices while reducing unnecessary dependence on cloud services.
Explore smart home protocols explained for beginners to gain a deeper understanding of the communication standards that underpin device interoperability, network reliability, and seamless integration within a locally managed smart-home ecosystem.
Whisper or Speech-to-Phrase?
Use Whisper when you want flexible natural speech and broader vocabulary. It is better suited to requests that do not follow predictable wording.
Speech-to-Phrase focuses on home-control phrases and can be attractive where fast responses matter more than open-ended dictation.
Whisper can be computationally heavier, so running it on a stronger computer elsewhere on your LAN is perfectly reasonable. Wyoming allows external speech services to communicate with Home Assistant over the local network.
Add Piper for Speech
Piper performs local neural text-to-speech. Its job is simple but important: after Home Assistant decides what to say, Piper converts that response into audio without requiring a commercial cloud voice API. Test this basic pipeline before adding an LLM.
If “turn on the desk lamp” already works reliably through standard Assist, troubleshooting AI later becomes dramatically easier.
Step 3: Add a Local LLM With Ollama
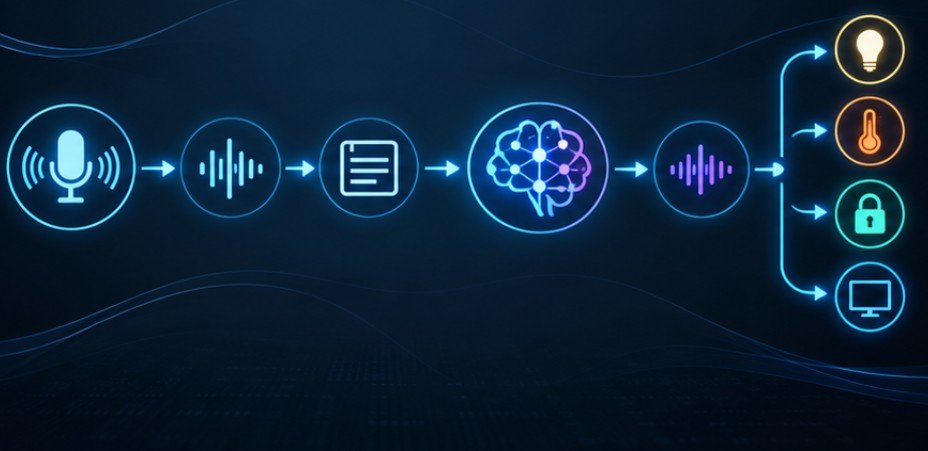
For a more conversational assistant, install Ollama on a capable Windows, macOS, or Linux computer.
The machine does not have to be the Home Assistant host. A desktop, home server, or mini PC with more RAM or a supported GPU can run the model while Home Assistant communicates with it across your LAN.
Home Assistant includes an official Ollama integration that creates a local conversation agent. Its documentation notes that device control remains experimental and that only models supporting tool use can control Home Assistant.
A simple Ollama workflow might begin with:
ollama run llama3.2:3b
Model availability changes quickly, so choose a current tool-capable model appropriate for your hardware rather than assuming the largest model will give the best smart-home experience.
For voice control, latency matters enormously. Waiting ten seconds for a brilliant answer to “turn off the lamp” is worse than receiving the correct action in one second.
Step 4: Connect Ollama to Home Assistant
In Home Assistant, open Settings > Devices & Services > Add Integration, choose Ollama, and enter the address of your local Ollama server.
The standard Ollama port is commonly 11434.
Home Assistant lets you decide whether the model can control your home and which exposed entities it can see. Its current documentation recommends exposing fewer than 25 entities while experimenting with local models because smaller models are more prone to errors as the available tool set grows.
That recommendation is easy to overlook.
Do not expose 200 lights, sensors, scripts, locks, media players, and diagnostic entities on day one. Start with five or ten harmless devices.
Step 5: Add Microphones Around the House
Your server is only half the system. You still need voice satellites where people actually speak.
ESP32-based voice hardware can provide an inexpensive microphone-and-speaker endpoint. Raspberry Pi systems are another option where you want more processing power or customized audio hardware.
A useful architecture separates the jobs:
Satellite: microphone, speaker, wake word
Home Assistant: automation and orchestration
Speech server: STT and TTS
LLM server: natural-language reasoning
Keeping those roles separate makes upgrades easier. You can replace your LLM machine later without rebuilding microphones in every room.
Run This Five-Minute Reliability Test Before Expanding
Do not judge the assistant from one successful command.
Try 20 requests covering five categories: turning devices on and off, changing brightness, asking for sensor values, controlling the wrong-room device intentionally, and phrasing the same request several different ways.
Record three things: whether speech was transcribed correctly, whether the intended entity was selected, and how long the complete response took.
If failures happen before the LLM receives the text, fix your microphone or STT configuration. If transcription is accurate but the wrong device moves, investigate entity naming, exposure, or model behavior.
That simple separation prevents hours of random troubleshooting.
Local Does Not Automatically Mean Secure
A system can remain entirely inside your house and still be poorly secured. CISA’s Internet of Things cybersecurity emphasizes evaluating connected-device vulnerabilities and network risks. OWASP’s IoT Security Verification Standard similarly treats IoT security as an ecosystem problem rather than merely a device problem.
Use strong Home Assistant credentials, install updates, restrict unnecessary network exposure, and avoid forwarding Ollama or Home Assistant ports directly to the public internet.
Network segmentation may also be worth considering. NIST has specifically discussed segmentation, authentication, monitoring, and access controls when examining voice-enabled smart-home environments.
Consumer Reports’ smart-speaker privacy also illustrates why microphone controls and recording practices deserve attention even on mainstream products.
For a broader look at where local AI is heading, Stanford’s OpenJarvis local-first AI project demonstrates personal AI systems designed to run primarily on hardware users own.
Frequently Asked Question
1. Can Home Assistant voice control work without internet?
Yes. Local wake-word detection, compatible speech recognition, Home Assistant automations, Piper speech output, and locally controlled devices can operate without cloud processing when configured appropriately.
2. Do I need a GPU for a local voice assistant?
No. Basic Home Assistant voice control can work without one. A GPU becomes more useful for faster Whisper transcription and larger local language models.
3. Is Ollama required for local Home Assistant voice control?
No. Home Assistant can process ordinary voice commands locally without an LLM. Ollama is useful when you want more flexible, conversational language understanding.
4. What is the best way to learn how to run local AI voice assistant smart home setups?
Build in layers: establish Home Assistant first, add local STT and TTS, test basic commands, connect voice satellites, and only then add an LLM.
A Private Assistant Should Earn More Access Gradually
The most useful lesson is not that every smart-home command needs artificial intelligence. It is that modern open-source tools let you choose where intelligence runs and exactly how much authority it receives.
Start with one microphone, a handful of exposed entities, local speech recognition, and fast deterministic commands. Add Ollama only after that foundation is dependable. Then expand room by room while measuring accuracy and response time.
A good local assistant should eventually feel boring in the best possible way: you speak, the correct device responds, and ordinary household conversations do not need a round trip through somebody else’s cloud.