A weak or failed capacitor can cause everything from an air conditioner that will not start to electronics that shut down unexpectedly. The good news is that you can often diagnose the problem with a basic digital multimeter.
When I explain how to test a capacitor with a multimeter, I always focus on three things first: isolate the capacitor, discharge it safely, and then test it using the correct meter setting. Skipping any of these steps can produce inaccurate readings or create a safety risk.
For the most accurate check, I prefer capacitance mode because it measures the capacitor’s actual microfarad value. If your multimeter does not offer that function, resistance mode can still provide a useful pass-or-fail indication.
How Do You Prepare a Capacitor for Safe Testing?
Capacitors can retain electrical energy after equipment has been unplugged. This is especially important with HVAC capacitors, motor capacitors, microwave circuits, and power supplies.
First, disconnect the equipment completely from its power source. Do not assume that turning off a switch is enough.
Next, isolate the capacitor from the circuit. Ideally, remove it completely. If that is not practical, disconnect or desolder at least one terminal. Components connected in parallel can interfere with your multimeter reading.
Before testing, discharge the capacitor safely. A resistor placed across the terminals allows the stored charge to drain gradually. A value such as a 20kΩ, 5W resistor may be suitable in some situations, but the correct resistor depends on capacitor size and voltage. For higher-voltage equipment, I recommend having a qualified technician handle the work.
I would also inspect the capacitor visually. A bulging top, leaking electrolyte, scorched casing, cracked body, or corroded terminal is a strong sign that replacement is necessary even before you take a measurement.
What Multimeter Setting Should You Use to Test a Capacitor?
The best setting is capacitance mode, usually identified by a capacitor symbol or units such as µF, nF, or pF.
Capacitance mode lets you compare the measured value directly with the rating printed on the capacitor. If your multimeter uses manual ranges, choose a range higher than the expected capacitance value.
For example, a capacitor labeled 40 µF ±5% should normally measure between approximately 38 µF and 42 µF.
If your meter does not have a capacitance setting, switch to resistance or ohms mode. This method does not measure the actual capacitance, but it can reveal whether the capacitor appears to charge normally, is shorted, is open, or may be leaking.
How to Test a Capacitor With a Multimeter in Capacitance Mode
Start by confirming that the power is disconnected and the capacitor is fully discharged.
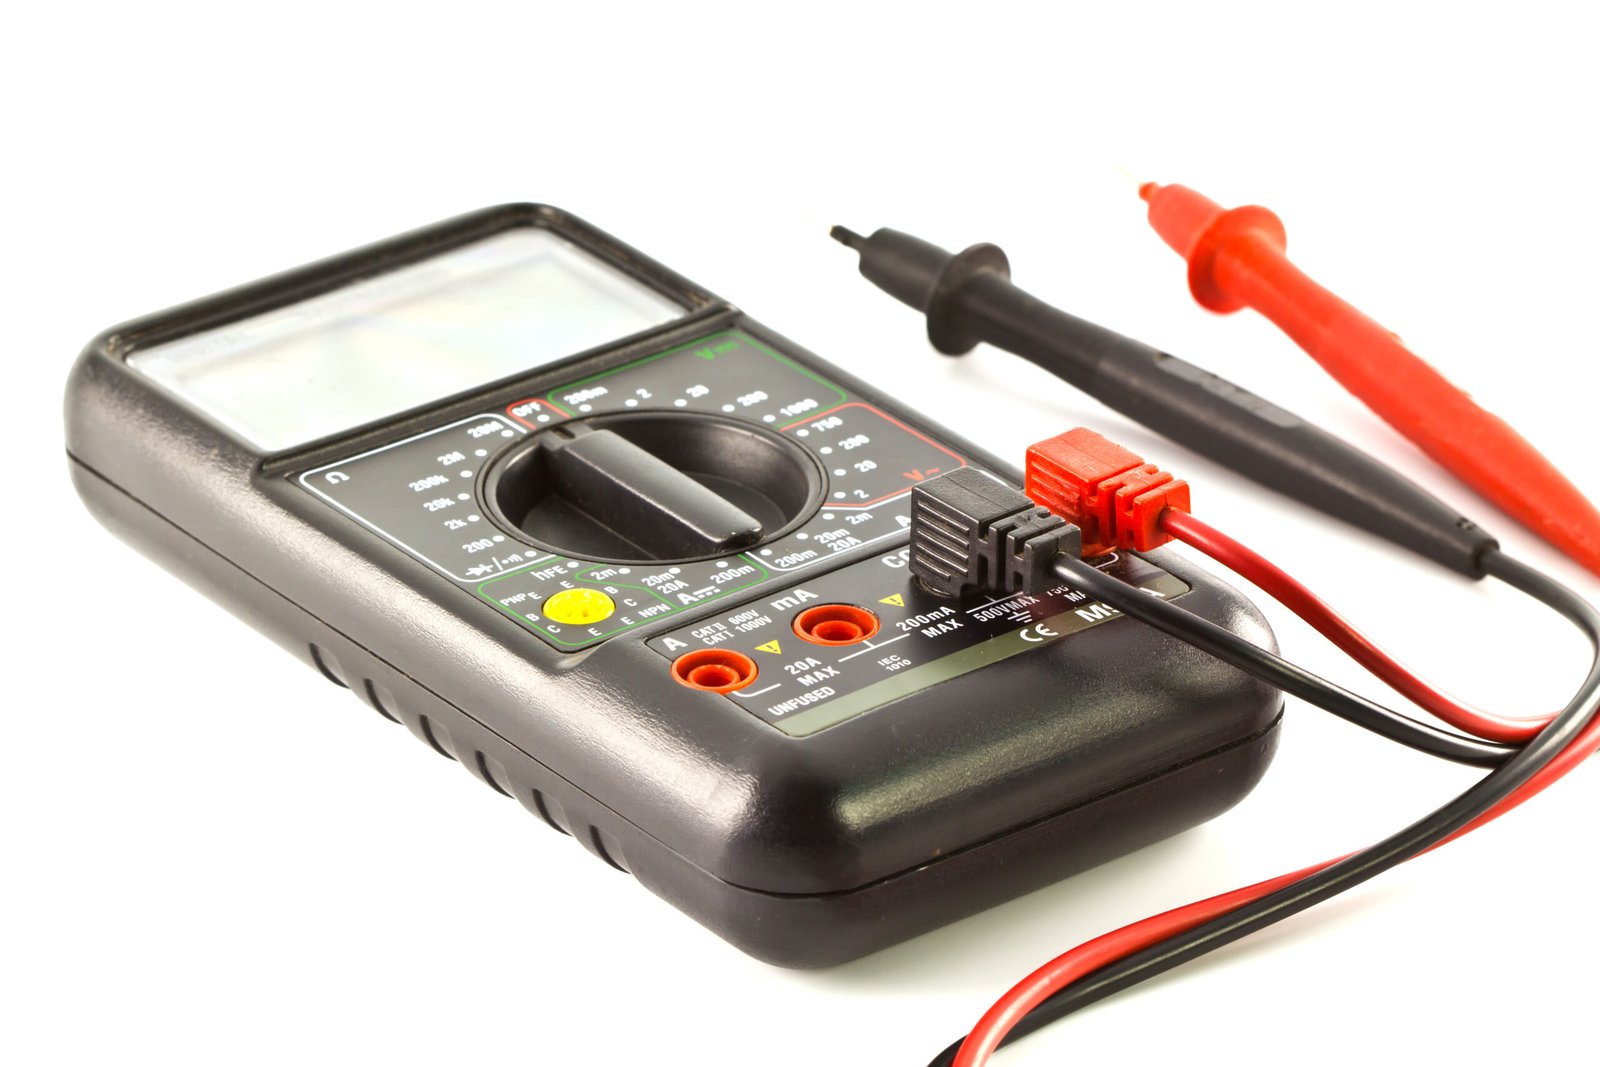
Set your digital multimeter to capacitance mode. If the capacitor is polarized, such as an electrolytic capacitor, connect the red probe to the positive terminal and the black probe to the negative terminal. The negative side is often marked by a stripe.
Non-polarized film capacitors and many motor capacitors do not require a specific probe orientation.
Hold the probes on the terminals and wait for the reading to stabilize.
Compare the result with the capacitance printed on the component. A reading within the stated tolerance generally indicates that the capacitor is storing close to its intended amount of charge.
If the value is far below the rating, the capacitor may have deteriorated. A 100 µF capacitor that measures only 35 or 40 µF would usually be considered suspect.
An OL reading in capacitance mode does not always mean the capacitor is dead. On a manual-ranging multimeter, it can simply mean the selected range is too low. Switch to a higher range and test again before making a diagnosis.
How Can You Test a Capacitor Without a Capacitance Setting?
Resistance mode provides a useful alternative when your multimeter cannot measure microfarads directly.
Set the meter to a relatively high resistance range and connect the probes across the capacitor terminals.
A good capacitor often starts with a lower resistance reading and then steadily climbs toward OL as the capacitor charges from the multimeter’s internal battery.
If the reading remains close to 0 ohms, the capacitor may be shorted internally.
If the display jumps immediately to OL and shows no noticeable charging behavior, the capacitor may be open. Very small capacitors can charge too quickly for you to observe the transition, so this result is not always conclusive.
A leaking capacitor may behave differently. The resistance can rise but then stop at a fixed value instead of continuing toward OL. That can indicate unwanted current leakage through the component.
What Should a Good or Bad Capacitor Read on a Multimeter?
The easiest way to interpret the result is to compare both the number and the meter behavior with the capacitor’s specifications.
A healthy capacitor in capacitance mode should normally read within its printed tolerance. A significantly lower capacitance reading often indicates aging or failure.
In resistance mode, a gradual rise toward OL generally suggests normal charging behavior. A reading that stays near zero can indicate a short. An immediate OL reading may indicate an open capacitor, while a resistance value that rises and then stops can suggest leakage.
You should always interpret these readings together with the capacitor type, capacitance value, and physical condition.
Can You Test a Capacitor Without Removing It From the Circuit?
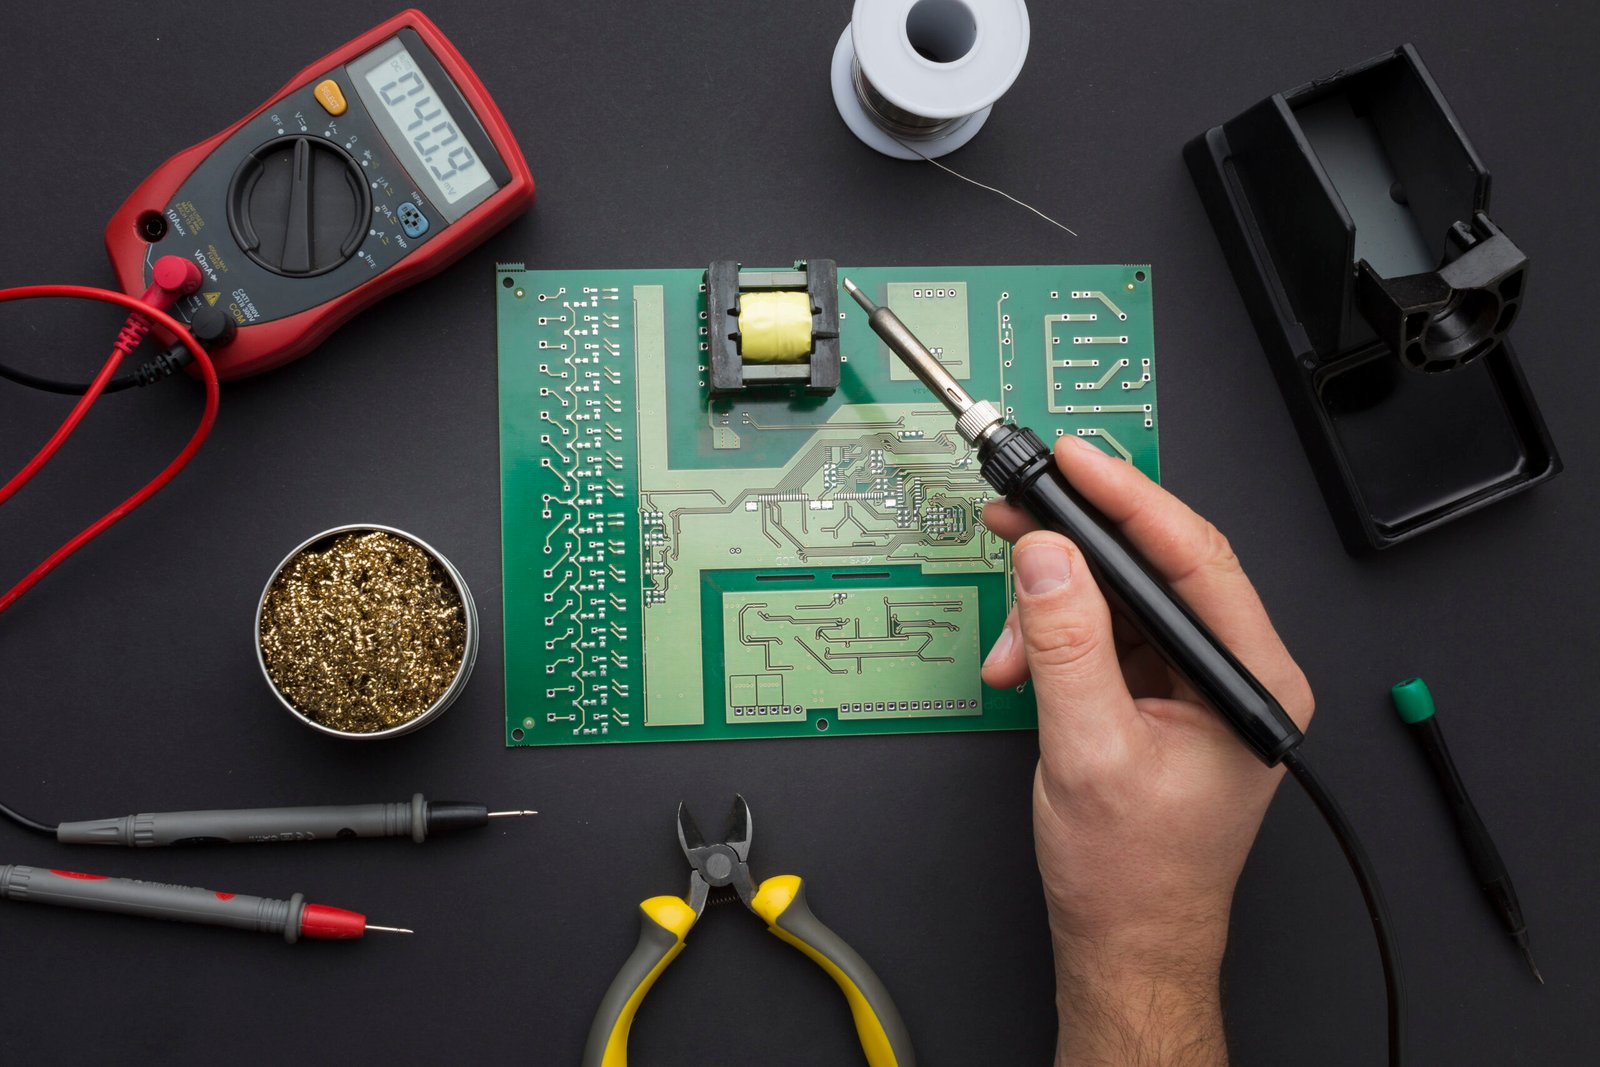
You can perform an initial check, but I would not rely on an in-circuit measurement for a final diagnosis.
Other capacitors, resistors, diodes, and semiconductor components can change the value seen by the multimeter. This can make a good capacitor appear bad or make a weak capacitor appear normal.
Disconnecting at least one capacitor terminal usually gives you a much more reliable measurement.
Can a Capacitor Test Good and Still Be Bad?
Yes. This is one of the most important limitations of basic capacitor testing.
A capacitor can show approximately the correct capacitance while still having excessive equivalent series resistance, commonly called ESR.
High ESR is especially common in aging electrolytic capacitors used in switching power supplies, televisions, audio equipment, computers, and other electronics.
A standard multimeter may not detect this problem. An ESR meter provides a better diagnosis when you suspect a capacitor is failing under load even though its capacitance appears normal.
When Should You Replace a Capacitor?
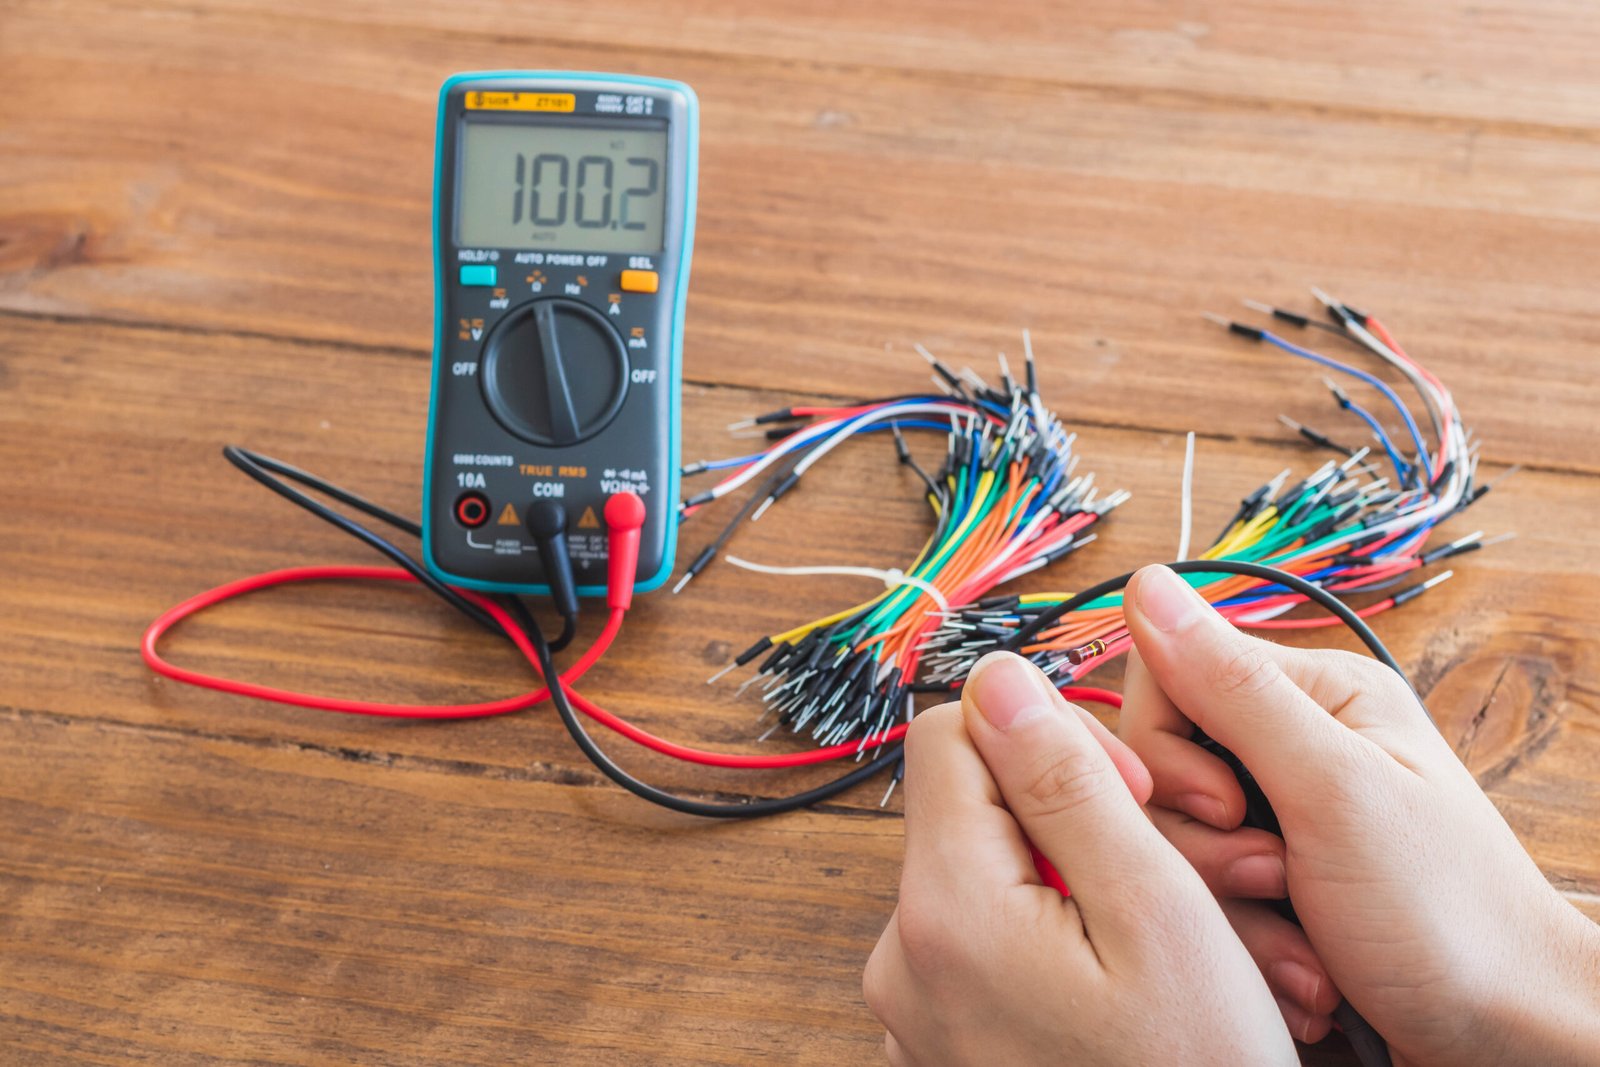
I would replace a capacitor when its measured capacitance falls well outside its specified tolerance, it appears shorted or open, it shows evidence of leakage, or the casing is swollen, cracked, burned, or leaking fluid.
The replacement should normally match the original capacitance value and meet or exceed the required voltage rating. You should also use the correct capacitor type and observe polarity when installing an electrolytic capacitor.
Frequently Asked Questions (FAQs)
1. What does OL mean when testing a capacitor?
OL usually means the resistance or capacitance is outside the meter’s current measurement range. In resistance mode, it can also appear after a good capacitor finishes charging. In capacitance mode, try a higher measurement range before assuming the capacitor has failed.
2. Can I test an HVAC capacitor with a regular multimeter?
Yes, provided your multimeter supports the capacitor’s capacitance range. HVAC capacitors can retain dangerous voltages, so make sure the equipment is fully disconnected and the capacitor is discharged safely before testing.
3. Can I test a ceramic capacitor with a multimeter?
Yes, but very small ceramic capacitors may fall below the useful measurement range of a basic handheld multimeter. A meter with suitable nF or pF resolution will produce more useful results.
4. What is the most accurate way to check a bad capacitor?
For general troubleshooting, capacitance mode provides the most direct measurement. However, an ESR meter may be necessary when the capacitor reads correctly in microfarads but still fails under operating conditions.
Final Thoughts
Knowing how to test a capacitor with a multimeter can help you diagnose electronics, appliances, motors, and HVAC-related equipment without replacing parts blindly. I prefer capacitance mode whenever possible because it provides an actual value that you can compare with the capacitor’s rating and tolerance.
Resistance mode remains useful when capacitance measurement is unavailable, particularly for identifying obvious shorts, open capacitors, and some leakage problems. If you are also learning basic electronics, understanding the best breadboard layout for beginner circuits can make component testing and simple circuit troubleshooting much easier.
Most importantly, always disconnect the power, isolate the component, and discharge it safely before testing. If you follow that sequence, testing a capacitor with a multimeter becomes a much more reliable and safer troubleshooting process.