Walking into a room filled with the sweet aroma of melting plastic is a rite of passage for any maker. Designing custom robots gets infinitely better once you learn to design 3d print models that actually fit your physical components perfectly on the first try.
Many beginners start by downloading pre-made files from the internet, only to find they do not quite fit their specific motors or sensors. Crafting your own pieces gives you absolute control over your projects, transforming your 3D printer from a simple toy maker into a high-tech robotic manufacturing facility.
Why Creative Freedom Matters
Building your own parts is the ultimate superpower for any young robotics engineer. Learning to design 3d print models keeps you from being trapped by what other people have already created. Instead of taping pieces together, you get to build custom brackets that hold your sensors perfectly. It is the difference between building a generic toy and creating a unique, fully functional robotics kit for beginners that belongs entirely to you.
Choose Your Modeling Software
Selecting the right virtual workshop is your very first step toward creating physical objects.
Autodesk Tinkercad for Beginners
Starting your journey with Autodesk Tinkercad is the easiest way to learn spatial reasoning without stress. This free, web-based tool works like digital building blocks where you simply drag, drop, and combine basic geometric shapes together. It is incredibly friendly for younger creators who want to build simple chassis plates or basic spacer rings quickly.
You do not need to worry about complex menus or mathematical formulas while using this layout. Tinkercad allows you to quickly cut holes in shapes by turning solid objects into negative space holes. This simple technique makes it perfect for rapid prototyping and getting your very first robotic designs printed in minutes.
Autodesk Fusion for Engineering
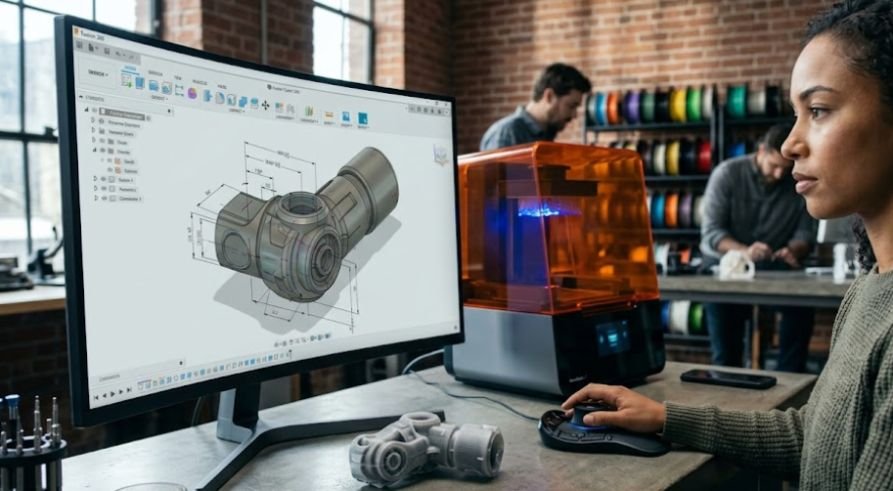
Upgrading to Autodesk Fusion is necessary when your robotics projects require extreme precision and moving joints. This industry-standard tool uses parametric modeling, which means you can assign exact measurements to every single line and circle. These capabilities are especially valuable when designing components for industrial vs service robots, where structural requirements, movement patterns, and operating environments can vary significantly.
If you decide to change a motor size later, you can edit one number and the rest of your design automatically updates.
Designing with parametric constraints ensures that your bolt holes align perfectly with your hardware. It allows you to build complex gearboxes, robotic arms, and structural brackets that must withstand real physical forces. While it takes a little longer to learn, the precision it offers is absolutely unmatched for mechanical projects.
Blender for Organic Sculpting
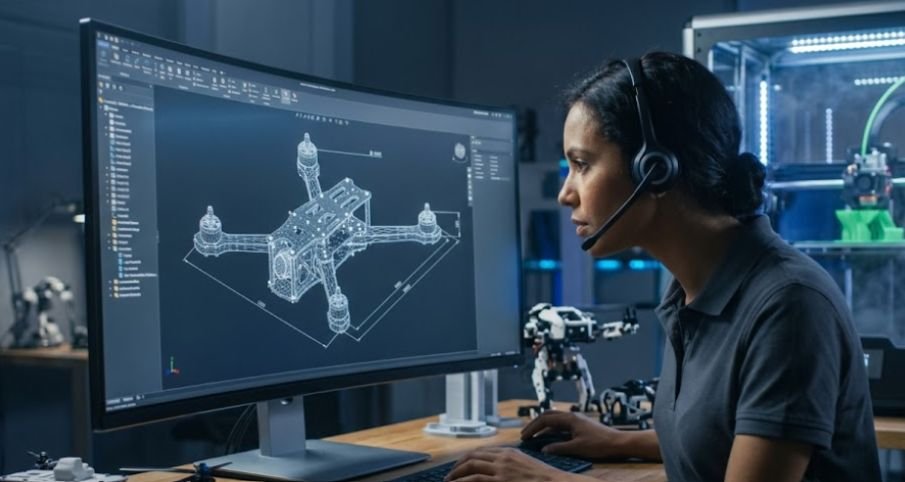
Exploring Blender opens up a world of artistic freedom where you can sculpt organic shapes like digital clay. This free, open-source program is the go-to choice for designing custom action figures, highly detailed robot faces, or miniature scenery. It excels at freehand art where exact millimeter measurements are less important than visual style.
The software has a steeper learning curve compared to basic geometric tools because of its vast array of features. However, mastering Blender gives you the ability to create highly complex, flowing surfaces that are impossible to build in traditional CAD programs. It is an amazing tool to have in your inventory for aesthetic upgrades.
Design for Printability
Making a model look great on your screen is only half the battle of successful making.
Keep Wall Thickness Strong
Ensuring your model has adequate wall thickness is vital for preventing your printed parts from snapping under pressure. For most desktop plastic printers, you should aim for a minimum wall thickness of 1.5 mm to provide solid structural integrity. If your robotic arm needs to lift heavy batteries, doubling this thickness will keep the joints from shearing.
Your slicing software draws these walls using physical paths of hot plastic. Designing walls that align with your printer’s nozzle width makes the printing process much faster and significantly stronger. This simple engineering trick keeps your parts from having weak, hollow air pockets hidden inside them.
Manage Gravity with Overhangs
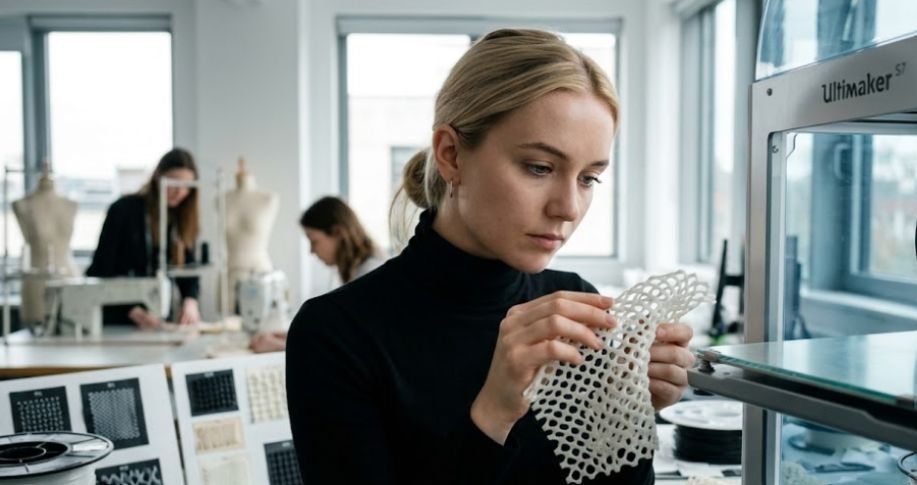
Steering clear of steep overhangs is the easiest way to avoid messy, failed prints and wasted plastic filament. Your printer needs to deposit each new layer of melted plastic onto a solid foundation beneath it. Try to design all your slopes and overhang angles to stay under 45 degrees relative to the vertical build plate.
Keeping your angles gentle allows the printer to build upward naturally without needing temporary plastic supports. This design practice saves you hours of tedious cleanup work and leaves your finished parts looking incredibly smooth. If you must design flat ceilings, keep the spans short so the printer can bridge them cleanly.
Leave Gaps for Tolerances
Adding the right amount of physical clearance between fitting parts is the secret to successful mechanical assemblies. Plastic expands slightly as it exits the hot nozzle, which can cause snug parts to fuse together. Always leave a clearance gap of 0.2 mm to 0.5 mm between moving joints, sliding panels, or connecting gears.
Testing these tolerances with small test prints will save you from throwing away large, completed models. A little bit of breathing room ensures that your wheels spin freely and your battery covers click shut without needing a hammer. It makes assembling your final robot feel like putting together a professional kit.
Slice and Prepare Your Files
Transforming your completed virtual design into physical instructions requires one final software tool.
Top Slicing Software Options
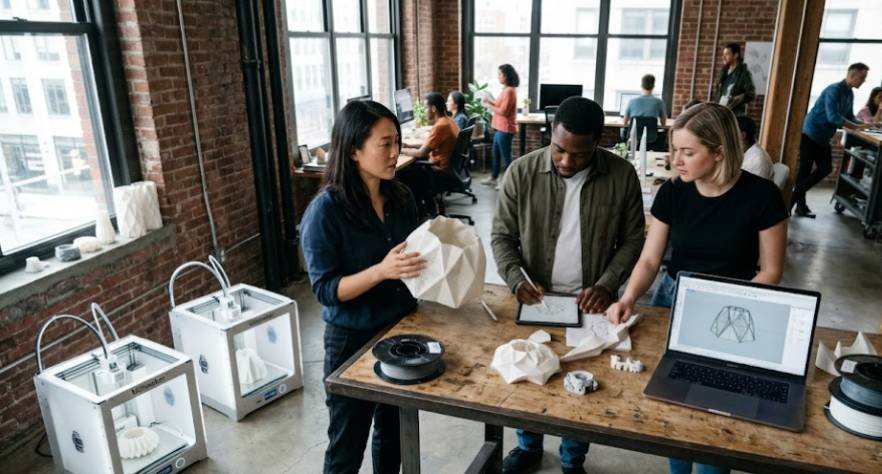
Importing your completed model file into a slicing program is where the physical preparation begins. Slicers take your 3D shape and slice it into hundreds of flat, horizontal layers, generating a file of coordinate instructions called G-code. Popular free slicing programs include OrcaSlicer, Bambu Studio, and UltiMaker Cura.
These programs allow you to control critical printing variables like print speed, temperature, and internal infill patterns. They also show you a virtual preview of how your printer will move before you start the machine. This step helps you catch potential printing errors before they waste your valuable time and material.
Exporting the Right File Formats
Saving your finished designs in the correct file format is crucial for your slicer to read them properly. The classic STL format is widely supported by almost every program, though it only saves the outer surface mesh. Modern 3MF files are quickly becoming the favorite choice because they save colors, materials, and individual component data.
Make sure to export your designs with a high polygon count to avoid rounded holes turning into blocky polygons. Having clean, high-resolution exports ensures your curved robotic parts print out beautifully round and smooth. It is the final digital hand-off before your printer starts working.
Frequently Asked Questions
1. Where can I design my own 3D print models?
You can design your own models using free, accessible tools like Tinkercad directly in your web browser, or download advanced programs like Fusion 360 and Blender.
2. How to design 3D print models for beginners?
Beginners should start with simple shape manipulation in Tinkercad, focusing on basic design rules like gentle angles, 1.5 mm minimum walls, and clear fit tolerances.
3. Can ChatGPT create a 3D model?
ChatGPT cannot generate standard physical files directly, but it can write functional code for OpenSCAD or Blender scripts to construct basic 3D shapes. You can then easily run these scripts inside your software to build physical parts.
4. Is there a thing where you can design a 3D model and have it printed by someone else?
Yes, you can upload your completed designs to commercial printing networks like Craftcloud or Protolabs, and they will professionally print and ship your custom physical parts directly to your door.
Time to Heat Up the Build Plate
Watching your custom digital ideas transform into real physical objects is an unmatched feeling. Learning to design 3d print models is a journey of trial, error, and immense creative reward.
By starting with basic CAD tools and remembering to design with printability in mind, you will avoid common beginner mistakes. Keep practicing, keep designing, and get ready to assemble your very own custom robotic creations!