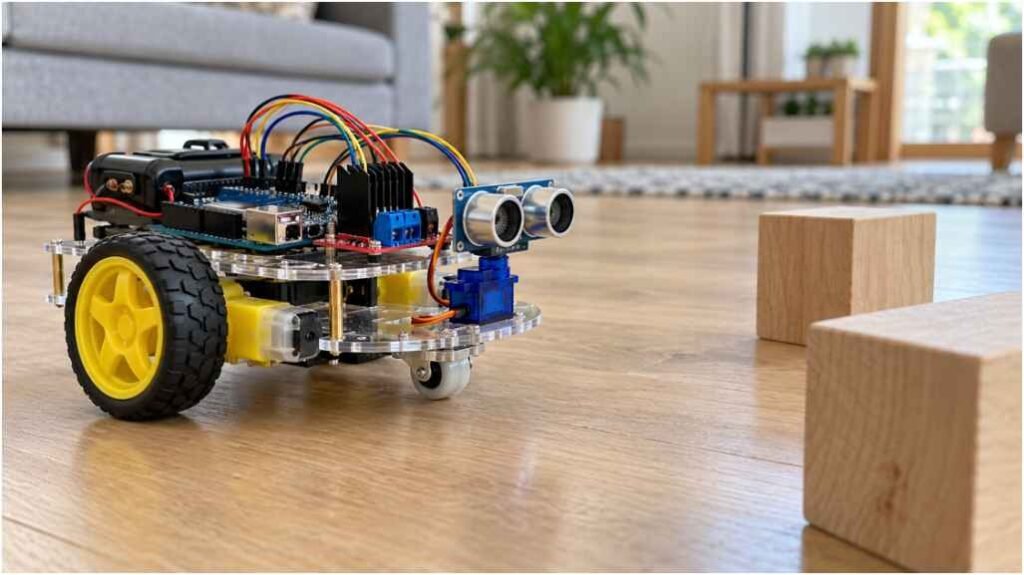
The first time I built a walking robot, I assumed I would need coding skills and expensive parts. I was wrong. Cardboard, a slow geared motor, skewers, straws, glue, and a battery holder were enough to make it walk.
This diy walking robot with simple materials is ideal for beginners who want to explore robotics without Arduino programming. The model uses a rotating crank to move two legs while demonstrating balance, friction, and mechanical motion.
What You Will Build
You will make a lightweight two-legged robot powered by one 3–6 volt geared motor. An off-centre crank converts rotation into back-and-forth leg movement. Wide cardboard feet provide stability, while straw guides control the legs.
Allow one to two hours. Most parts can come from packaging or unused toys.
Materials and Tools

Gather corrugated cardboard, two bamboo skewers, two drinking straws, four craft sticks, a geared motor, a two-cell AA battery holder, batteries, thin wire, a switch, rubber bands, and glue.
You will also need scissors, a ruler, wire cutters, and a craft knife. Hot glue is convenient, but strong craft glue also works. During testing, battery eliminators can provide steady power without repeatedly replacing disposable batteries.
Choose a motor running at around 60 to 150 revolutions per minute. Slow rotation and higher torque help the robot move forward instead of simply vibrating.
Simple Substitutions
Coffee stirrers can replace craft sticks, while paper tubes can replace straws. A pre-wired motor and insulated connectors remove the need for soldering.
Keep the first version light because heavy batteries and decorations make balancing harder.
How the Mechanism Works
The motor shaft turns in a circle, but the legs must move forward and backward. A small disc attached to the shaft creates an off-centre crank. As it rotates, a linkage pushes and pulls the legs.
This slider-crank principle is also used in engines and mechanical toys. The robot advances when one foot grips the floor while the other moves forward.
Although this project relies on a simple DC motor, understanding the difference between inputs and outputs becomes much easier after reading Sensors vs Actuators in Robotics: Complete Comparison, especially if you plan to build more advanced robots that respond to their environment.
How to Build the Robot

Step 1: Make the Body
Cut two cardboard rectangles about 15 centimetres by 7 centimetres. Glue them together with the corrugation running in different directions. Place the motor near the rear and the battery holder near the centre.
Using two layers makes the frame stronger without adding too much weight. Let the glue dry before attaching other components.
Step 2: Build Equal Legs
Cut two feet about 8 centimetres by 4 centimetres. Round the front edges and glue one craft stick vertically to each foot.
Make both legs equal. Even a small difference can make the robot turn or fall. Add rubber strips beneath the feet if the cardboard slides.
Step 3: Install the Guides
Glue two short straw sections parallel beneath the body. Slide one skewer through each straw. They should move freely without wobbling.
Connect their lower ends to the legs with flexible cardboard joints. Do not glue moving joints solid because they need enough freedom to complete each step.
Step 4: Create the Crank
Cut a small cardboard disc and attach it to the motor shaft. Make a linkage hole about 5 millimetres from the centre. A larger offset creates a longer stride but may reduce stability.
Connect the disc to the legs with stiff wire or a straightened paperclip. Turn it by hand and correct scraping before adding power.
Testing the movement manually prevents the motor from becoming stalled or damaged during the first powered test.
Step 5: Connect the Power
Wire the battery holder, switch, and motor into one circuit. Secure the wires away from moving parts. Insert the batteries after checking every connection.
The battery holder should remain close to the centre of the frame. Uneven weight can make one foot press harder against the floor than the other.
Step 6: Test the Balance
Set the robot on a flat, slightly textured surface. Hold it gently during the first test and watch the leg cycle.
Move the battery holder forward or backward to improve balance. Change one feature at a time so you can clearly identify which adjustment helped.
Troubleshooting Common Problems

The Robot Falls Over
Enlarge the feet, lower the body, reposition the battery holder, or shorten the stride. Wide feet usually improve stability, but extremely large feet may create too much drag.
The Motor Spins but the Legs Stay Still
Check that the crank is fixed to the shaft and the linkage is secure. The linkage hole must also be away from the centre of the disc.
The Robot Shakes Without Moving
Reduce motor constants, improve traction, compare leg lengths, and shorten the crank offset. A fast motor often creates vibration instead of useful walking motion.
The Mechanism Jams
Straighten the skewers, widen tight straw guides, and remove dried glue from moving joints. Rotate the entire system manually before reconnecting the batteries.
Safety Tips
Use a cutting mat and ask an experienced adult to handle difficult craft-knife cuts. Keep fingers away from hot glue and rotating parts. Never short-circuit batteries or leave the motor powered while stalled. Internal short circuits in lithium-ion batteries can cause overheating, fire, or permanent battery damage, so use only undamaged cells with proper protection.
Remove the batteries after testing. Replace damaged wires, cracked cardboard, or loose motor mounts before using the robot again.
Easy Experiments and Upgrades

Once the robot walks, test wider feet, lighter legs, a shorter crank, or different floor surfaces. Measure how far it travels in ten seconds and change one variable at a time.
You can also test whether rubber, paper, foam, or plain cardboard provides the best foot traction. Record the results to turn the activity into a simple engineering experiment.
After mastering this mechanical project, you can continue learning by building a how to make a bluetooth controlled robot with arduino, which introduces wireless control while using many of the same basic robotics concepts.
Add a lightweight shell, face, arms, or colour only after the mechanism works reliably. Decorations should never touch the crank, linkage, motor shaft, or moving legs.
Frequently Asked Questions
1. Can a beginner build a diy walking robot with simple materials?
Yes. Careful measuring and patient testing matter more than coding or previous robotics experience.
2. Can I build it without soldering?
Yes. Choose a pre-wired motor and use insulated connectors or a small terminal block.
3. Why does the robot turn in circles?
One leg may be longer, one foot may have more friction, or the battery weight may sit unevenly.
4. Is a fast DC motor suitable?
It may work, but a slow geared motor provides better torque and more controllable movement.
What I Learned From the Project
I learned that successful walking depends less on decoration and more on light weight, equal legs, firm linkages, and careful balance. Testing the mechanism before adding a shell made faults easier to identify.
I would begin with visible cardboard parts and make one adjustment at a time. Once the robot takes consistent steps, it can be customised without hiding its engineering.