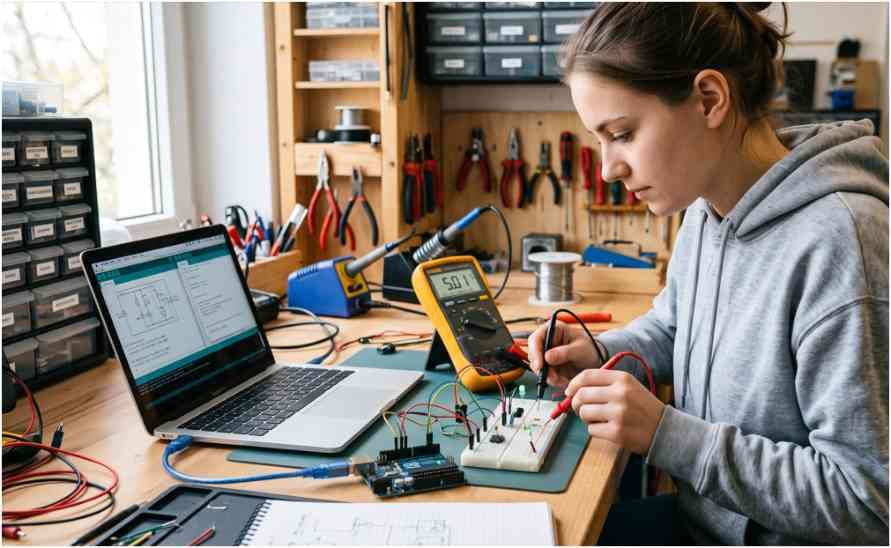
A blinking LED that refuses to blink can waste an entire afternoon. I have learned that guessing rarely fixes an Arduino circuit, but a basic multimeter often finds the problem within minutes.
The best multimeter for Arduino projects for beginners should measure low DC voltage, resistance, continuity, and current without making simple testing confusing. It does not need industrial features or a premium price.
For most first-time makers, I recommend an auto-ranging AstroAI model that measures current. The UNI-T UT33D+ is better for tight budgets, while the Fluke 101 suits users who value durability but do not need current measurement.
My Quick Recommendation
The AstroAI 4000 Counts Auto-Ranging Multimeter is my best overall choice. It combines automatic range selection, continuity testing, DC current measurement, and a beginner-friendly display.
Typical US pricing sits around $18 to $25, depending on the exact model and included accessories. That makes it affordable enough for a first electronics toolkit.
The UNI-T UT33D+ usually costs around $15 to $25. It offers strong value, but its manual-ranging controls require more attention.
The Fluke 101 normally sells for about $40 to $50 through importers and specialist sellers. It offers better build quality and dependable voltage readings. However, it cannot measure current directly.
What an Arduino Multimeter Actually Needs
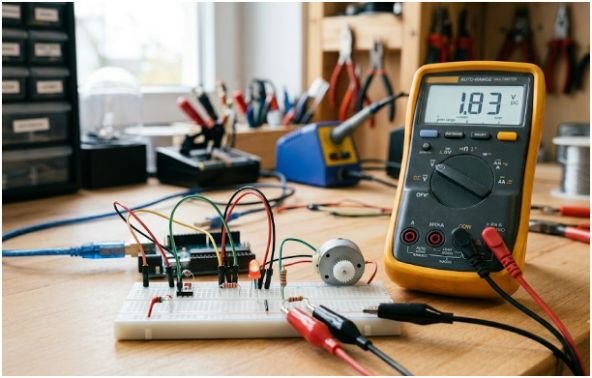
Arduino boards usually operate with 5-volt or 3.3-volt logic. That means a meter must handle small DC readings accurately and respond quickly during troubleshooting.
Arduino’s own multimeter documentation teaches voltage, resistance, continuity, and current as the core measurements needed for electronics work.
The best multimeter for Arduino projects for beginners should therefore prioritize useful low-voltage functions instead of high-end electrician features.
Auto-Ranging Versus Manual Ranging
An auto-ranging meter selects the measurement range for you. You can probe a 220-ohm resistor and then test a 10-kilohm resistor without changing the dial range.
This reduces setup errors when you are still learning electrical units. It also makes troubleshooting faster.
Manual-ranging meters require you to select a suitable range. To measure a 5-volt Arduino pin, for example, you might choose the 20-volt DC range.
Manual ranging is not bad. In fact, it can teach you how measurement ranges work. It simply creates one more step during debugging.
Continuity Testing
A continuity buzzer checks whether electricity can travel between two points. I use it to test jumper wires, breadboard rails, switches, solder joints, and ground connections.
A fast, audible buzzer matters because you can keep your eyes on the probes. Weak or delayed buzzers make repeated testing frustrating.
Continuity mode is especially helpful when learning the main components of a robot, since motors, sensors, switches, batteries, and controllers all depend on reliable wiring.
Low-Voltage and Current Measurement
Voltage testing shows whether an Arduino pin, power rail, battery, or voltage regulator provides the expected output.
Current testing shows how much electricity a circuit consumes. This becomes useful with LEDs, sensors, small motors, displays, and battery-powered builds.
A beginner should look for milliamp and amp ranges. The meter should also contain fused current inputs for added protection.
Best Multimeters for Beginner Arduino Projects
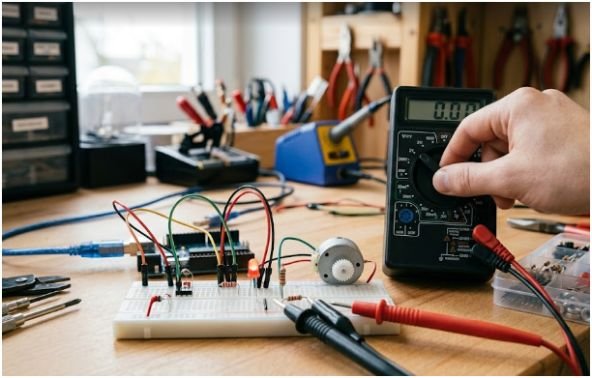
1. AstroAI 4000 Counts Auto-Ranging Multimeter
The AstroAI is the best multimeter for Arduino projects for beginners who want one affordable tool for most hobby tasks.
Its automatic ranging removes much of the guesswork. Common versions measure AC and DC voltage, current, resistance, continuity, and diodes. AstroAI lists 4000-count models with auto-ranging, 600-volt capacity, and sampling rates around three readings per second.
I would use this meter for checking:
- Arduino 5V and 3.3V pins
- Breadboard continuity
- Resistor values
- Battery voltage
- Sensor output voltage
- Small circuit current
Some kits include alligator clips. These clips are valuable because standard probe tips can slide away from narrow Arduino jumper wires.
The main weakness is model confusion. AstroAI sells several 4000-count meters, and not every version measures current. Buyers should check the exact listing before ordering.
Best for: Most beginners and general Arduino troubleshooting
Typical US price: $18–$25
2. UNI-T UT33D+ Digital Multimeter
The UNI-T UT33D+ is a compact option for students who want to spend as little as possible without buying an unreliable novelty meter.
It measures DC voltage, AC voltage, DC current, resistance, continuity, and other basic functions. The UT33+ series is marketed as an entry-level range, and UNI-T states that the housing can survive a two-meter drop.
Unlike the AstroAI, the UT33D+ uses manual ranging. You must select the correct voltage, resistance, or current range before testing.
I see that as both a weakness and a teaching advantage. It slows down quick checks, but it forces beginners to understand the expected measurement.
Its small body also fits well beside an Arduino board, laptop, breadboard, and parts tray.
The best multimeter for Arduino projects for beginners does not have to be auto-ranging when budget matters most. The UT33D+ proves that point.
Best for: Tight budgets and small workspaces
Typical US price: $15–$25
3. Fluke 101 Digital Multimeter
The Fluke 101 is the premium choice in this group. It offers auto-ranging, a 6000-count display, continuity testing, resistance measurement, and accurate DC voltage readings.
Fluke specifies a basic DC voltage accuracy of 0.5 percent plus three digits. The meter also measures resistance up to 40 megohms and provides millivolt-level resolution.
The build feels more solid than many low-cost meters. Its compact design also suits crowded electronics benches.
However, the Fluke 101 has one major limitation: it does not include direct current measurement. You can test an Arduino supply voltage, resistor, connection, or diode, but you cannot place the meter in series to measure a project’s current draw.
For that reason, I would not call it the best all-round Arduino meter. It makes sense for buyers who prioritize durability and already own another current-testing tool.
Best for: Reliable voltage, resistance, and continuity testing
Typical US price: $40–$50
How the Three Multimeters Compare
The AstroAI offers the most complete feature set for the money. It is the easiest recommendation for someone building LEDs, sensor circuits, motors, and small robots.
The UNI-T costs about the same or slightly less. Its manual controls suit learners who do not mind selecting ranges.
The Fluke delivers the strongest reputation and better construction. However, the missing current function limits its usefulness for battery and power-consumption testing.
For most users, the best multimeter for Arduino projects for beginners is therefore the AstroAI. Choose the UNI-T when price matters more than convenience. Choose the Fluke when durability matters more than current measurement.
My Three-Test Arduino Debugging Method
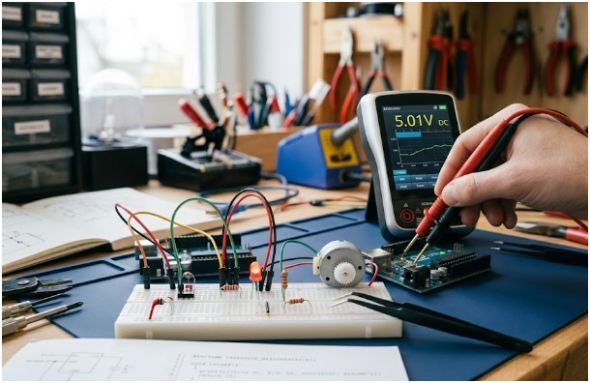
I use the same three checks whenever an Arduino project stops behaving correctly.
First, I measure voltage between the 5V pin and GND. A healthy Uno-class board should show a value near 5 volts when powered correctly. A much lower reading can indicate a supply, cable, or short-circuit problem.
Second, I disconnect power and test continuity through key ground and signal paths. This exposes broken jumper wires and breadboard mistakes.
Third, I measure current only when necessary. I move the red lead to the correct current jack, break the circuit, and insert the meter in series.
This last step matters because current is not measured across two powered points. Connecting a meter in current mode directly across a power supply can create a short and blow the meter’s fuse.
This simple workflow gives the article’s most useful practical insight: beginners rarely need dozens of multimeter functions. They need three repeatable tests performed correctly.
Mistakes Beginners Should Avoid
Never measure resistance or continuity while the circuit remains powered. Disconnect USB cables and batteries first.
Always return the red probe to the voltage-and-resistance jack after measuring current. Leaving it in the amp jack creates a dangerous mistake during the next voltage test.
Start current tests with the highest available current range. Move downward only after confirming the circuit’s approximate draw.
Do not use an Arduino hobby meter for household electrical panels. Low-voltage breadboard work and mains electricity require different safety knowledge.
Finally, check the fuse rating before buying. A replaceable fuse makes the meter easier to repair after an accidental overload.
Frequently Asked Questions
1. Is an auto-ranging multimeter better for Arduino beginners?
Yes. Auto-ranging reduces dial errors and speeds up testing, although a manual-ranging meter can still teach useful fundamentals.
2. Can a cheap multimeter test an Arduino board?
Yes. A reliable budget meter can test voltage, resistance, continuity, diodes, and current on most beginner circuits.
3. Do I need a multimeter that measures capacitance?
Not at first. Capacitance testing helps with advanced repairs, but voltage, continuity, resistance, and current matter more for beginner projects.
4. What is the best multimeter for Arduino projects for beginners under $30?
The AstroAI 4000 Counts model is the strongest all-round option, while the UNI-T UT33D+ is a good manual-ranging alternative.
Skip the Fancy Meter and Start Testing
The best multimeter for Arduino projects for beginners is not the one with the longest specification sheet. It is the meter that helps you diagnose a dead LED, bad wire, weak battery, or overloaded circuit without slowing you down.
I would buy the AstroAI for its auto-ranging controls and current measurement. I would choose the UNI-T when every dollar matters. I would reserve the Fluke 101 for users who value build quality and rarely test current.
Pick one, learn the three-test method, and stop blaming your Arduino code for wiring problems your multimeter can expose in seconds.