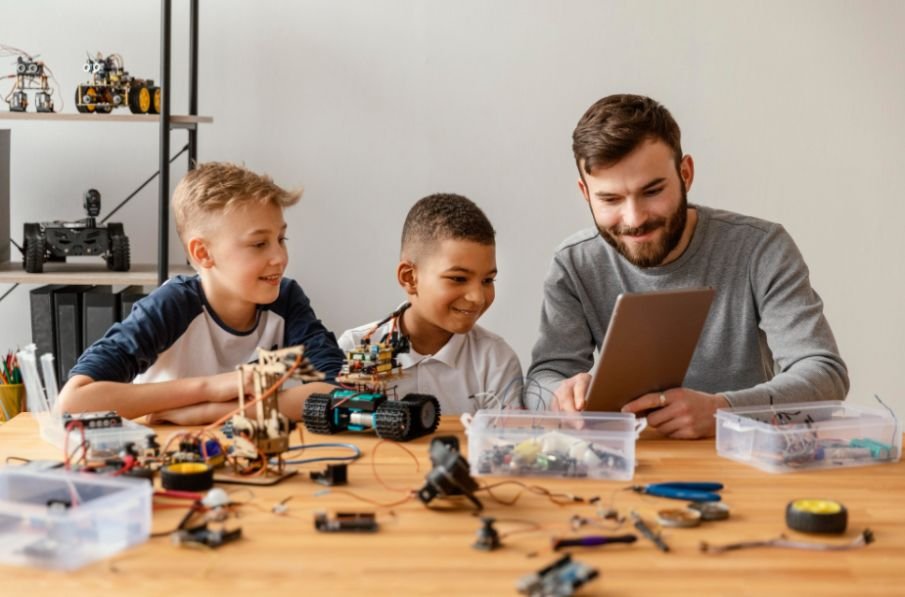
I remember opening my first robot kit and wondering whether I needed to master electronics, mechanics, and programming before touching a wire. I soon learned that robotics becomes manageable when every task is divided into small tests.
I created this guide to raspberry pi robot projects for beginners so you can choose a realistic build, gather the right parts, and learn through visible results rather than theory alone. Start with movement, test one component at a time, and add smarter features only after the robot works reliably.
What You Need to Build Your First Robot
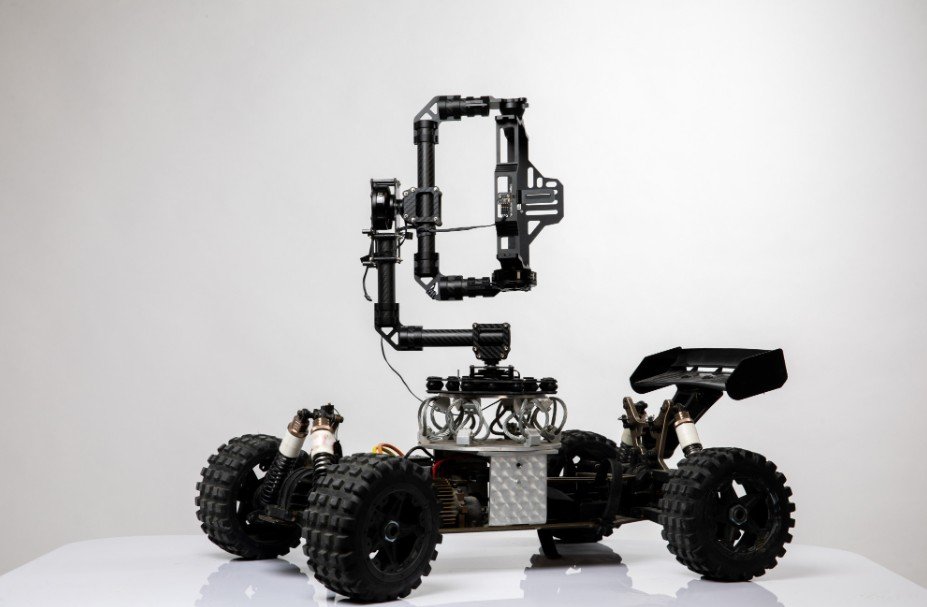
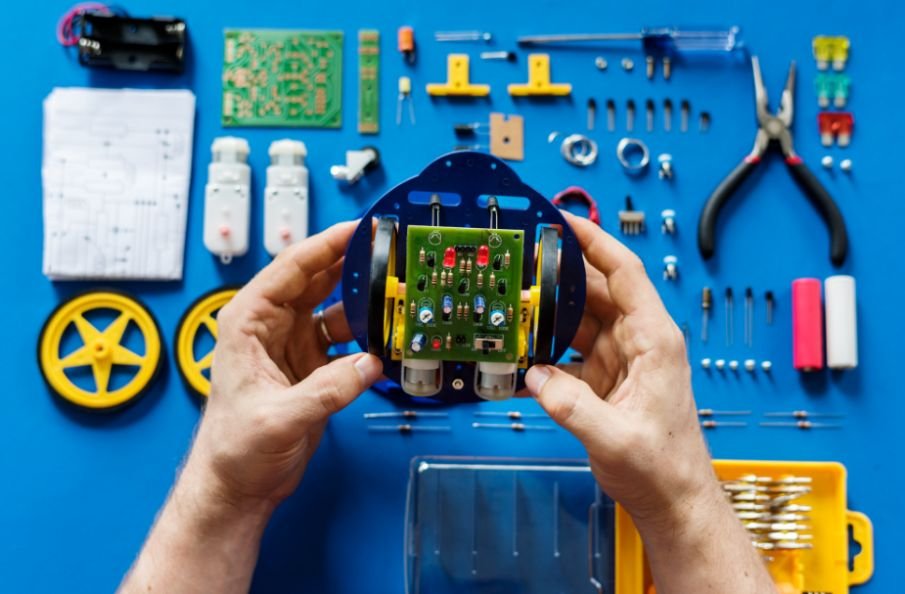
A starter build usually needs a Raspberry Pi board, microSD card, motor driver, two geared DC motors, wheels, chassis, jumper wires, and a suitable battery pack. Cameras, distance sensors, line sensors, servos, and microphones are optional upgrades.
Understanding the main components of a robot helps you see how the controller, sensors, actuators, power system, chassis, and software work together before you begin assembly.
Never connect motors directly to Node.js GPIO pins. A motor driver must handle their higher current. Check voltage requirements, use dependable power, and switch everything off before changing wires.
Install Raspberry Pi OS and practice running a short Python program. Variables, loops, conditions, and functions are enough for most beginner builds.
10 Easy Raspberry Pi Robot Ideas
1. Basic Two-Wheel Robot
Begin with a robot that moves forward, reverses, turns, and stops. Write one Python function for each action and test both motors separately. This easy two-to-four-hour project teaches wiring, GPIO control, motor direction, and troubleshooting.
2. Smartphone-Controlled Robot Car
After movement works, create a local web interface with large direction buttons. Your phone can send commands over the same network, removing the need for a special remote while introducing wireless communication.
3. Obstacle-Avoiding Robot
Add an ultrasonic sensor to measure the space ahead. When an object is too close, the robot stops, reverses, and turns. A small servo can rotate the sensor to compare left and right distances.
4. Line-Following Robot
Place infrared sensors beneath the chassis to detect a dark route against a lighter surface. The program changes motor speed when the robot drifts. Keep the sensors near the floor and calibrate them under consistent lighting.
5. Camera Surveillance Rover
Mount a compatible camera and stream live video to another device. Build the video feed first, then add movement controls. Separating the stages makes faults easier to identify, while a stable bracket reduces shaking.
6. Plant-Watering Robot
A stationary robot can read soil moisture and activate a small pump when the soil becomes dry. Use a suitable relay or driver, protect the electronics from water, and delay readings to prevent overwatering.
7. Voice-Controlled Robot
Map short commands such as forward, left, right, and stop to movement functions. Use distinct words, include an immediate stop command, and keep a manual shutdown option.
8. Object-Tracking Robot
Combine a camera with computer vision so the chassis follows a colored object. The program checks the target’s position in the frame and adjusts the motors. Color tracking is easier than complex object recognition.
9. Mini Robotic Arm
Use servo motors to rotate, lift, and place lightweight objects. Test one joint at a time before programming full sequences. This project introduces angles, balance, servo limits, and repeatable positioning.
10. AI Image-Recognition Rover
After camera streaming and movement work independently, build a rover that recognizes a few clearly different objects. Reliable lighting, stable camera placement, and smooth motor control matter as much as the recognition software.
How to Choose the Right First Project
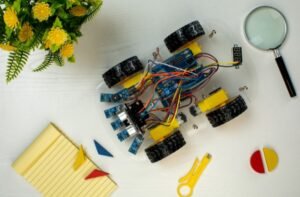
Choose the basic wheeled robot when you have never used GPIO pins or a motor driver. Select the obstacle avoider for simple decision-making, the line follower for sensor practice, or the camera rover for remote monitoring.
Do not pick a build only because it looks impressive. The best first project uses affordable, replaceable parts and can be tested in short stages.
Common Robot Problems and Quick Fixes
If the board restarts when the motors turn, the power supply may be inadequate or electrical noise may be reaching it. Use an appropriate motor supply and connect shared grounds correctly.
A backward motor usually needs its connections reversed or its direction logic corrected. If the chassis curves, test each side separately and adjust motor speed.
Loose wires, poor sensor placement, incorrect voltage, or rapid readings can cause unstable measurements. Print raw values before adding movement decisions.
Smart Ways to Upgrade Your Build
Add one feature at a time. Useful upgrades include bumper switches, wheel encoders, headlights, speed control, speakers, cameras, pan-tilt-zoom camera, and battery monitors.
Before printing these upgrades, learn how to dry 3D printer filament to prevent weak, stringy, or inaccurate parts that may affect the robot’s stability.
Save a working copy of your code before every major change. You can experiment freely and return to a reliable version when an upgrade fails.
Frequently Asked Questions
1. What are the best raspberry pi robot projects for beginners?
A two-wheel robot, obstacle avoider, line follower, and phone-controlled car provide clear results without requiring advanced programming.
2. Can I build a robot without soldering?
Yes. Choose a ready-made chassis, screw-terminal motor driver, compatible sensors, and jumper wires designed for solderless assembly.
3. Is Python difficult for robotics beginners?
Python is approachable because each action can be written as a short function and tested before joining a larger program.
4. Should I use a Raspberry Pi or a microcontroller?
A Raspberry Pi suits cameras, networking, interfaces, and advanced software. A microcontroller is useful for fast, focused hardware control.
Final Takeaway
I believe the most rewarding robot is not the most advanced one; it is the first machine that responds exactly as I intended. I would begin with basic movement, check every connection, and treat each problem as a small experiment. Once the chassis moves reliably, sensors, remote control, computer vision, and automation become achievable upgrades rather than intimidating leaps.