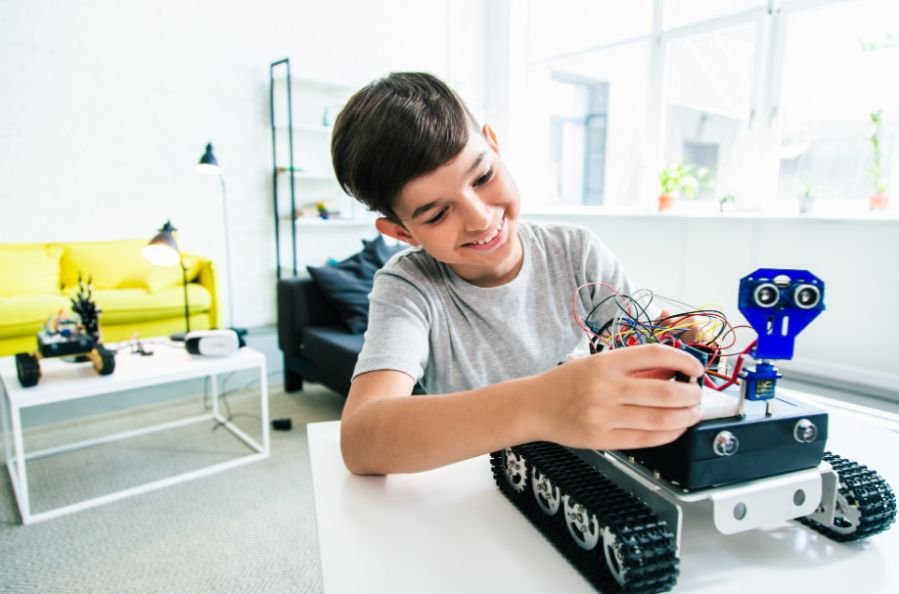
Building my first robot felt intimidating until I focused on one simple cycle: a sensor detects something, the controller decides, and an output responds. Once I understood that pattern, robotics became easier.
These beginner robot projects with sensors use affordable parts, visible results, and manageable code. Most need an Arduino-compatible board, jumper wires, a motor driver, geared motors, wheels, and a battery pack. Start with one sensor and add upgrades after the basic behavior works.
What Makes a Sensor Robot Beginner-Friendly?
A good first robot has a clear purpose, limited wiring, and an obvious response. An LED should turn on, a buzzer should sound, or the robot should change direction when the sensor detects something.
Avoid starting with camera vision, wireless control, or several sensors working together. Those features make troubleshooting harder while you learn power connections, motor direction, pin numbers, and sensor thresholds.
Essential Parts for a First Robot
Most moving robots need a microcontroller, motor driver, two geared motors, wheels, a caster, wires, and a separate motor power supply. Ultrasonic sensors measure distance, infrared sensors detect lines or edges, and photoresistors respond to light.
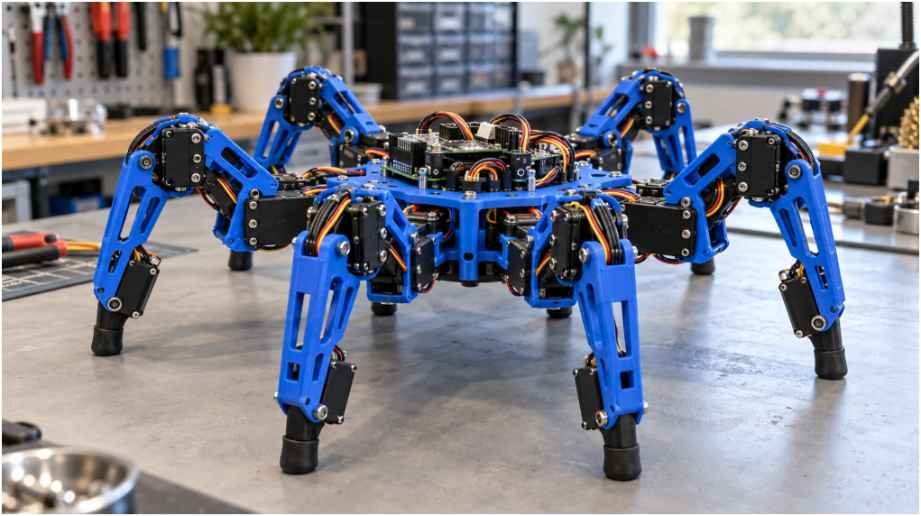
Beginners who want to understand basic motion before adding electronic detection can first build a diy walking robot with simple materials.
Never power motors directly from a controller pin. Use a motor driver and connect the grounds of the controller, driver, and sensors.
1. Ultrasonic Obstacle-Avoiding Robot
Distance-Based Navigation
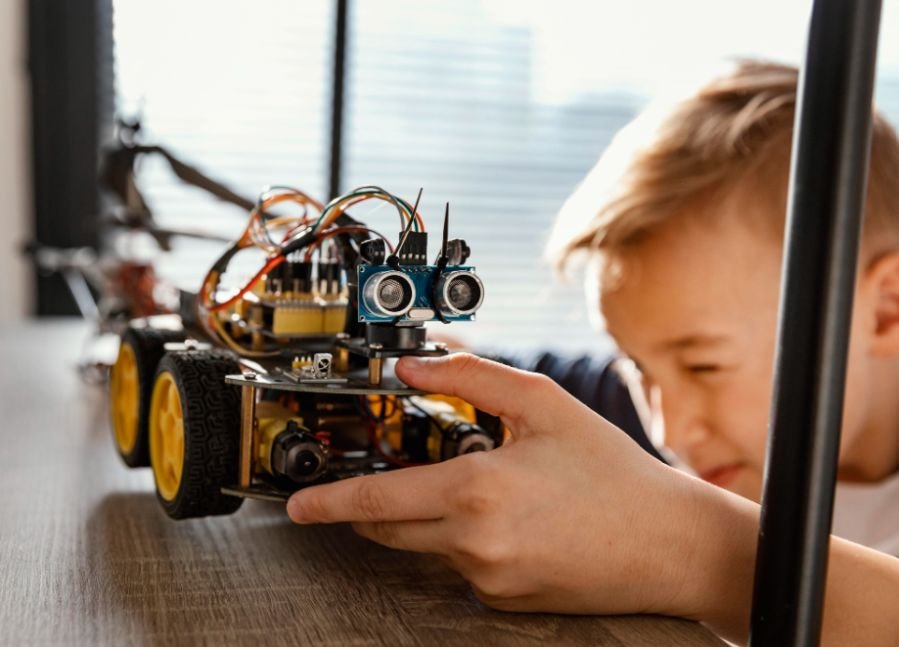
A forward-facing ultrasonic module measures distance. When an object comes too close, the robot stops, reverses, turns, and continues. It teaches distance measurement and motor control. Keep the sensor fixed before adding a scanning servo.
2. Infrared Line-Following Robot
Track Detection
Two downward-facing infrared sensors distinguish a dark track from a lighter surface. The controller adjusts the motors whenever the robot drifts. Use matte black tape on a plain surface, and calibrate the sensors before increasing speed.
3. Light-Seeking Robot
Analog Light Comparison
Place a light sensor on each side of the chassis. The controller compares their readings and turns toward the brighter side. A flashlight provides an easy test target. Reverse the response to make the robot avoid light instead.
4. Touch-Sensor Bumper Robot
Simple Collision Response
Small front switches act as bumpers. When the robot touches an obstacle, it reverses and turns. This setup teaches digital input and collision logic. Flexible wire whiskers attached to the switches can widen the detection area and help the robot sense obstacles sooner.
5. Motion-Activated Guard Robot
Movement Detection
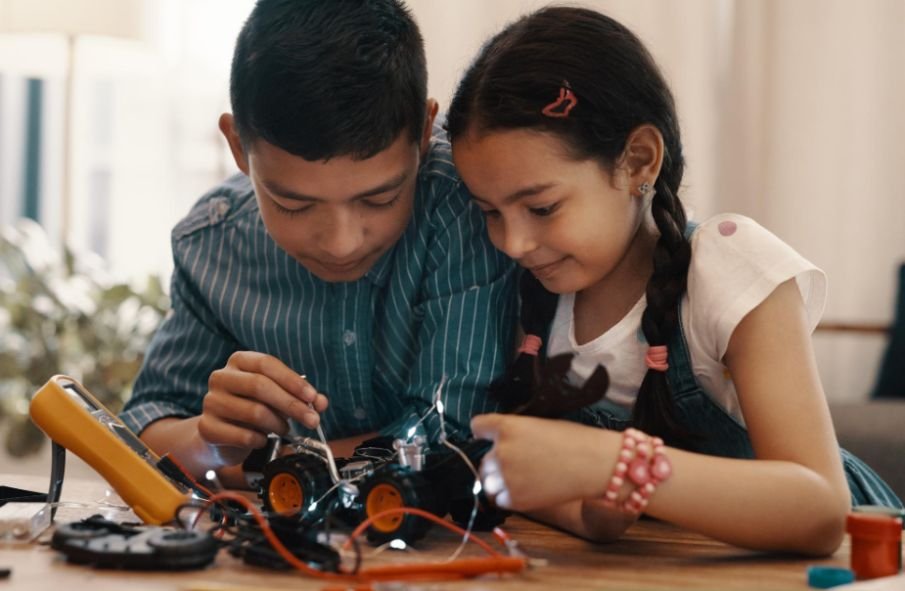
A passive infrared sensor watches for movement. When triggered, the robot can flash lights, sound a buzzer, rotate, or move briefly. Let the sensor stabilize after startup and keep it away from direct heat or moving curtains.
6. Sound-Reactive Dancing Robot
Noise-Triggered Movement
A microphone module detects claps or strong beats. Each sound triggers a spin, short drive, light pattern, or random movement. Mount the microphone away from the motors and adjust its sensitivity to limit false triggers.
7. Edge-Detection Robot
Drop Prevention
Downward-facing infrared sensors monitor the surface beneath the robot. When a sensor stops detecting it, the controller reverses and turns. Test on the floor with a contrasting boundary before trying a raised surface.
8. Soil-Moisture Plant-Care Robot
Automated Watering
A moisture sensor checks soil and activates a small pump when the reading falls below a calibrated level. Use separate pump power and keep water away from electronics. Capacitive sensors usually resist corrosion better than metal probes.
9. Flame-Detecting Alert Robot
Supervised Safety Experiment
A flame sensor detects certain infrared light and activates an alarm, light, or movement response. Treat this as a supervised experiment, not a certified safety system. Use a controlled source and expect false readings.
10. Two-Sensor Maze Robot
Wall-Following Logic
Combine front and side distance sensors so the robot avoids obstacles while following a wall. Build this after a single-sensor robot works consistently. Test each sensor separately before combining its readings into one decision routine.
How to Test and Troubleshoot Your Robot
Test the sensor before linking it to motor behavior. Print raw readings to the serial monitor and move an object, light, hand, or sound source through the detection range. Record normal and triggered values, then choose a threshold between them.
The same step-by-step testing mindset used in python automation projects for office workers helps isolate problems quickly before adding more features or complexity.
Test each motor independently. Confirm forward, reverse, left, and right movement first. If the controller resets when the motors start, the battery may be weak or electrical noise may be reaching the board.
Loose wires, wrong pin assignments, missing shared ground, reversed motor connections, and mismatched code cause many failures. Change one element at a time so you know what solved the problem.
Frequently Asked Questions
1. Which of the beginner robot projects with sensors is easiest?
A touch-sensor bumper robot is usually the simplest because it uses basic switches and straightforward collision logic.
2. Can I Build a Sensor Robot Without Soldering?
Yes. A breadboard, jumper wires, screw-terminal motor driver, and modular chassis support many solder-free builds.
3. Is Arduino or Raspberry Pi Better for a First Robot?
An Arduino-compatible board is easier for sensor reading and motor control. A Raspberry Pi is better for cameras, networking, and heavier software.
4. How Much Does a Simple Sensor Robot Cost?
Costs vary, but reusing the same board, chassis, motors, battery holder, and wires keeps each new build affordable.
Final Thoughts
I would begin with the bumper or ultrasonic robot because both make the sensing-and-response cycle easy to understand. Once that behavior works, I would improve the same chassis instead of buying new parts.
The real achievement is learning to test, verify, and solve one fault at a time. Those habits support more capable autonomous robots.