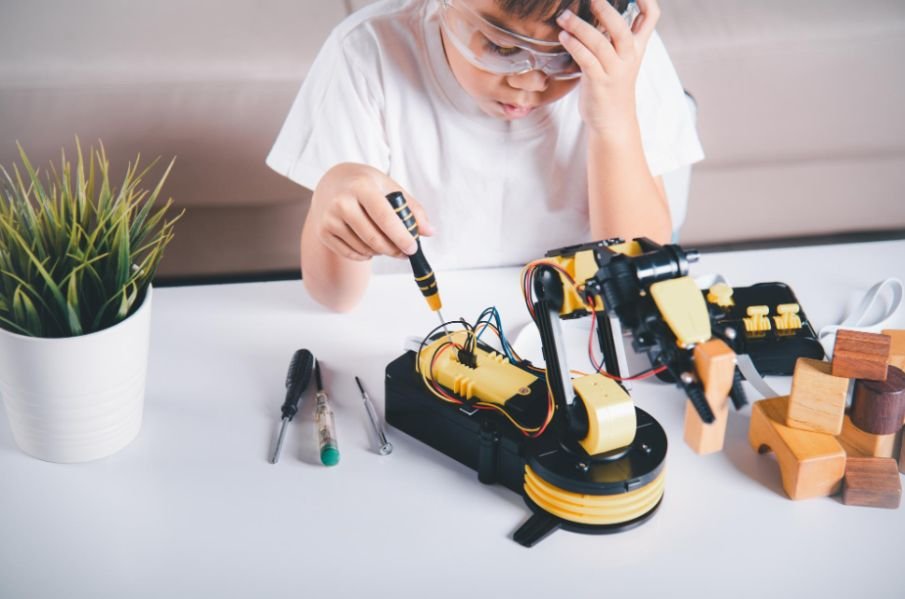
I enjoy projects that create a result, especially a diy voice controlled robot project. You speak into a phone, Bluetooth carries the command, and the robot moves. Here you can learn how to build an Arduino robot car that travels forward, backward, left, and right, then stops on command. It also covers power, app setup, testing, troubleshooting, and upgrades.
What You Are Building
The robot uses an Arduino Uno, HC-05 Bluetooth module, L298N motor driver, two geared motors, a chassis, and an Android voice-control app. The phone converts speech into text and sends it to the Bluetooth module. The Arduino reads the message and directs the motor driver.
The process is:
Voice → phone recognition → Bluetooth text → Arduino decision → motor movement
The Uno is not recognizing natural speech directly. Letting the phone handle recognition keeps the build affordable and beginner-friendly.
Parts and Tools Required
Gather an Arduino Uno,HC-05 bluetooth module, L298N driver, two geared motors, two wheels, one caster wheel, chassis, jumper wires, battery holder, batteries, USB cable, and screws. A screwdriver and mounting tape help.
Never power the motors from the Arduino 5V pin. Use a suitable motor battery and connect all system grounds together.
Assemble and Wire the Robot

Build the Chassis
Secure both motors, attach the wheels, and install the caster wheel. Mount the battery holder low and centered. Position the electronics where wires cannot touch the wheels. Rotate each wheel by hand; it should move freely.
Connect the L298N Motor Driver
Connect the left and right motors to separate output pairs. Connect four driver inputs to Arduino pins 8, 9, 10, and 11. Keep the enable jumpers fitted for full speed, or use PWM pins for adjustable speed.
Connect the motor battery to the driver and check polarity before switching on.
Connect the HC-05 Module
Connect VCC to 5V and GND to ground. Connect HC-05 TX to the Arduino receive pin selected for SoftwareSerial. Connect the Arduino transmit pin to HC-05 RX through a voltage divider.
SoftwareSerial leaves the USB serial connection available.
Although the HC-05 handles wireless communication rather than environmental detection, learning how robot sensors work makes it easier to understand how electronic inputs are converted into commands and physical robot actions.
Upload the Arduino Program
Install the Arduino IDE, choose the correct board and port, and upload a program that compares received text with movement commands:
if (command == “forward”) moveForward();
else if (command == “backward”) moveBackward();
else if (command == “left”) turnLeft();
else if (command == “right”) turnRight();
else if (command == “stop”) stopMotors();
Convert incoming text to lowercase and remove spaces, punctuation, or line endings. Add a timeout that stops both motors when no valid command arrives for several seconds.
Pair the Phone and Set Commands

Power the robot and pair the phone with the HC-05. Enter the documented PIN when requested. Open a compatible voice-control app, grant microphone permission, select the module, and test one word at a time.
Use distinct commands such as “forward,” “backward,” “left,” “right,” and “stop.” Check the exact text sent and make the Arduino program expect the same values.
Test It Safely
Raise the chassis so the wheels are off the floor. Send “stop” first, followed by every movement command. If one wheel rotates backward, swap its wires or reverse its direction logic.
Move to a clear floor only after every command works. Begin slowly, keep the power switch within reach, and ensure a lost connection triggers an automatic stop.
Common Problems and Solutions
Bluetooth Connects but Nothing Moves
Confirm that the app sends the same command words used in the program. Check the SoftwareSerial pins, shared ground, baud rate, motor battery, and L298N enable jumpers.
Arduino Resets When Motors Start
A voltage drop or electrical noise is likely. Use a separate motor supply, fresh batteries, secure connections, and capacitors near the motors and power rails.
Voice Commands Are Misheard
Reduce background noise, speak closer to the phone, and choose words that sound different. Check the recognized text before changing hardware.
The Robot Moves in the Wrong Direction
Swap the affected motor’s two wires or reverse its HIGH and LOW sequence in the movement function.
Upgrades That Improve the Build

Add an ultrasonic sensor so the robot stops before hitting an obstacle. Use LEDs for direction, a buzzer for connection status, and PWM speed control for smoother turns. Extra commands can trigger spinning, parking, lights, or a horn.
For an advanced version, replace phone recognition with an offline voice module, ESP32, or connected voice assistant. These options add complexity but reduce dependence on an app.
After mastering the Arduino version, you can explore raspberry pi robot projects for beginners to add camera streaming, computer vision, web controls, and more advanced voice-processing features.
Frequently Asked Questions
1. How does a voice-controlled Arduino robot work?
A phone recognizes speech, sends text through Bluetooth, and the Arduino activates the motor driver according to the command.
2. Is the diy voice controlled robot project suitable for beginners?
Yes. It introduces wiring, Bluetooth communication, motors, command processing, safe testing, and troubleshooting without requiring advanced code.
3. Can it work without internet access?
That depends on the app and phone. Some speech services require internet access, while offline speech engines and dedicated voice modules work locally.
4. Why do the motors need separate power?
DC motors create current spikes and noise. A separate supply reduces unstable movement, random resets, and stress on the Arduino.
Final Thoughts
I get the best results when I treat reliability as part of the build. Clean wiring, separate motor power, exact command matching, controlled testing, and an automatic stop turn a prototype into a dependable robot. Once the diy voice controlled robot project responds consistently, obstacle detection, adjustable speed, lights, and offline recognition become practical upgrades.