I remember the excitement of watching my first homemade robot move. The project looked complicated until I divided it into mechanical, electrical, and coding tasks. This guide explains how to build a programmable robot kit from the parts check to the final test. Careful wiring and patient testing matter more.
What You Will Build
The finished project is a two-wheel robot that moves forward, reverses, turns, and stops through programmed commands. After the basic test, you can add an ultrasonic sensor for obstacle avoidance or Bluetooth for phone control.
Parts and Tools You Need
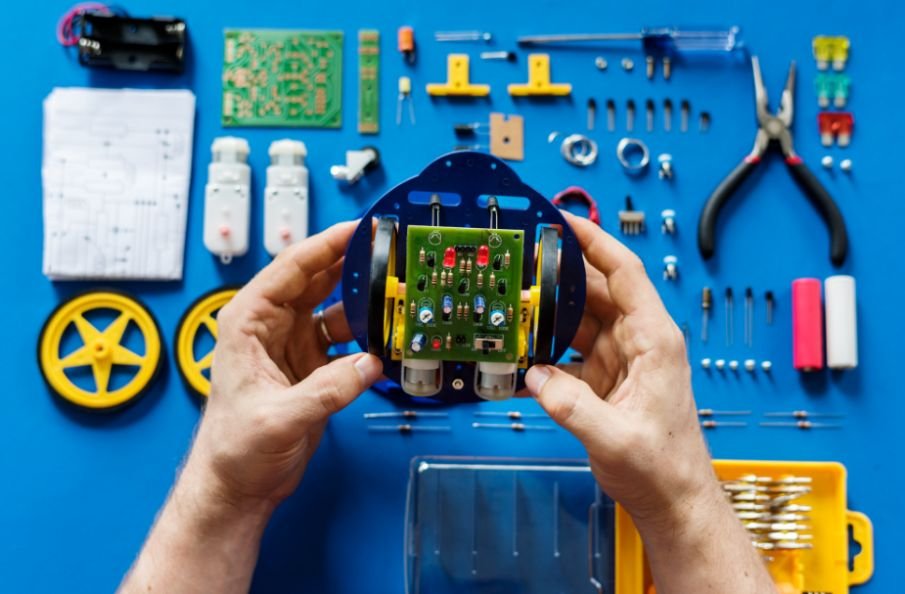
A starter kit should contain an Arduino-compatible board, two geared DC motors, wheels, a caster, a chassis, a motor-driver module, jumper wires, a battery holder, a switch, and screws.
For autonomous movement, add an ultrasonic sensor. You will also need a screwdriver, cable ties, mounting tape, and a computer. Inspect the motor shafts, battery terminals, boards, and wires for damage.
Choose a Suitable Controller
Arduino for a Straightforward Build
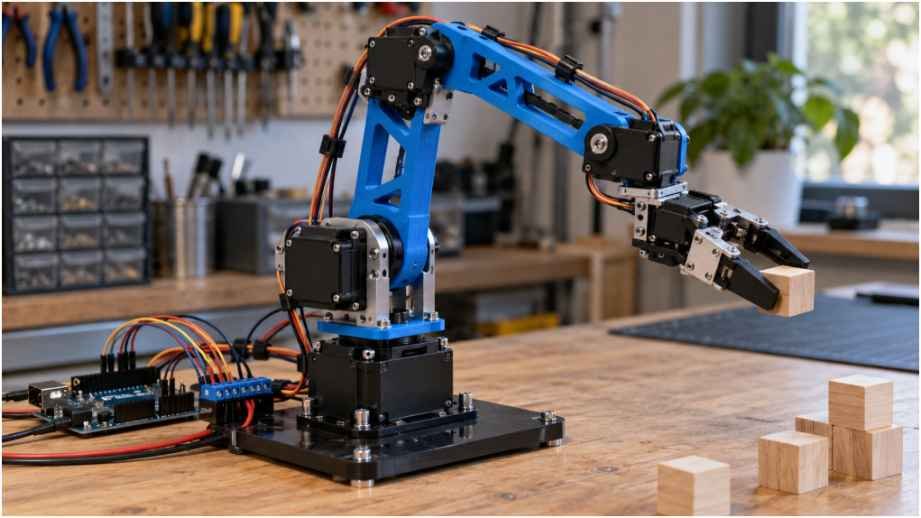
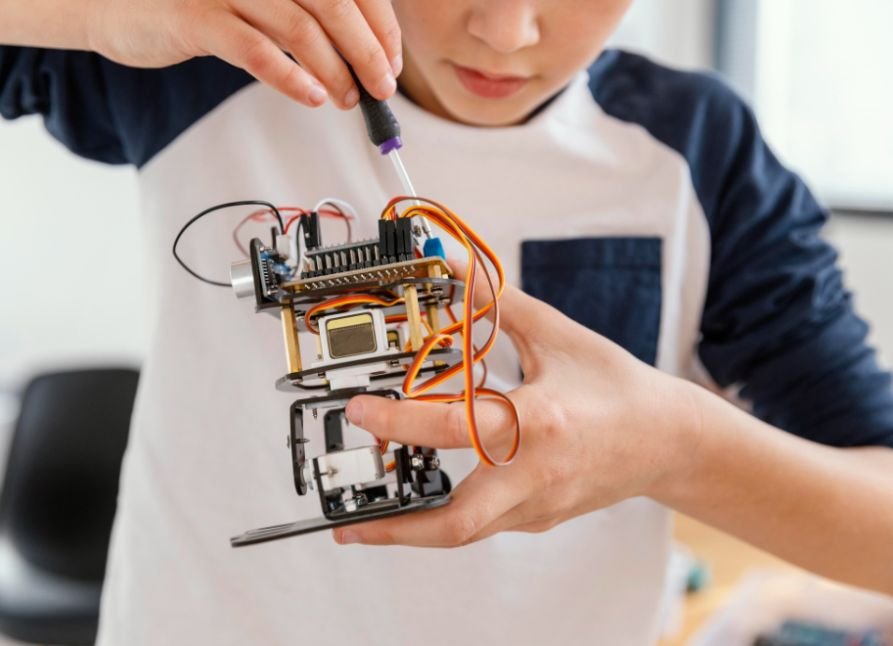
Arduino-compatible boards are affordable and easy to program. They handle motors and sensors well.
Micro:bit for Visual Coding
A micro:bit suits builders who prefer block-based programming. Users can move to text-based code later.
Raspberry Pi for Advanced Projects
A Raspberry Pi supports cameras, computer vision, and web control, but requires more power and setup.
Beginners who want to explore beyond basic motor control can use Raspberry Pi robot projects for beginners to understand how sensors, cameras, and Python-based commands work together. For a first wheeled build, however, Arduino or micro may provide a faster learning curve. Beginners usually progress faster with Arduino or micro:bit.
Assemble the Chassis
Step 1: Install the Motors
Attach one motor to each side with the supplied brackets. Tighten the screws securely without forcing them into plastic. Both shafts should face outward at the same height.
Step 2: Add the Wheels and Caster
Push the wheels onto the shafts and ensure they rotate freely. Install the caster. Place the chassis on a flat surface and confirm that every wheel touches the floor.
Step 3: Mount the Electronics
Position the controller and motor driver where their ports remain accessible. Use standoffs or nonconductive tape instead of resting circuit boards against metal. When using electrical tape in electrical circuits, wrap only insulated wire joints and avoid covering connectors, heat-producing components, or ventilation openings. Leave enough space for the battery and sensor.
Connect the Motors and Battery
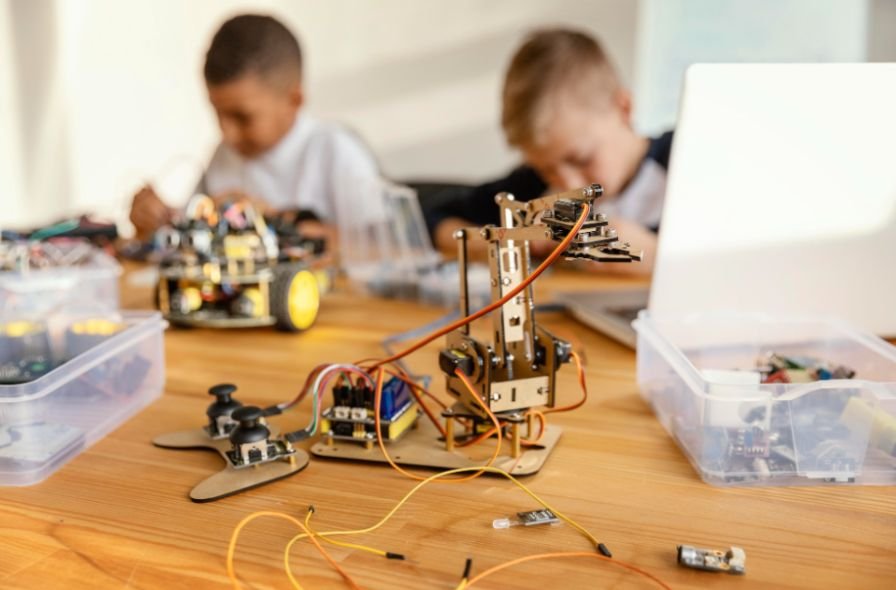
The controller should not power the motors directly. A motor driver receives low-current commands and supplies the current needed by each motor.
Connect the motors to separate driver outputs. Link the driver’s direction and speed pins to digital controller pins. Join the grounds of the controller, driver, and battery supply.
Connect the battery only after checking every wire. Confirm the allowed voltage and never reverse the terminals. Raise the wheels during the power test.
Program and Test Basic Movement
Create four reusable actions: forward, reverse, turn, and stop. Each action sets motor direction and speed. The main program then calls them in sequence.
Upload a test that moves forward for two seconds, stops, turns, and stops again. If one wheel spins backward, swap that motor’s wires or reverse its direction values. If the robot curves, reduce the faster motor’s speed slightly.
Test one behavior at a time. A small working program is easier to repair than a large file controlling every feature together.
Add Obstacle Avoidance
Mount the ultrasonic sensor at the front with a clear view. Connect its power, ground, trigger, and echo pins according to its specifications.
This upgrade follows the same core process used in a DIY robot car with obstacle detection, where distance readings help the controller decide when to stop, reverse, or change direction.
Program the robot to measure the distance ahead. When an object enters the safety range, it should stop, reverse briefly, turn, and measure again. Begin with a generous stopping distance and test against a large box.
Fix Common Robot Problems
The Robot Does Not Power On
Check battery orientation, the switch, loose terminals, and the controller’s power light. Replace weak batteries before changing the program.
The Code Will Not Upload
Select the correct board and port. Reconnect the board and try a data-capable USB cable.
The Controller Resets When Motors Start
The motors may draw more current than the supply provides. Use fresh batteries, secure every ground, and separate motor power from controller power when supported.
Sensor Readings Keep Changing
Check the wiring, level the sensor, and average several readings. Soft fabric and angled surfaces may reflect sound poorly.
Safety and Upgrade Ideas
Disconnect the battery before changing wires. Avoid exposed conductors, damaged batteries, and metal tools near powered terminals. Keep fingers and clothing away from moving wheels.
After the robot works reliably, add line-following sensors, LEDs, a buzzer, Bluetooth, wheel encoders, or a servo-mounted sensor. Add one feature at a time and save a working program first.
Frequently Asked Questions
1. How long does a beginner robot build take?
Most first builds require three to six hours, depending on assembly, wiring, and troubleshooting.
2. How to build a programmable robot kit without soldering?
Choose a kit with screw terminals, plug-in sensor cables, attached motor wires, and compatible connectors.
3. Which programming language is best?
Block coding is easiest initially, while Arduino-style C++ provides greater control and many beginner examples.
4. Can ordinary batteries power the robot?
Yes, when their voltage and current match the controller and motor-driver requirements.
What I Learned From the Build
I have found that a successful robot project depends less on speed and more on testing each system before adding another. I assemble the frame, verify the power connections, test each motor, and upload a basic routine before adding features.
Once the wheels respond to your commands, you have more than a toy. You have a platform that can become an obstacle-avoiding rover, wireless vehicle, line follower, or original machine.